Mint chocolate is a classic combination any time of year, but these chocolate candy cane madeleines are the perfect festive treat! So easy to make, and they so adorable!

Candy canes at Christmas – you just can’t get much more festive! And combined with chocolate, its the most delicious treat! Madeleines are a traditional and delicious small French cake, renowned for their shell like shape and ‘hump’. They’re baked for a short period of time at a high temperature, and really are best served the same day! They’re softer and lighter than a regular sponge cake, making them the perfect afternoon snack. Most importantly, they’re super simple to make too, you just need a madeleine pan to get started. The pan I’ve used for these candy cane madeleines are a variation on the usual shape, and I love how it looks!
Key Ingredients You’ll Need
- Mint Extract – Aside from the candy canes, I’ve also included mint extract into the madeleine batter. But just 1/2 teaspoon. It may seem like a small amount, but you have to be really careful not to overpower with mint extract as it can really easily end up tasting like toothpaste! Start with 1/2 teaspoon, and then if you want it mintier you can add a drop more.
- Dark chocolate – The chocolate batter is actually made with cocoa powder, but I also add dark chocolate chips in. You end up with little pools of chocolate studded throughout the batter, and it’s so delicious! You also need dark chocolate to dip the madeleine’s in once baked.
- Candy canes – A fairly obvious one here! You can get candy canes in all sorts of colours, but I think the traditional red, green and white is the most festive. Of course, go for whichever you’d prefer though – so long as they’re flavoured mint!

How to make chocolate candy cane madeleines
I really enjoy making smaller cakes like madeleines when you want a sweet treat, but don’t want to be left with a huge cake. They’re also great for sharing round with family and friends – every baker knows the pain of trying to fit a huge decorated cake into a box to transport! So these are a great option for a quick easy bake, that still looks really beautiful and tastes delicious! If you don’t have a madeleine pan, you can make them in a regular muffin pan, they just won’t taste quite the same, as the sharp edges on the pan help them to achieve a crisp crust.
Making the mint chocolate madeleine batter
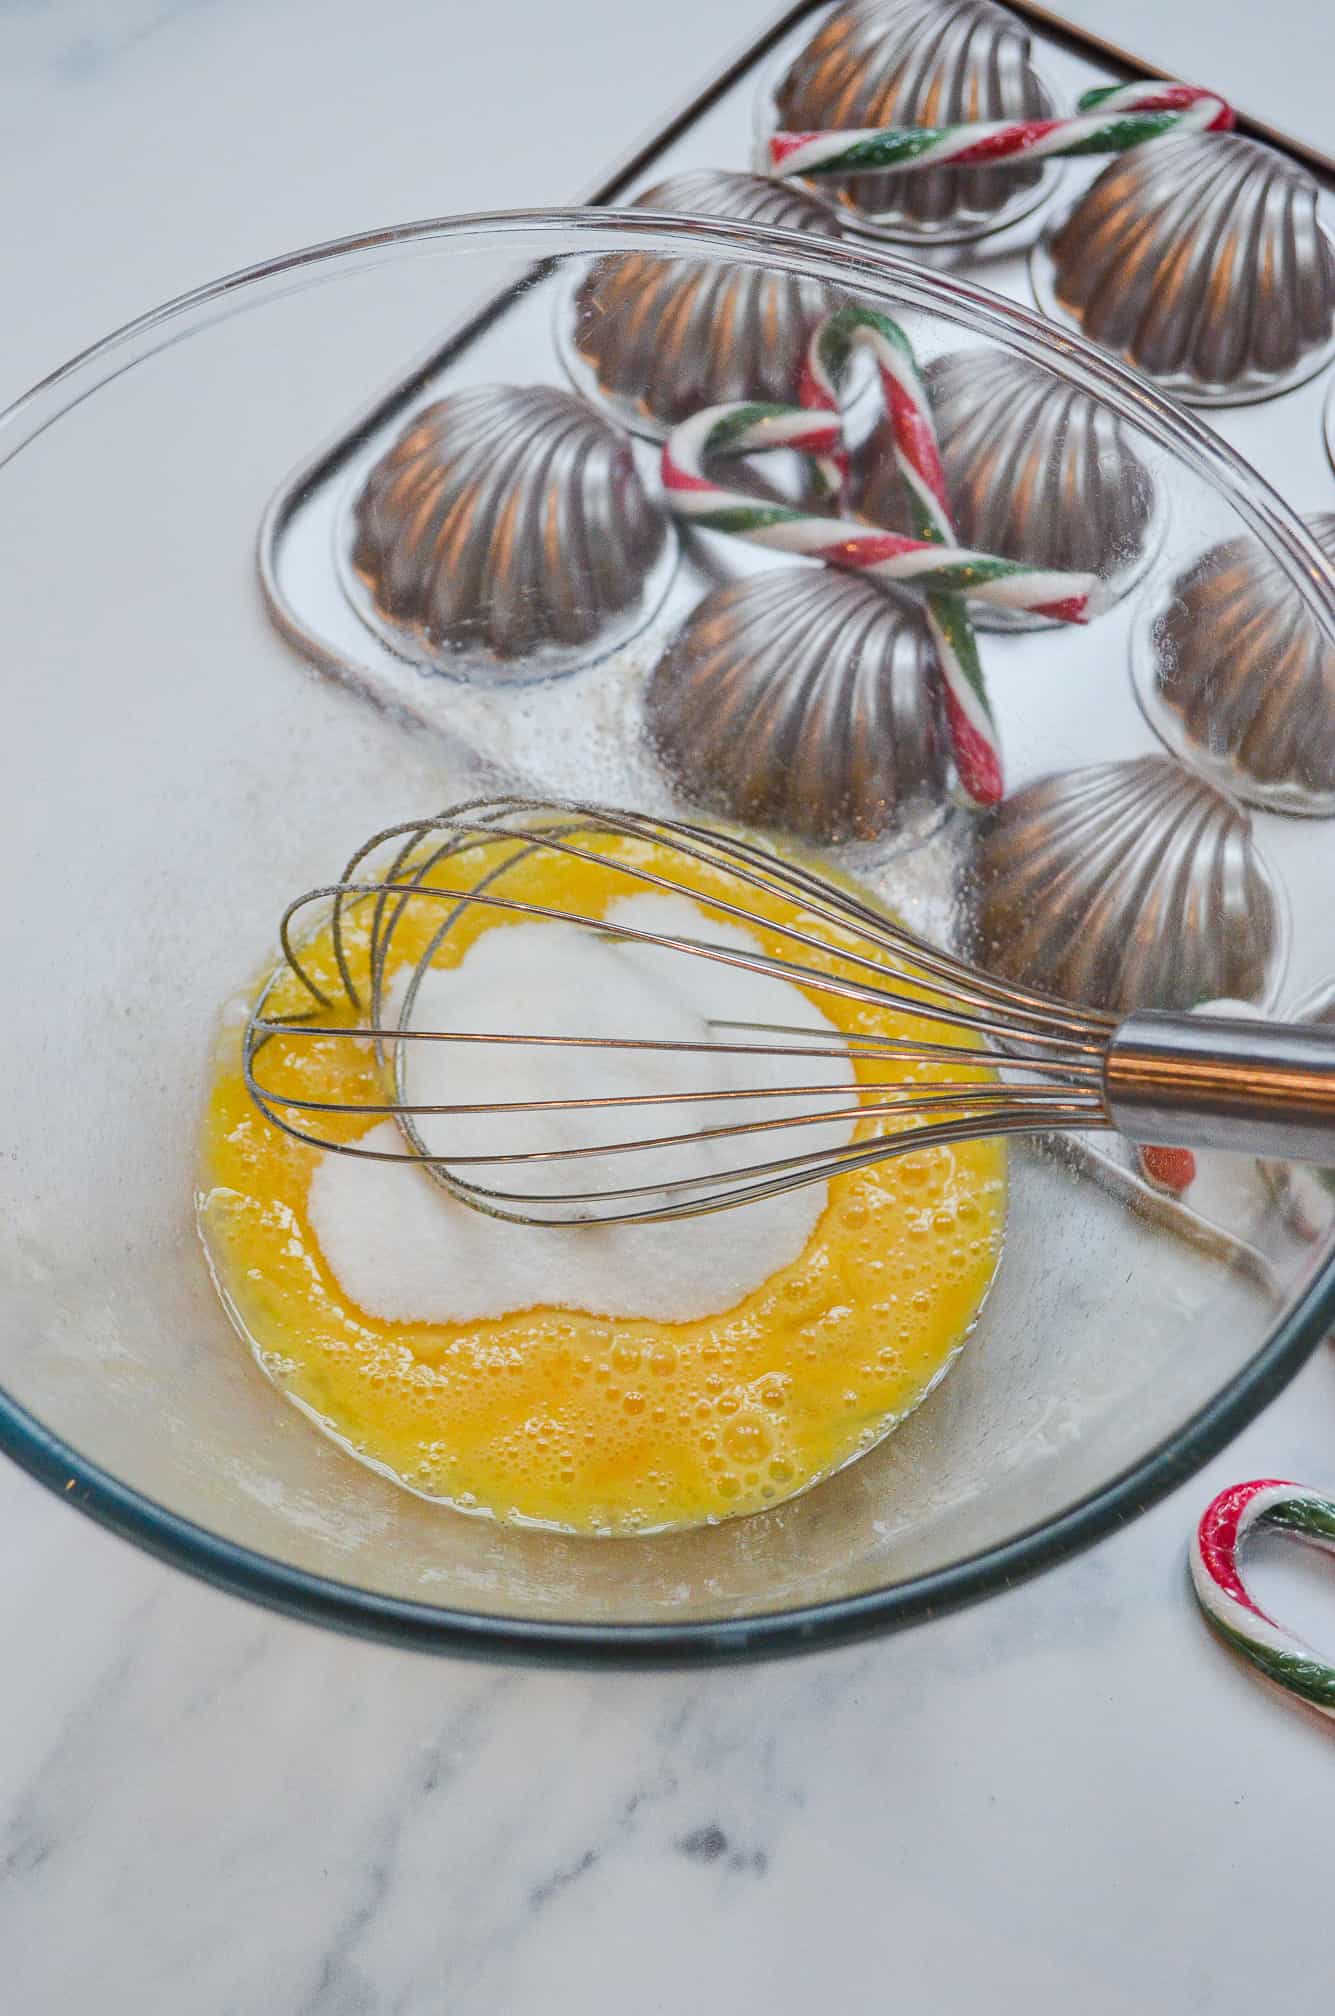
The first step is to melt the butter and set aside. Setting aside the butter lets it cool a little before you add it to your batter, so you don’t start to cook the eggs. We’re essentially making a genoise sponge here, as next you want to whisk the eggs and the mint extract together, and then the sugar. There is a small amount of baking powder in the recipe, but madeleines get a lot of their lift from the beaten eggs. So make sure you whisk these together really well.
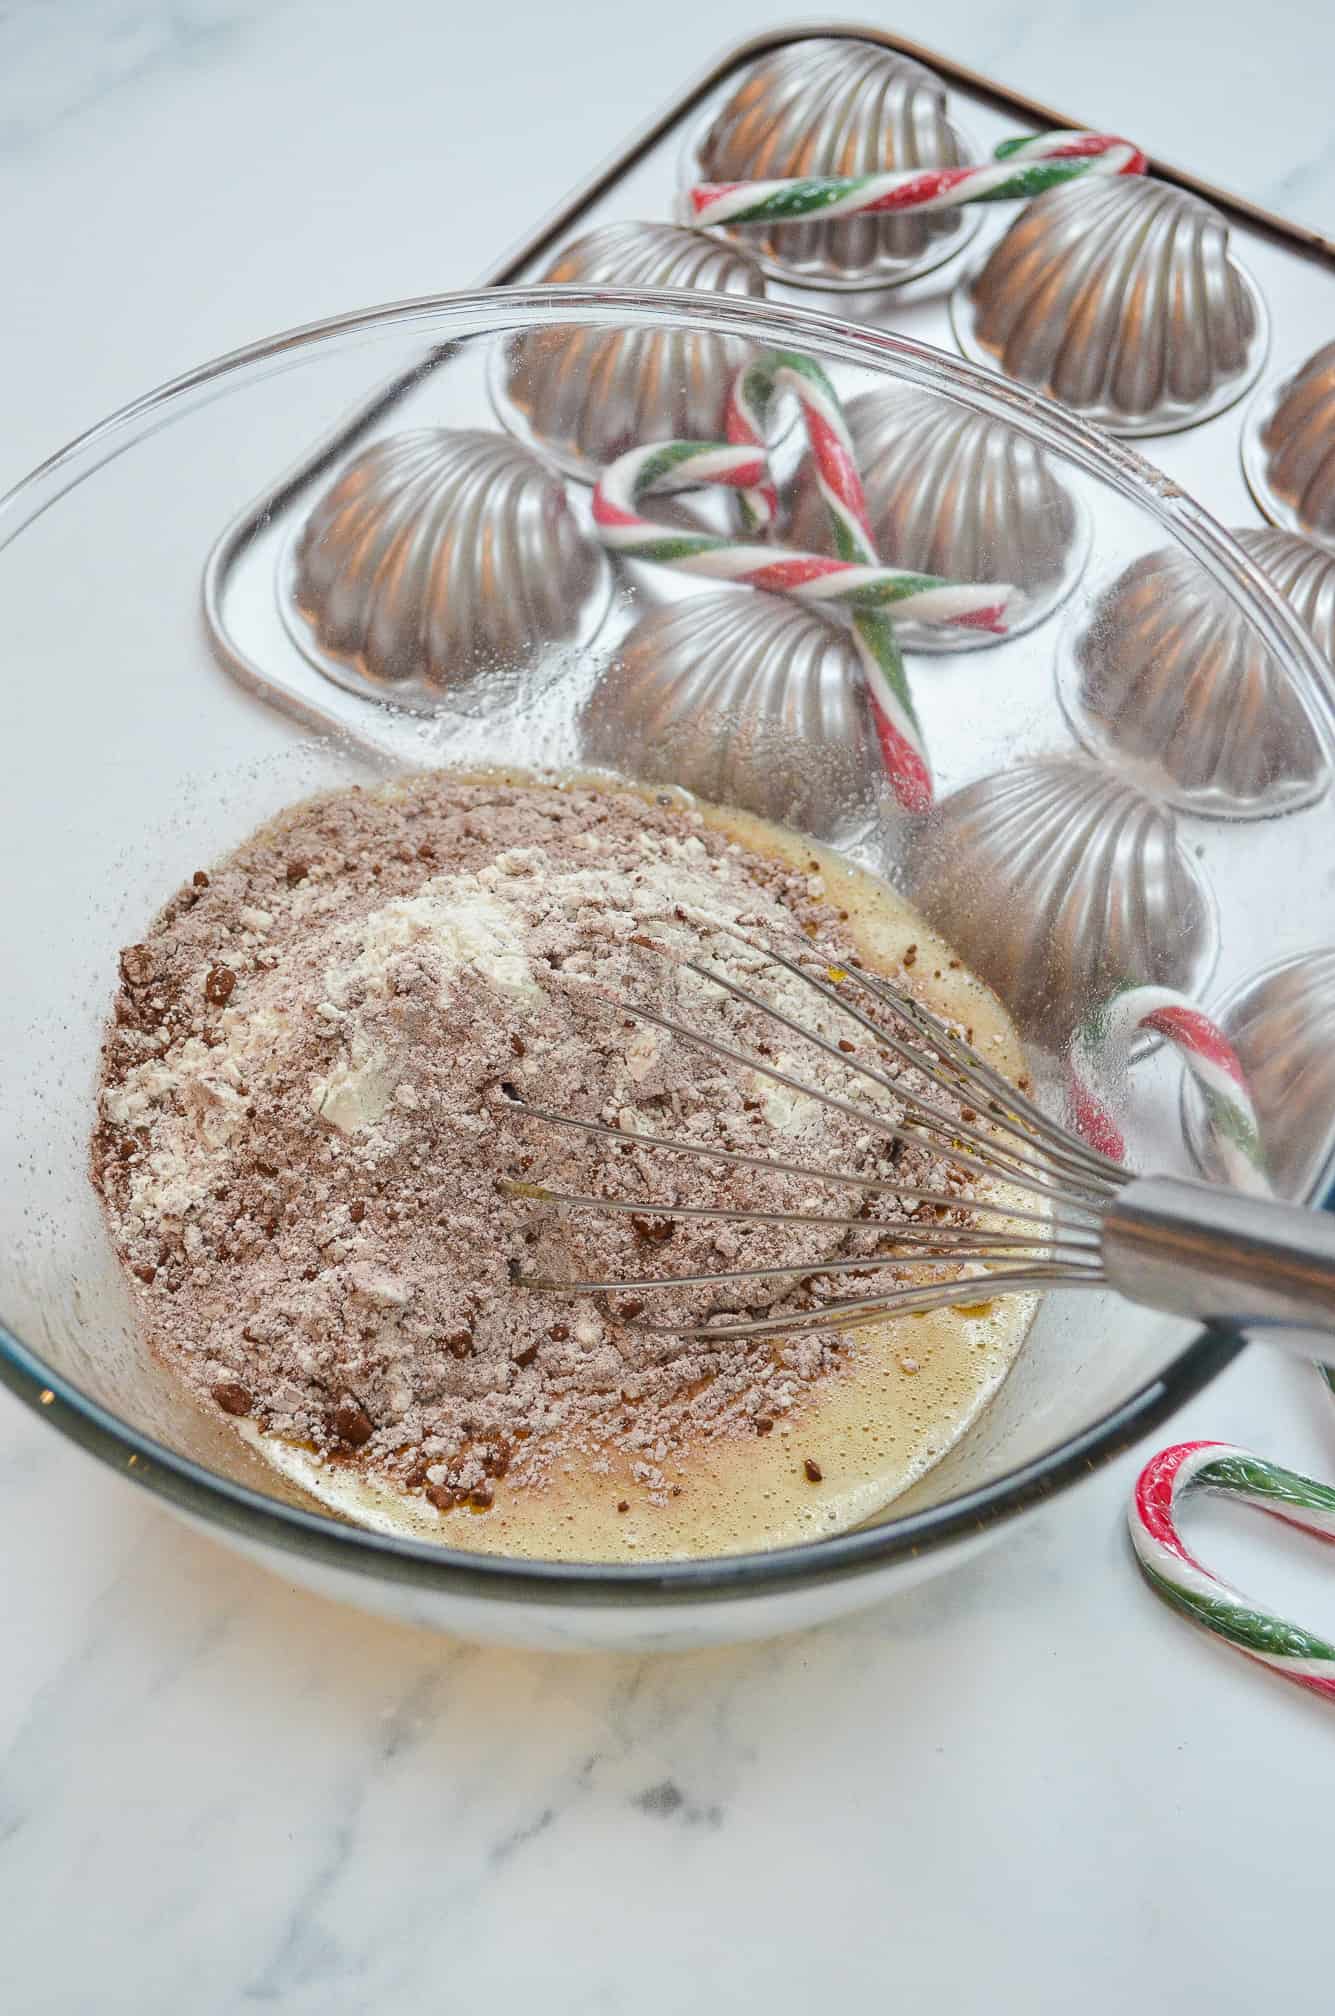
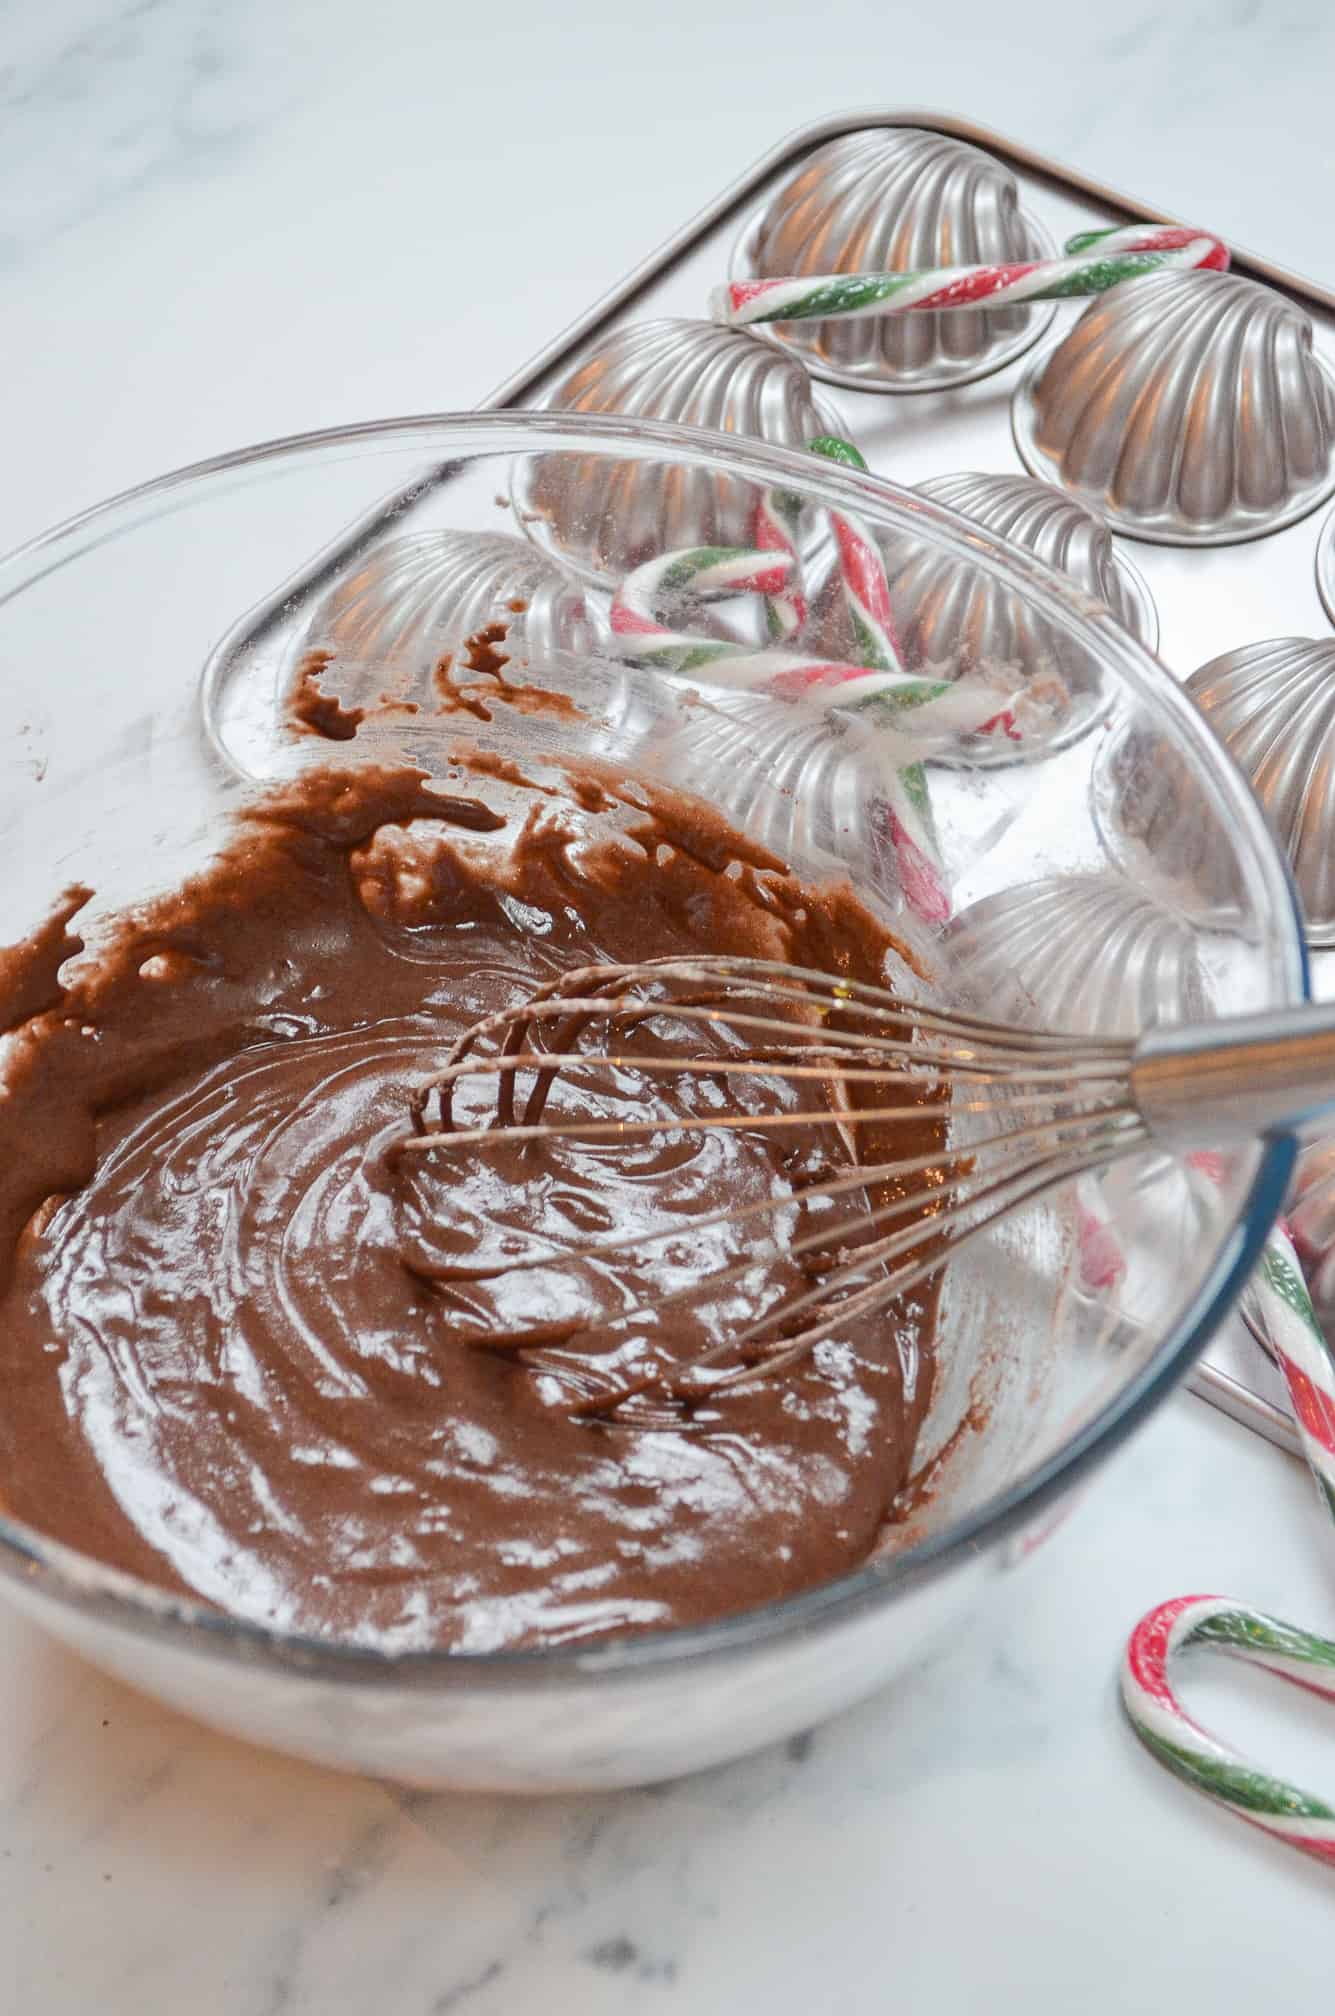
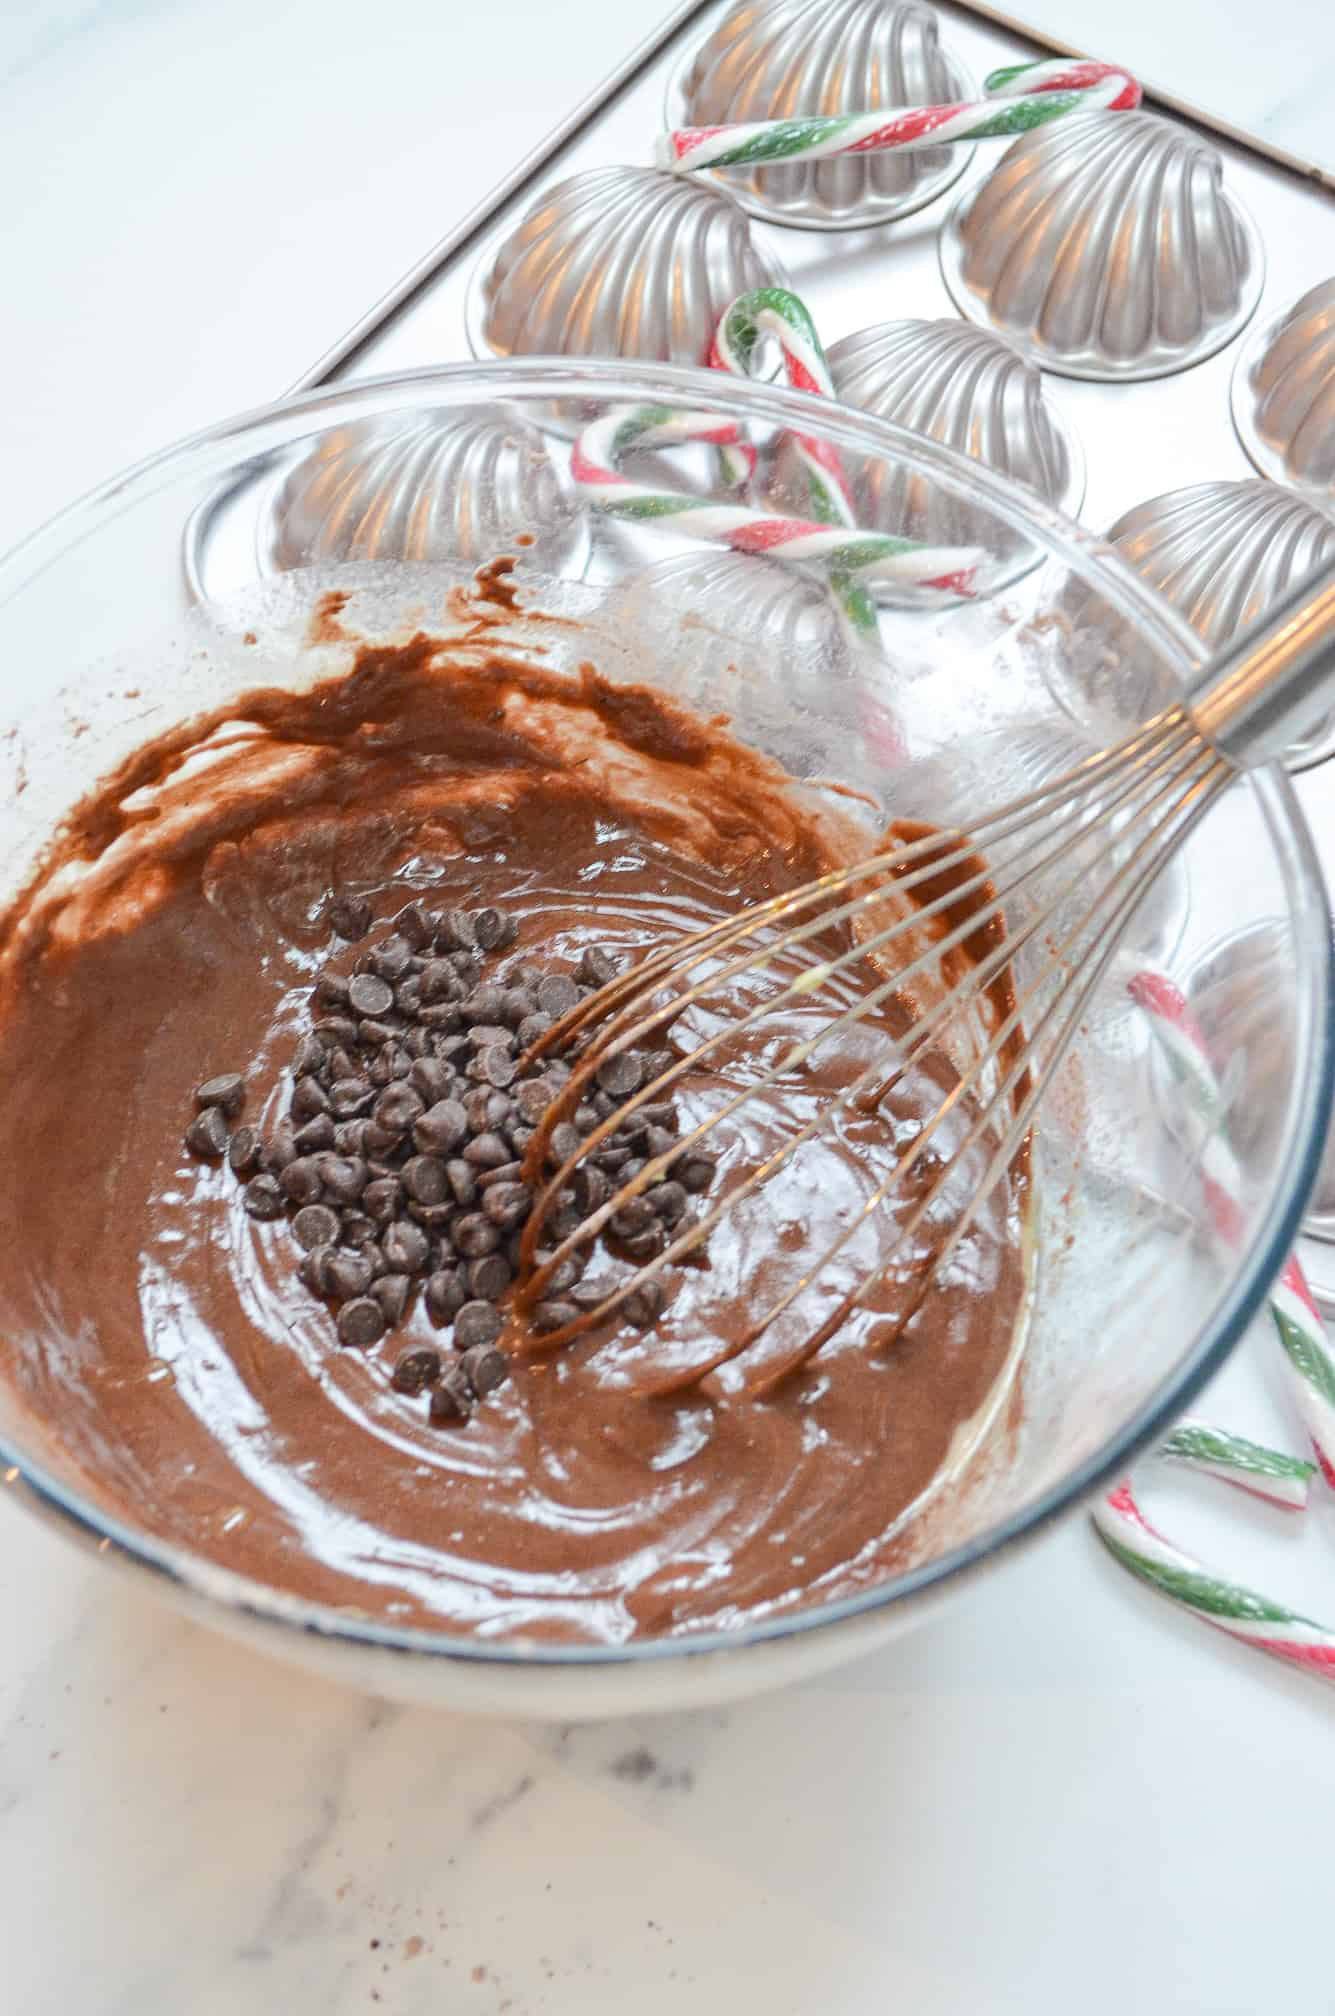
Then you can whisk in golden syrup – this helps to retain moisture in our madeleines and keep them soft. Next the dry ingredients are added – plain flour, baking powder and cocoa powder. Finally, you can whisk in the lukewarm melted butter and then the chocolate chips. And thats it, your madeleine batter is ready. But not ready to bake!
The distinctive ‘hump’ you see in madeleines is made from the harsh contrast of cold batter to hot oven. So first we must chill our batter, for around an hour. I found this gives the best results – any longer and the butter would start solidifying again. I also chilled my batter directly into a piping bag, so I could pipe straight into the prepared mould, but if you don’t have a piping bag you can just chill it in the bowl.
Baking the madeleines
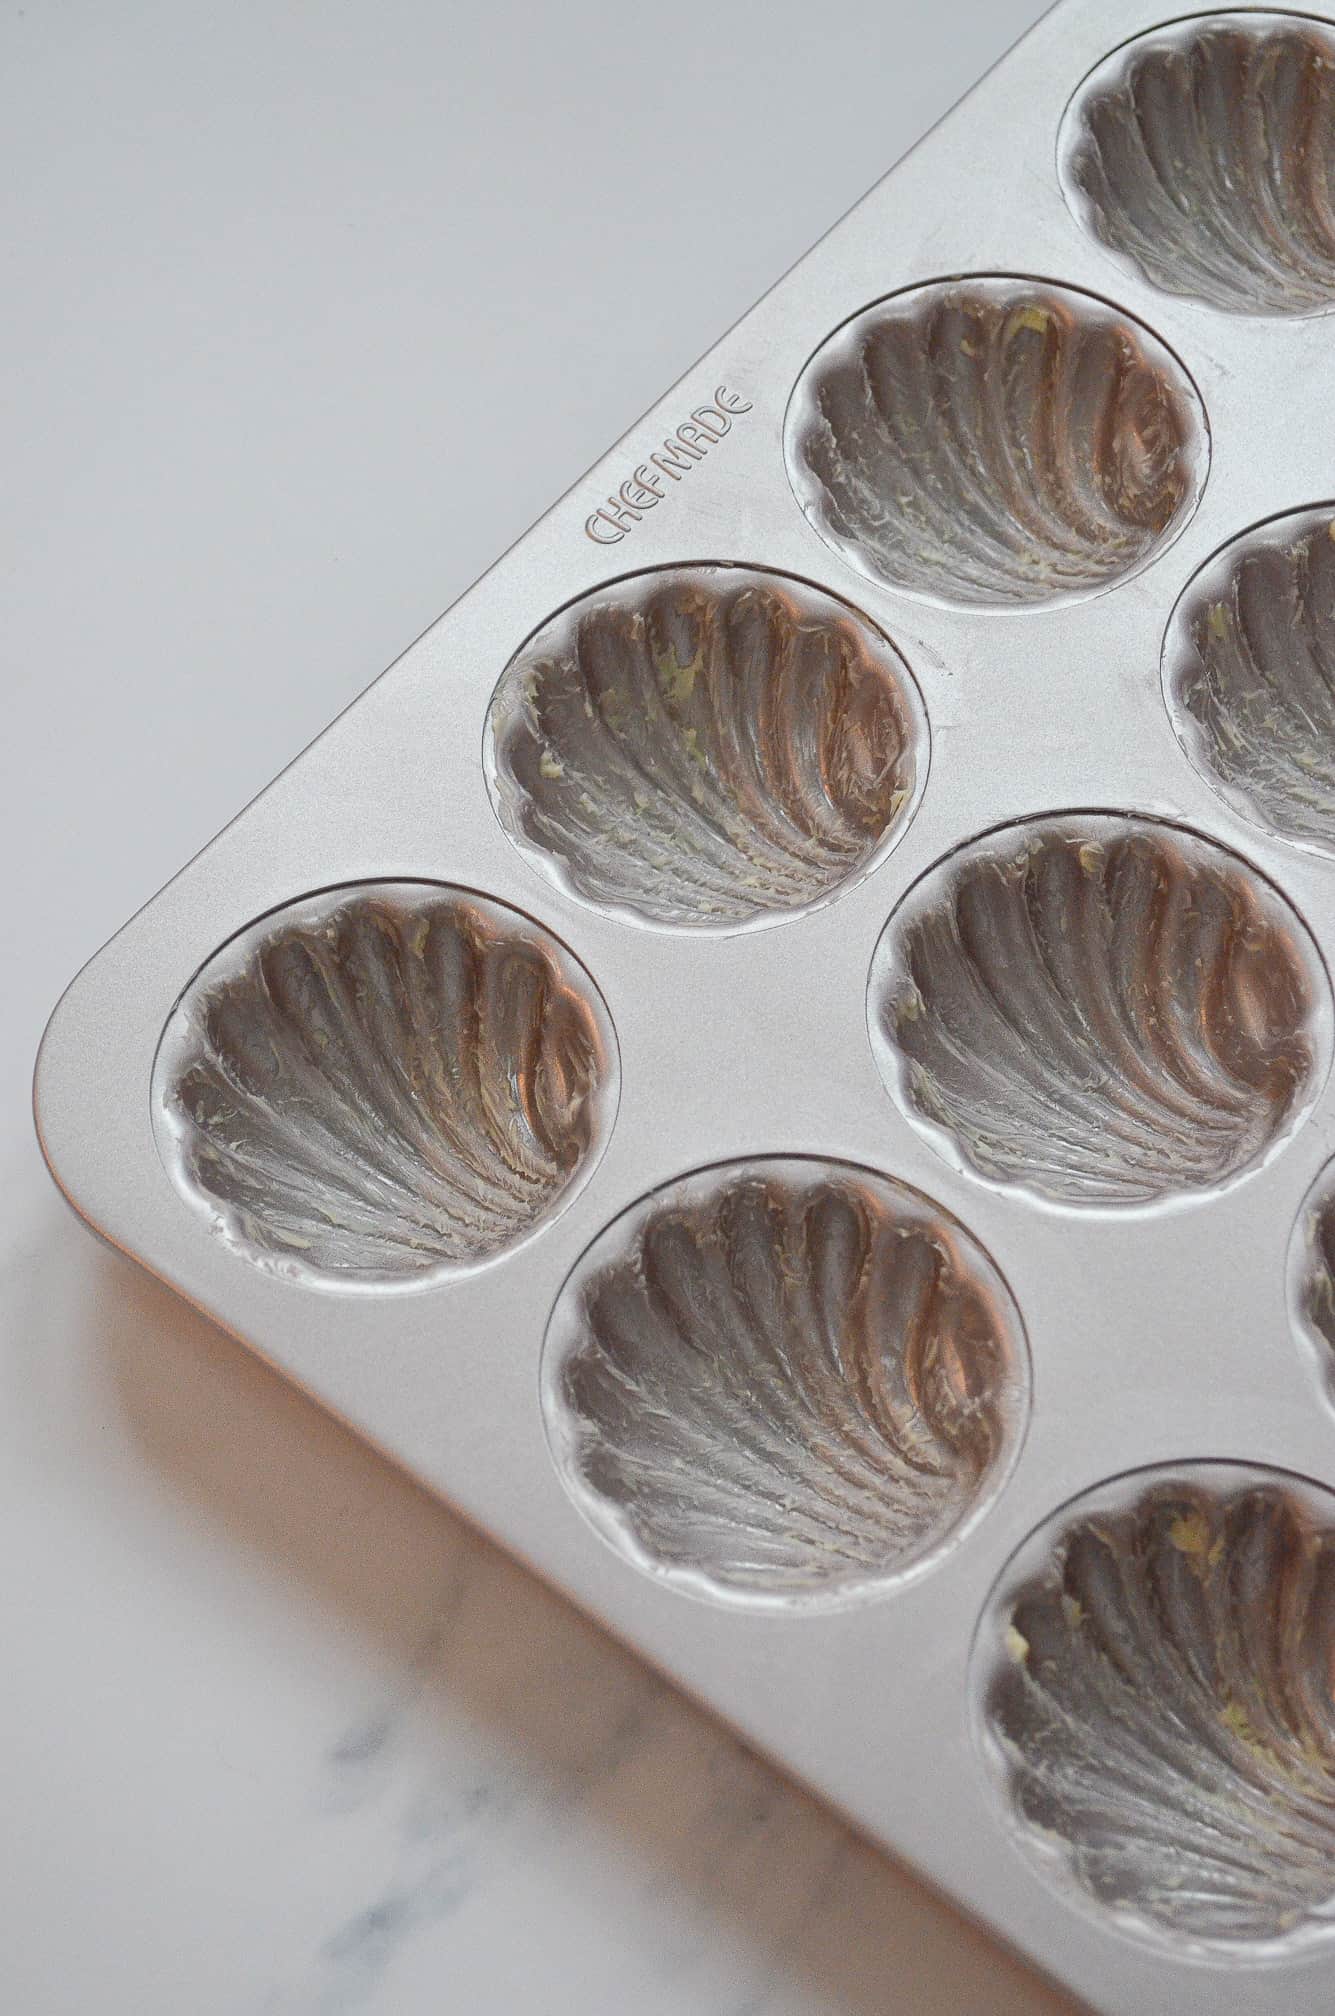
While your batter is chilling, you need to prepare the madeleine pan. Even with a non-stick pan, I still like to butter it to ensure absolutely nothing sticks. I find it easiest to do this with a pastry brush, so you can really get into the crevices of the pan. Then you’re ready to add the batter.
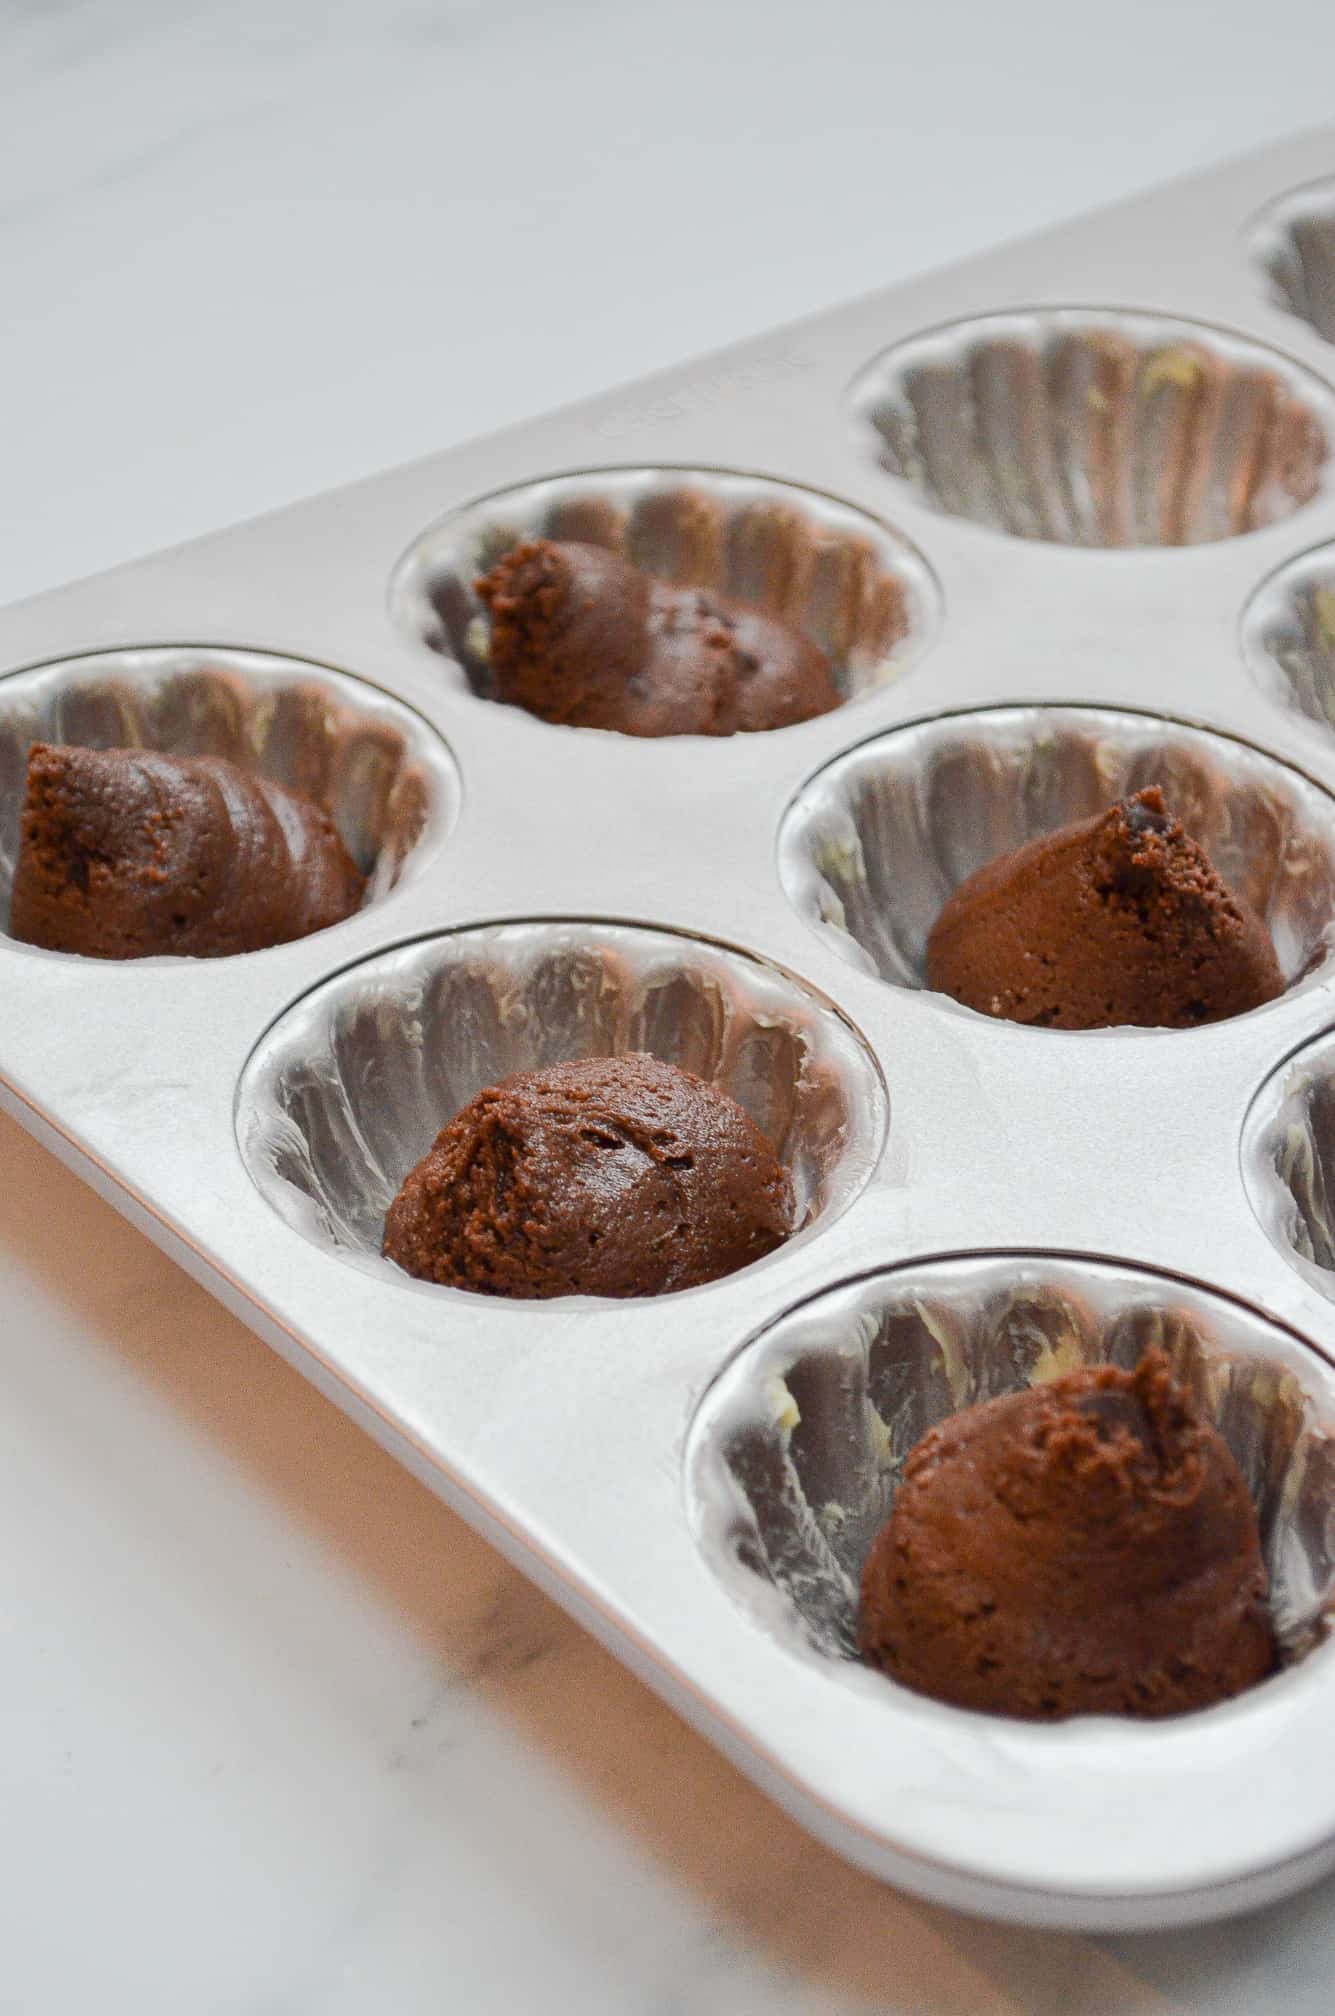
Either with a piping bag, or a spoon, divide the batter evenly between each madeleine shell. You don’t need to worry about spreading the batter, as it will spread as soon as it’s the oven. You just want to pipe/spoon it in as quickly as possible, and get it into the oven.
Madeleines cook at a high temperature, so they don’t need long in the oven. I’ve put 12-14 minutes down as a guide, as every oven is different. But you’re looking for the distinctive hump to appear to know that they’re done. Then you want to remove them from the oven and turn them out onto a cooling rack straight away. This is different to a regular sponge cake which you would keep in the tin for a a little while before removing. As the madeleines are so small, you want to stop the cooking process straight away.
Decorating the madeleines
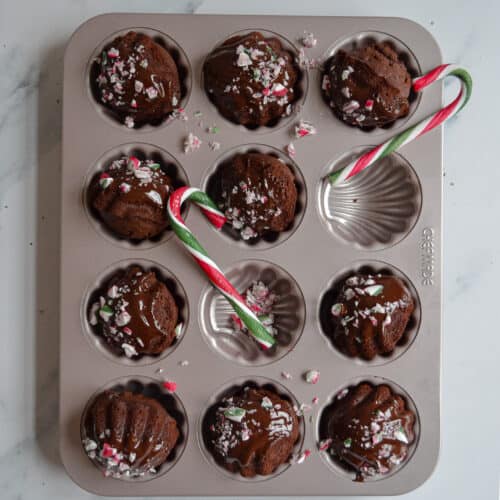
To decorate, you simply need to melt the dark chocolate and crush the candy canes. You can either melt the chocolate in a microwave in 30-second increments, or over a bain-marie. For the candy canes, I found it easiest to place them into a sealed sandwich bag and then use a rolling pin to crush them.
You can then dip the madeleines into the melted dark chocolate, shell side down to thinly coat. Then place them onto baking paper to set and sprinkle over the crushed candy canes. Repeat the process for all the madeleines and then either leave to set, or dig in straight away!
As I said above, madeleines are best served same day, but I still found them delicious when the chocolate was still not quite set and when it was set hard. The sponge is soft and light, with a crisp outer shell, and the chewy minty candy canes on top are the perfect contrast.

Tips & Tricks
This is likely due to the eggs not being beaten well enough, or due to the batter being chilled too long and the butter solidifying.
If they aren’t all eaten on the day of baking, you can keep madeleines in an air-tight container at room temperature. As with most cakes, you shouldn’t keep it in the fridge!
No. Madeleines are best served on the day of making, so they’re not a good make-ahead dessert. However! You can make the batter up to two days in advance, kept in the fridge. Your batter may not rise as much in the oven, but they will last better this way than baking them in advance.

If you’re a madeleine fan already, you’ll love this mint chocolate version. And if you’ve never tried a madeleine before, you’re about to get converted! The festive touch of chocolate and candy canes really makes these madeleines something special, and they look so cute! I really hope you love them too 🙂
You may also like:
Chocolate Candy Cane Madeleines
Ingredients
Madeleines
- 115 g unsalted butter plus more for greasing the tin
- 2 large eggs
- 1/2 tsp mint extract
- 90 g caster sugar
- 2 tbsp golden syrup or honey
- 140 g plain flour
- 1 tsp baking powder
- 20 g cocoa powder
- 40 g dark chocolate chips
Decoration
- 100 g dark chocolate
- 3 candy canes
Instructions
- For the madeleine batter: Firstly, place the butter in a small saucepan over a medium-low heat and cook until melted. Then remove from the heat and set aside. Then in a large bowl, whisk together the eggs and mint extract until well combined. Then whisk in the sugar, until well combined and lighter in colour. Then whisk in the golden syrup.
- In a separate small bowl, whisk together the flour, baking powder and cocoa powder until combined. Then whisk into the egg mixture until smooth. Finally, whisk in the lukewarm melted butter and then the chocolate chips. Place the mixture into a piping bag, and place into the fridge to chill for one hour. (If you don't have a piping bag, keep the mixture in the bowl and place a sheet of clingfilm directly on the surface of the batter).
- While the batter is chilling, using a pastry brush, brush the madeleine pan with the butter, ensuring you grease all the crevices. And preheat the oven to 210C/190C Fan/Gas Mark 8.
- Pipe (or spoon) the chilled batter into your prepared madeleine tin, dividing evenly between all the shells. (You don't need to spread the mixture out, as it will spread when in the oven.) Bake for 12-14 minutes until a hump has formed, then remove from the oven and immediately turn the madeleines out onto a cooling rack.
- To decorate: While the madeleines are cooling, place the candy canes into a sealed sandwich bag and using a rolling pin, crush into small chunks. Then melt the dark chocolate in either a microwave in 30-second increments, or over a bain-marie. Dip the madeleines, shell side down, into the dark chocolate and place onto baking paper to set, sprinkling the crushed candy canes on top. Repeat the process for all of the madeleines.