These homemade jammy dodgers bring a touch of nostalgia to tea time. The sweet crumbly vanilla shortcake biscuit and tart, sticky raspberry jam filling. The perfect combination!
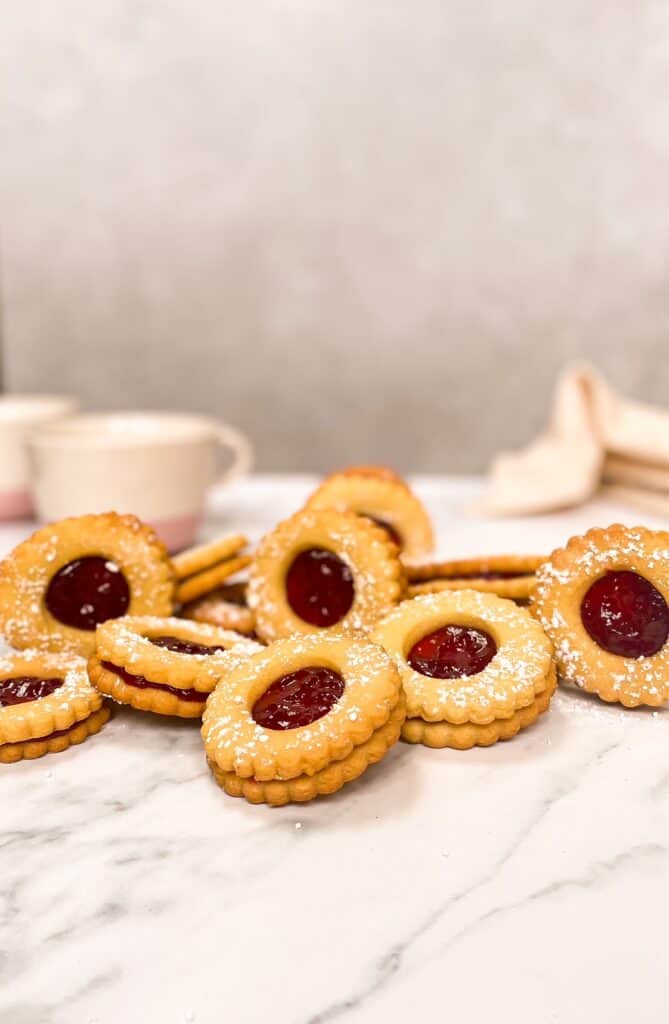
When I was researching jammy dodgers I found that they are mainly a British snack. But the linzer biscuit (which dodgers are a variation on) are very popular across the world, especially at Christmas time! So apparently us Brits just like to add a quirky name to things and eat them all year round 😉 I can’t say I blame us..!
The name jammy dodger is actually after Roger the Dodger from the Beano comics (according to the internet anyway!) – which if you’re under a certain age you might have no idea what I’m talking about! Either way, the name is super cute and recreating the biscuits was so fun, and of course delicious!
Key Ingredients You’ll Need
- Room Temperature Butter – The dough for these biscuits is very soft and sweet – think a sugar cookie! – so your butter has to be at room temperature to easily combine with the other ingredients. If you’ve forgotten to get it out of the fridge in time, place it in the microwave (without the foil packaging!) for a few seconds to soften – but be careful not to melt! If you don’t have a microwave, you can place it in a bowl of warm water too.
- Raspberry Jam – These jammy dodgers really are all about that sweet sticky filling, so use your favourite brand of raspberry jam! Or even a different flavoured jam if you’re not a raspberry fan – strawberry, apricot…even lemon curd would be delicious!
- Icing Sugar – A light dusting of icing sugar on top of the dodgers, is quite literally the icing on the cake for these! Aside from making the dodgers look even more aesthetically pleasing, icing sugar adds the most delicious sweetness to the vanilla biscuits.

How to make homemade jammy dodgers
These are super simple to make and don’t need any fancy machinery. Just a large bowl and either a wooden spoon or silicone spatula. You’ll also need some round fluted cookie cutters, though if you only have shaped cutters use them! There’s no reason why your jammy dodgers can’t be heart shaped, star shaped…I could go on! They’ll still be super delicious 🙂
Making the biscuit dough
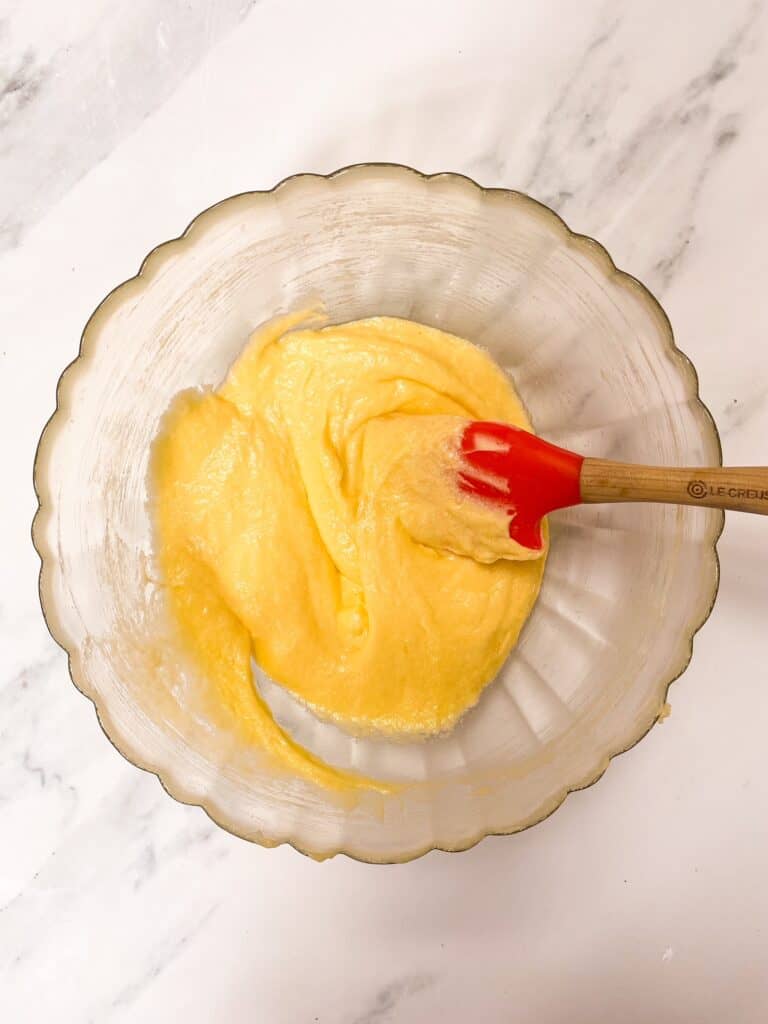
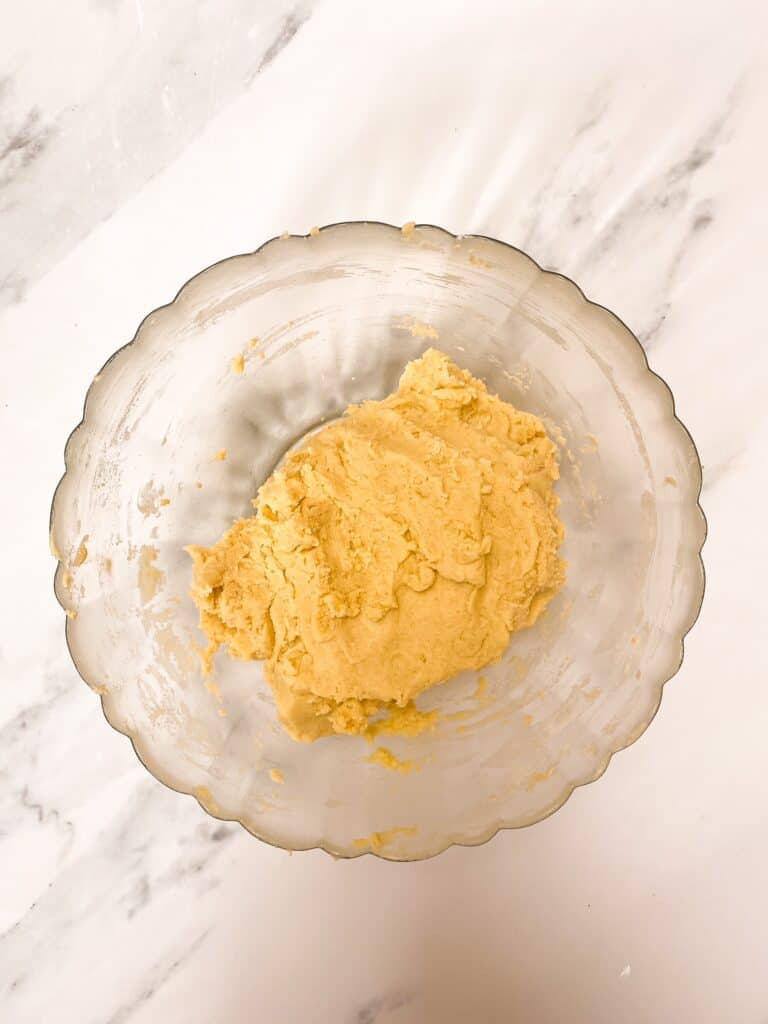
This biscuit dough is so easy to pull together, so long as your butter is at room temperature! It’ll honestly really help the ingredients to combine together, and won’t give you arm ache! So, the butter and sugar should be combined first, then the vanilla and egg added. Finally, the flour should be added. You might find it easier to combine the flour with your hands, to really ensure its combined well.
The dough will be very soft and pliable at this point, so it needs to be wrapped in clingfilm and placed in the fridge to chill for 1 hour.
Making the jammy dodger biscuit shapes
Once your dough is nicely chilled, you can begin rolling it out. I would advise to do this between two sheets of baking/greaseproof paper, as the dough will still be quite soft! I also rolled half of the dough out first, and kept the remaining half in the fridge – its often easier to work with a smaller amount of dough at a time, and means the other half stays nice and cold while you work.
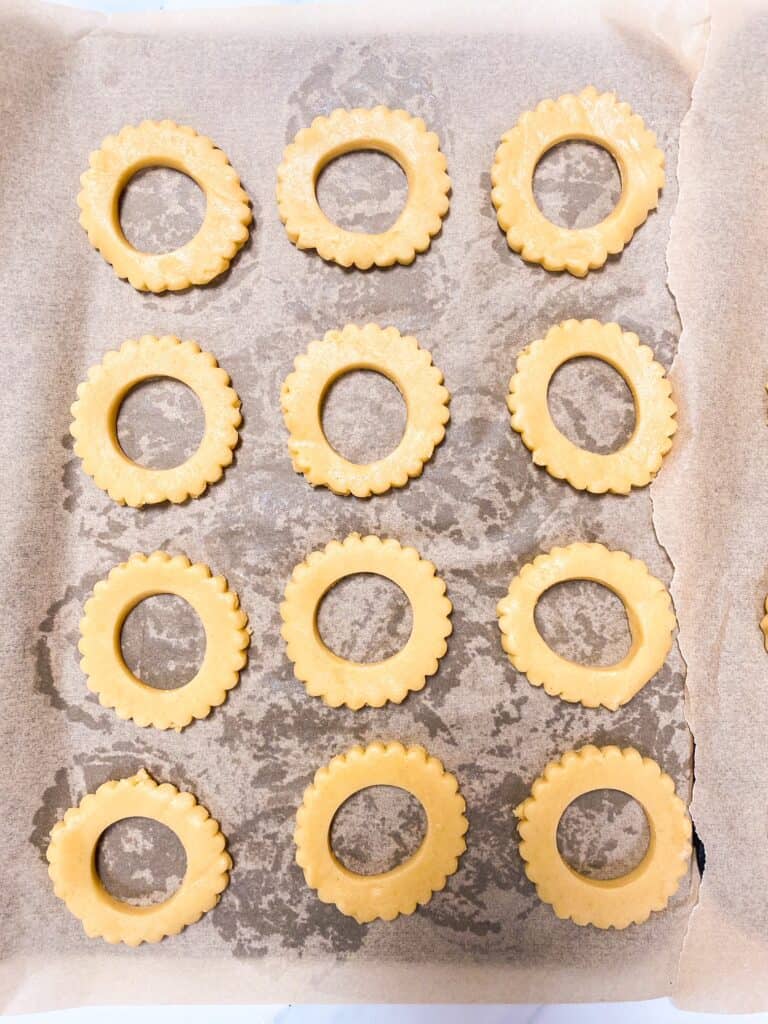
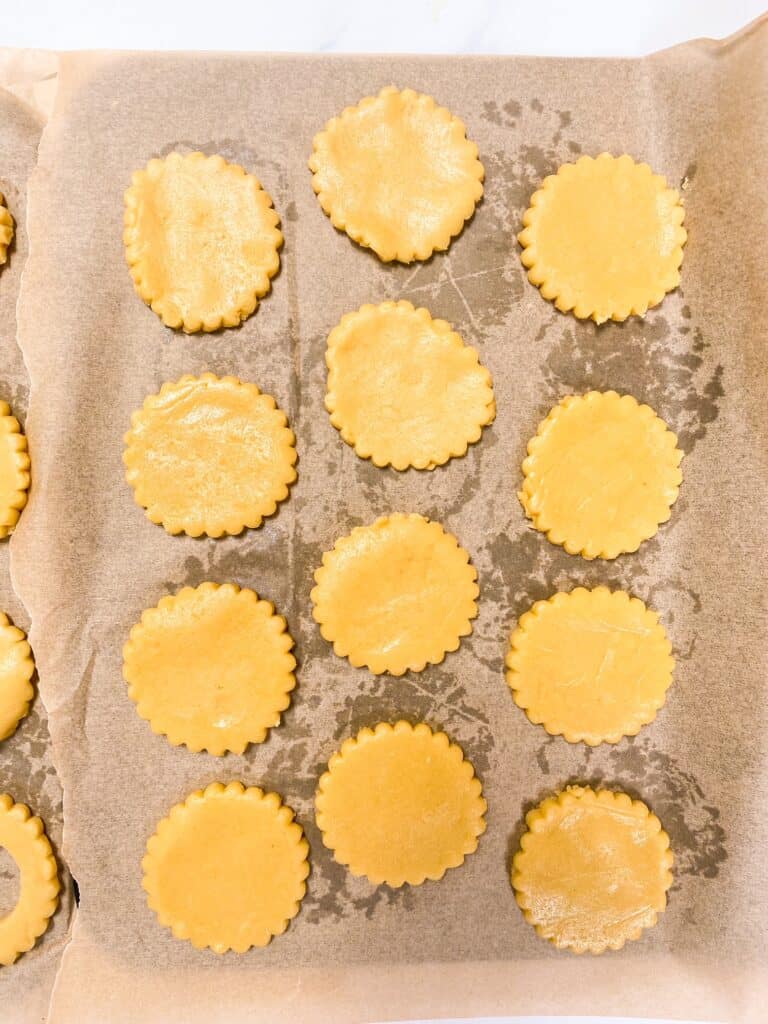
Once your dough is rolled to about 1/2cm thick, you can begin cutting out circles with a fluted 7cm cookie cutter. You want to cut out 24 circles in total (to make 12 sandwiches), so you may need to re-roll each half once. Once you have 24 circles, place these onto lined baking trays and chill them in the fridge for 5 minutes.
This 5 minute chill time, is just enough time to firm them up a little so you can then stamp out the centres of half of the circles. I used a large piping tip, but you can use anything that is approx. 3.5cm in diameter. The 12 circles that now have a hole in the middle, will make up the top of your jammy dodgers so you can see the jam inside.
Then the trays need to go back into the fridge to chill again for 20 minutes, or until very firm. This is what prevents your biscuits from spreading in the oven. As these will be sandwich biscuits, ensuring they don’t spread is even more important than usual as you will need to the biscuits to be similar size!
Assembling the jammy dodgers
Once your biscuits have been baked and cooled, you can begin assembly! Whenever I’m using jam or a spread in a bake, I always like to place it into a bowl first so you can stir it to loosen. This will make it much easier when you’re spreading the jam onto the biscuits, rather than spooning it straight from a jar.
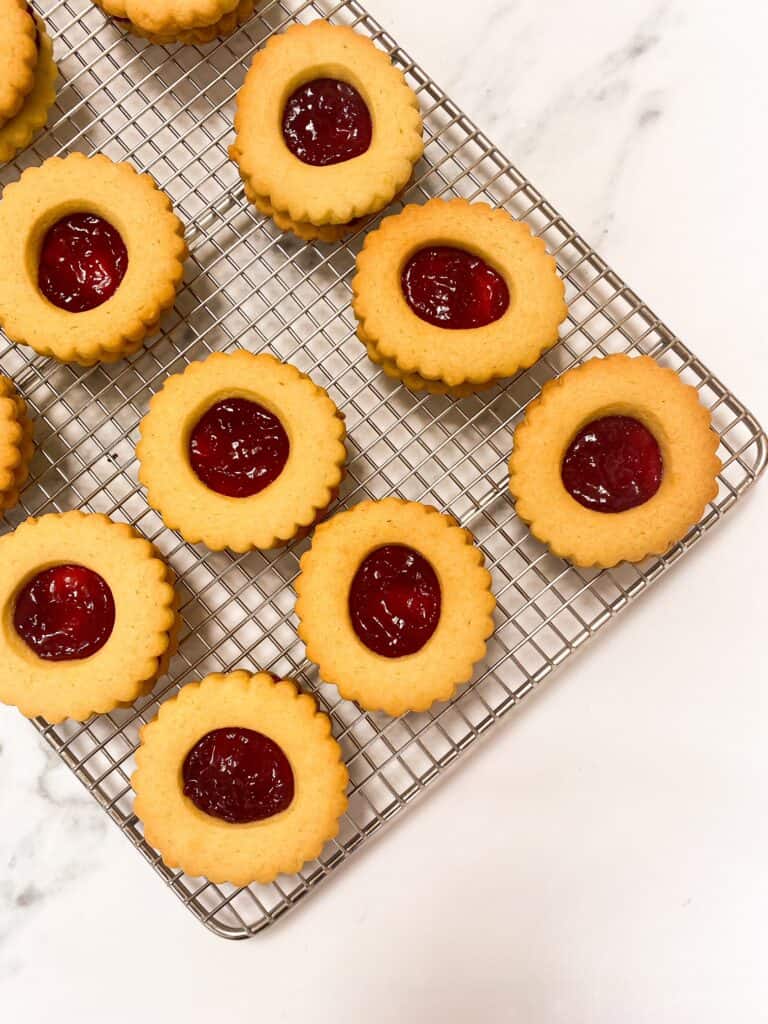
So firstly, match up your biscuits with a base and top (the biscuit with a hole) so size wise they look okay. Then spread a thin layer of jam onto each of the base biscuits, and press the top biscuit down on each with a little pressure to seal.
Finally, dust icing sugar over the finished jammy dodgers, and you’re ready to devour!
Tips & Tricks
Chilling biscuit dough sufficiently stops the biscuits from spreading in the oven and losing their shape. This is especially paramount when your biscuits are intricate designs, or in the case of jammy dodgers where they have a hole in the middle, as you want the design to remain intact.
Absolutely! A raspberry filling is the traditional flavour for a jammy dodger, but there’s nothing stopping you from experimenting and choosing your favourite jam flavour.
You can make the dough and keep it air-tight in the fridge for 2-3 days before using. This also means you could bake a half batch one day, and save the remaining half for a few days later if you wanted.
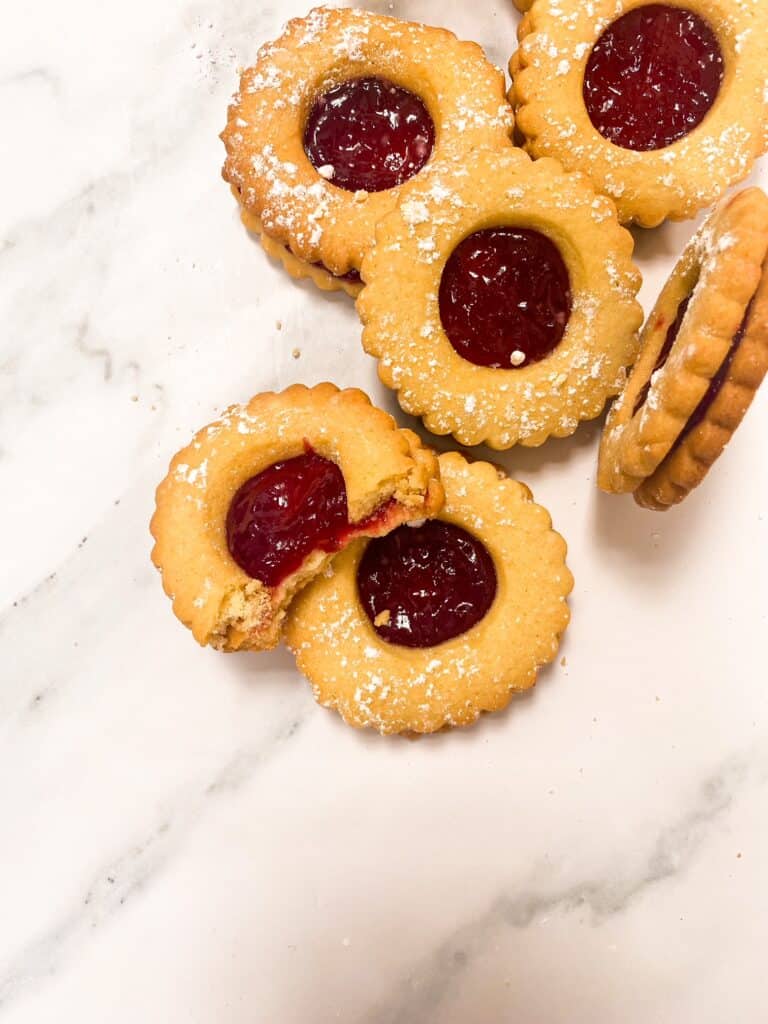
I really hope you love these homemade jammy dodgers as much as I do, and they bring you a touch of nostalgia! The biscuit is so soft, crumbly and perfectly sweet which pairs so well with the sharp tang of the raspberry jam. It adds just enough moisture to the biscuit, making them sooo moreish! And perfect with a cup of tea!!
You may also like:

Homemade Jammy Dodgers
Ingredients
Biscuits
- 150 g unsalted butter room temperature
- 150 g caster sugar
- 1 tsp vanilla extract
- 1 large egg
- 335 g plain flour
Filling
- 115 g raspberry jam
Decoration
- 1 tbsp icing sugar optional
Instructions
- For the biscuits: In a large bowl, using a wooden spoon or silicone spatula, beat the butter and sugar together until well combined and light. Then beat in the vanilla and egg, until well combined. Finally, beat in the flour – you may need to use your hands at this point to ensure the flour is evenly combined. Then flatten the dough into a disc shape, wrap in clingfilm and place into the fridge to chill for 1 hour.
- Preheat the oven to 180C/160C Fan/Gas Mark 4, and line two baking trays with baking paper. Remove the chilled dough from the fridge, and cut in half. Place one half back into the fridge while you work with the other half.
- Roll the half of dough out between two sheets of baking paper, until approx. 1/2cm thick. Then cut out 12 rounds with a 7cm fluted cookie cutter (you may need to re-roll the dough to be able to cut out all 12). Place these onto one of the lined baking trays. Then take the remaining half of dough from the fridge and repeat the process. Then place both trays back into the fridge for 5 minutes.
- Remove one tray from the fridge and using a 3.5 diameter piping tip or a very small cookie cutter, cut out the middle of 12 of the biscuit dough rounds. So you end up with 12 full circle biscuits, and 12 ring circle biscuits. Then place back into the fridge and chill both trays for 20 minutes, or until the dough is very firm.
- Bake the biscuits for 15 minutes until lightly golden brown. Leave to cool on the trays for a few minutes, before removing and placing on a cooling rack to cool completely.
- To assemble: Match up the biscuits so you have 12 sandwiches (one base circle, and one top ring). Spread the jam onto all 12 of the base biscuits, and press the top ring biscuit onto each to secure. Finally, dust with icing sugar before serving.
