I’ve never been a fan of party rings. One bad experience as a child has put me off for life – too many consumed at a birthday party, coupled with many a go on the bouncy castle and you can imagine the rest… I was not a happy Aimee needless to say! But! They are super cute and I see them all over Instagram – mainly in blondies or on towering layer cakes. So I thought I’d have a go at making my own version that aren’t quite as sickly sweet as the original. Which is where the ‘fancy’ element comes in!
The party ring dough is flavoured salted honey peanut and honestly I could have eaten the whole thing with a spoon. Its soooo good! I’m thinking I might develop some sort of recipe where I can include raw cookie dough in it, just to eat more of the stuff!
So hows a party ring made?
This is a superrrr soft dough, it’ll feel a little like cake mixture before you add in the flour, and even then it’ll still be super pliable. This means skipping the fridge stage is non-negotiable. I know its tempting when you just want to whip something up quickly, but you’ll end up in a sticky mess. Trust me. Fridge is best. With that being said, you’ll want to be fairly liberal in flouring your worksurface before you roll these out, as the dough will still be quite soft.
I find when making a dough (for biscuits or bread) the best advice I’ve heard is to take control. You created this dough, so don’t be scared to move it. I know that can sound silly, but quicker decisive movements are far better than being slow and hesitant. You’re way less likely to over-handle the dough this way.
Find the dough master inside yourself. Channel it. And you’ll do jussttt fine.
So what about the icing?
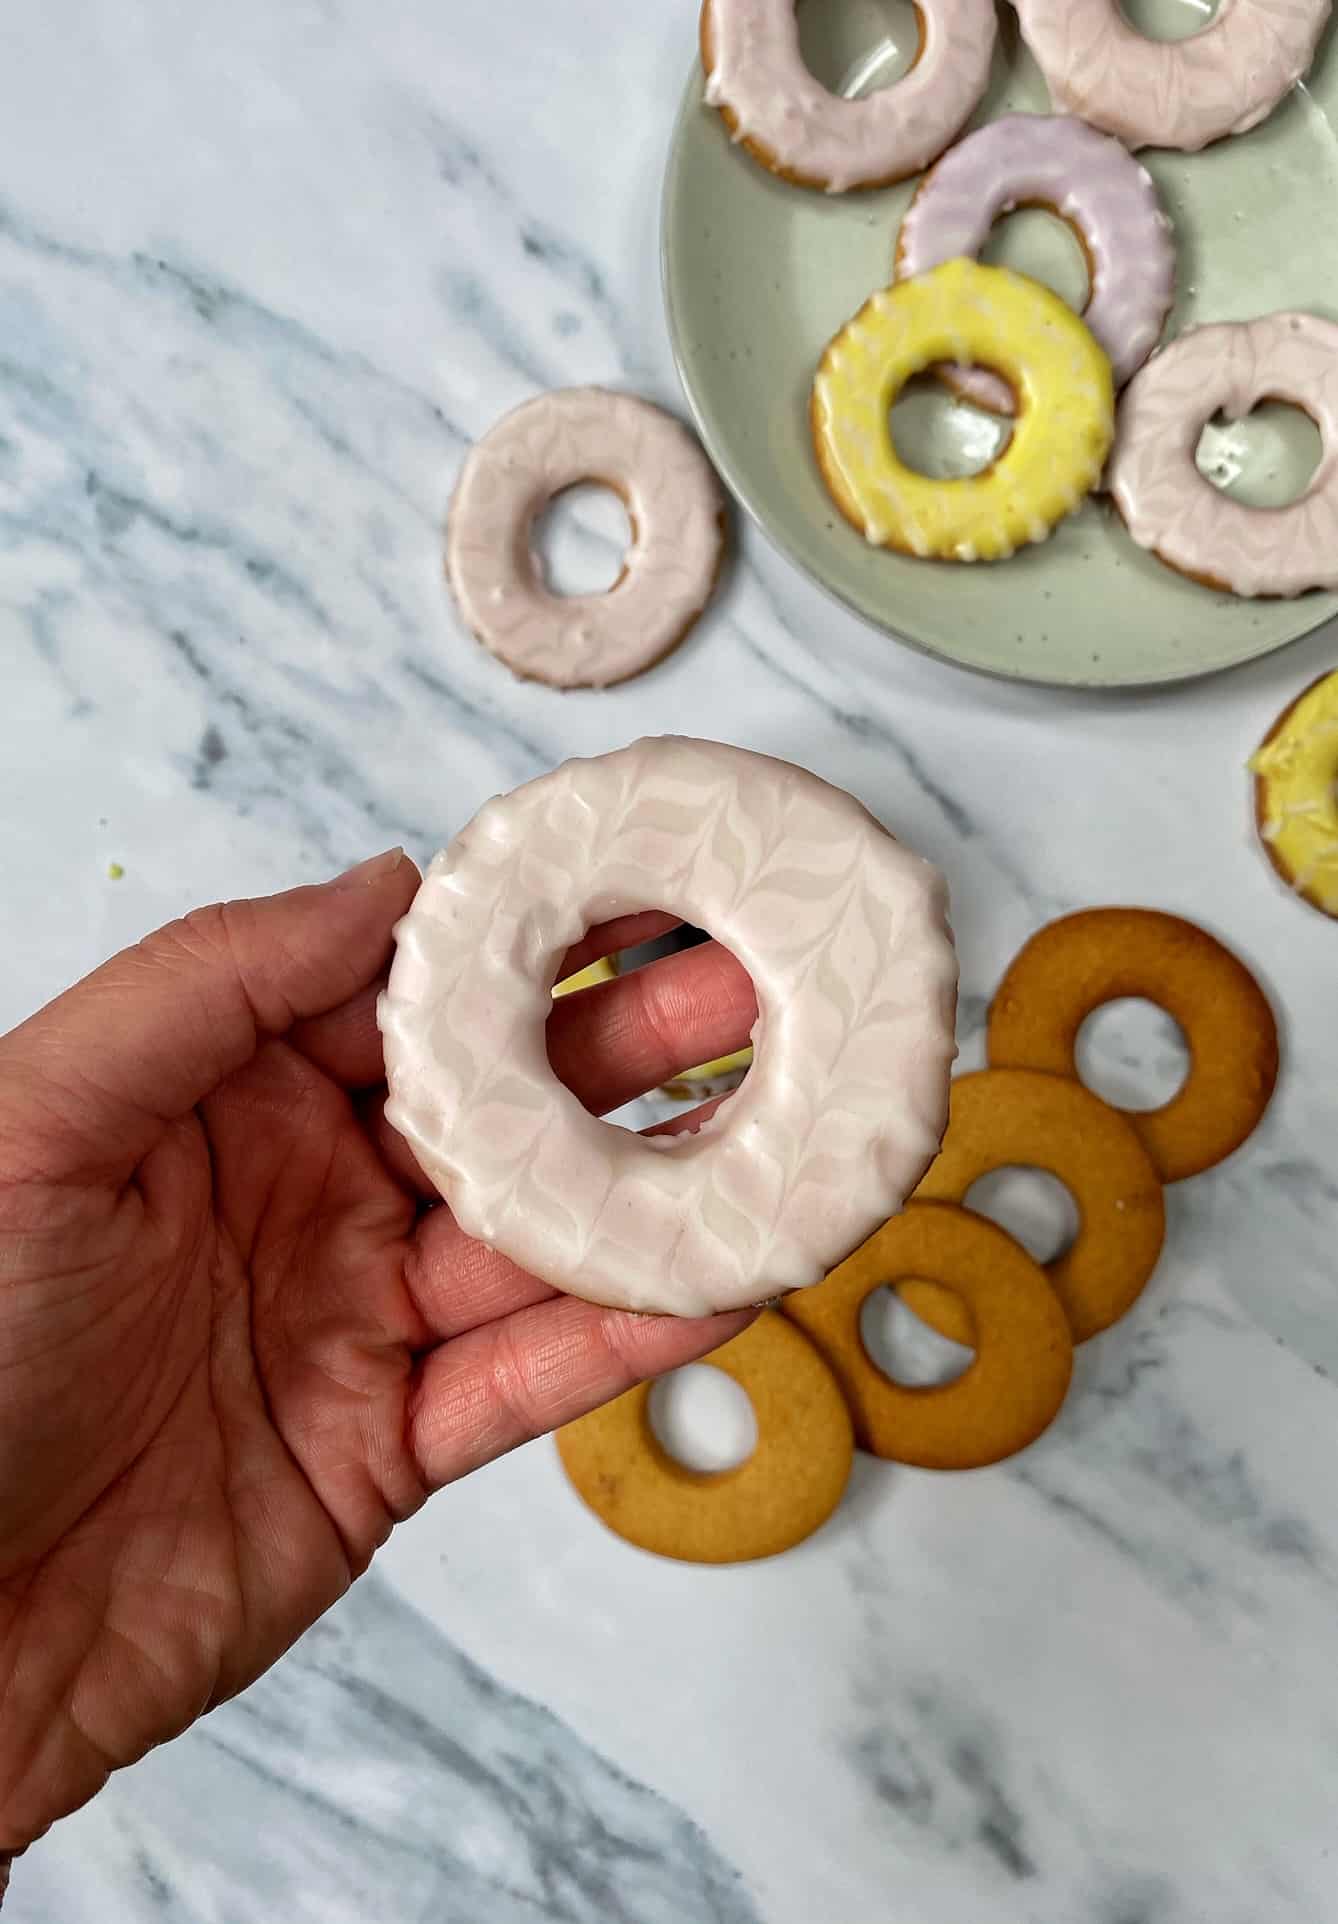
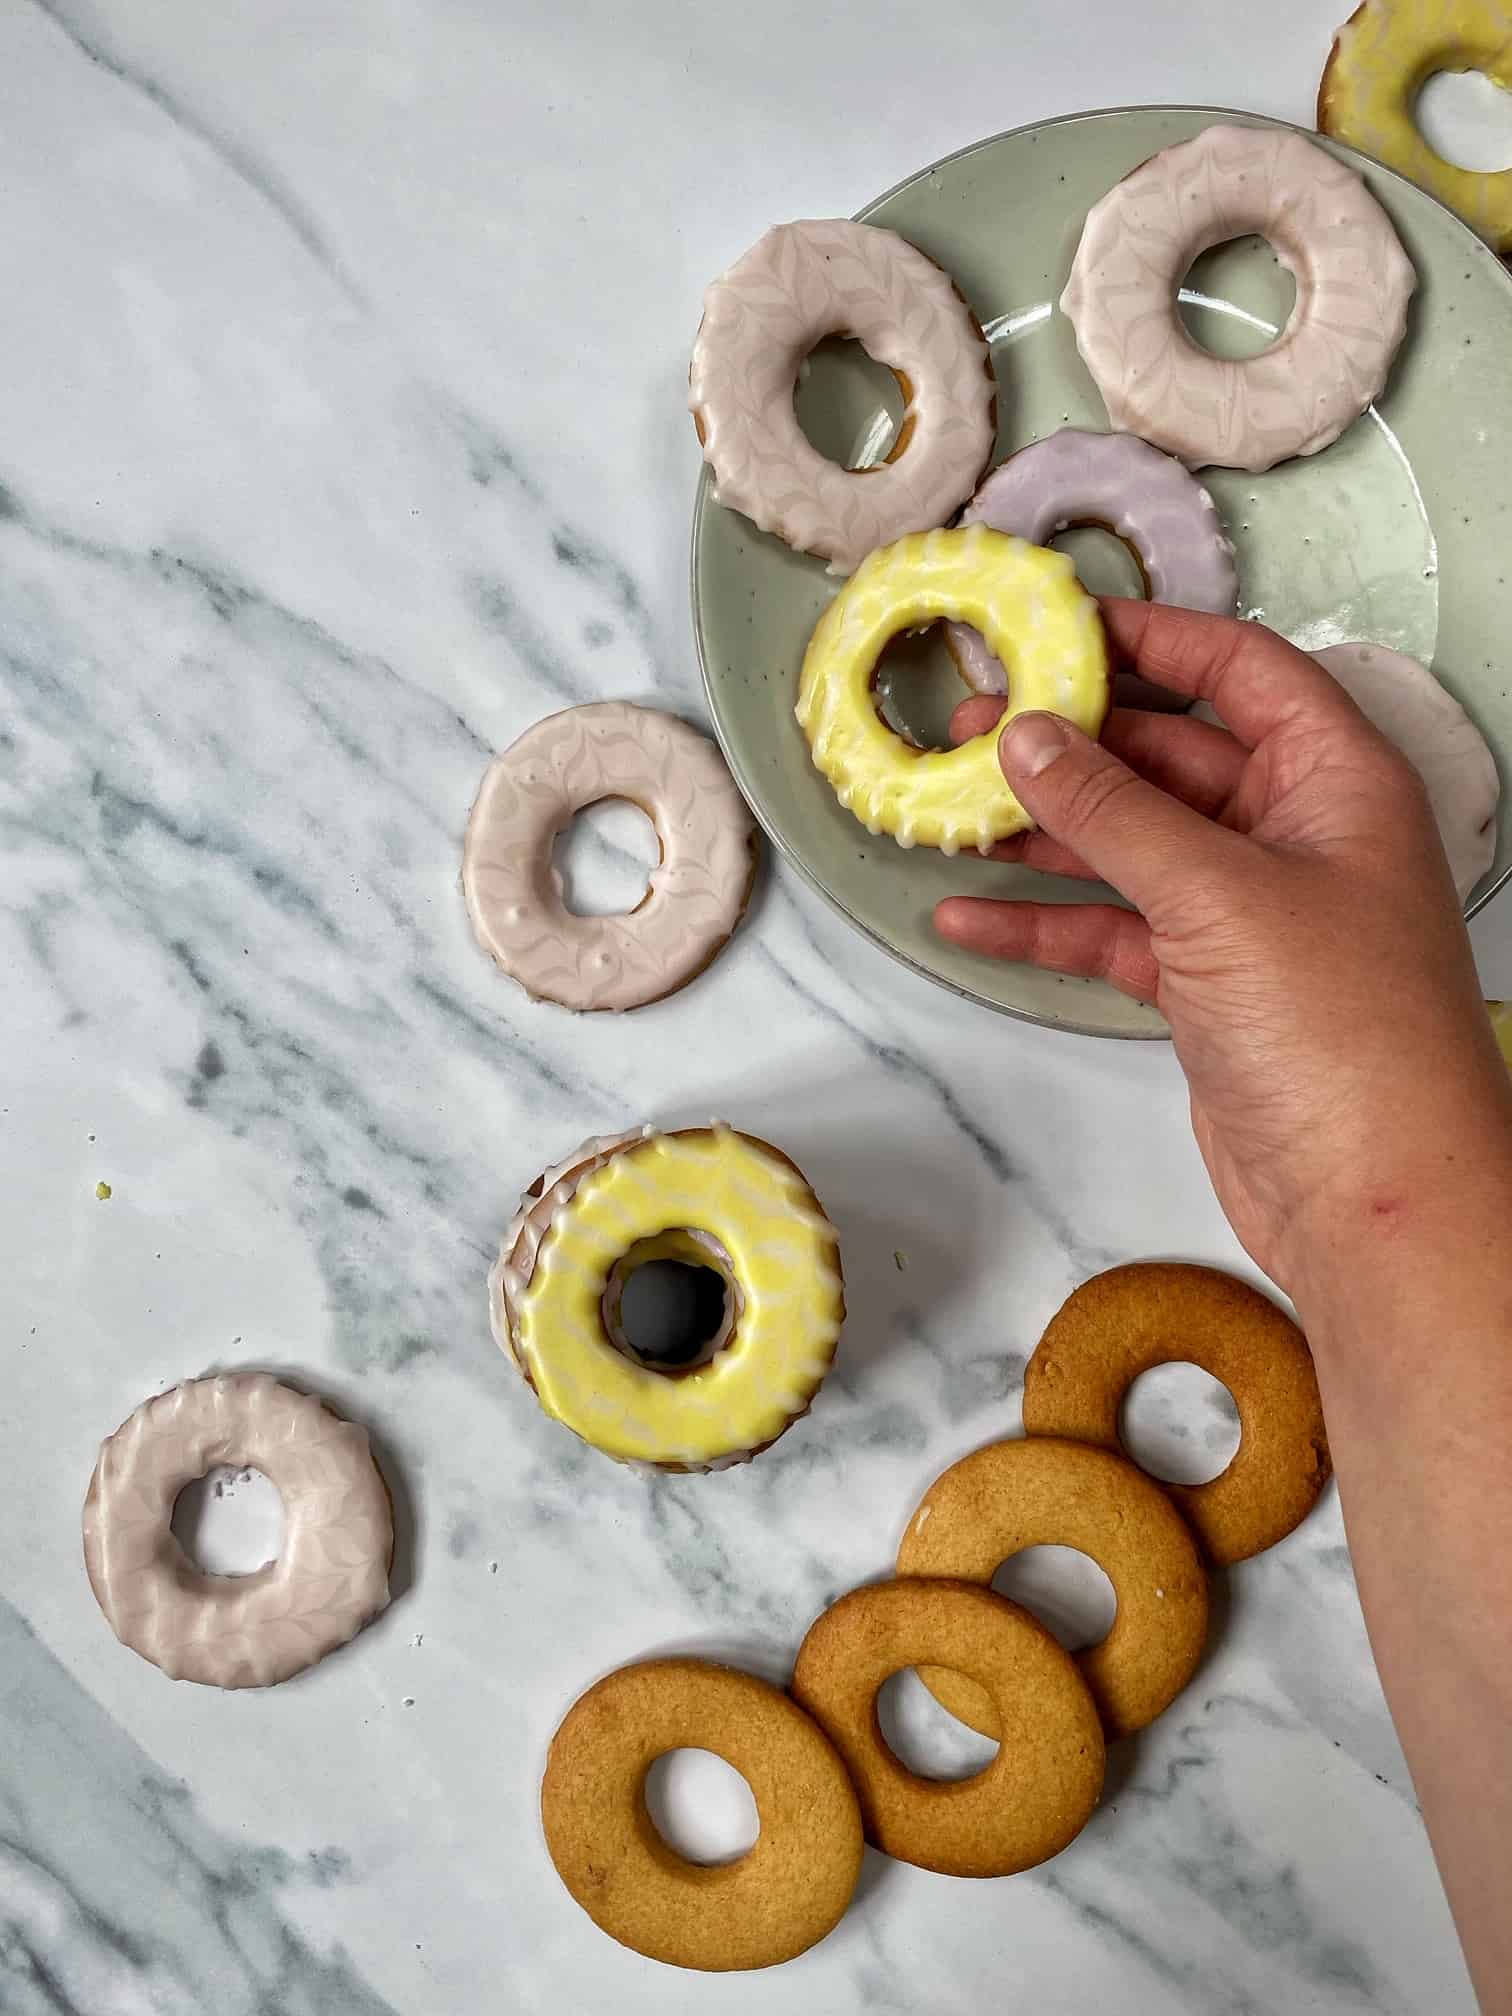
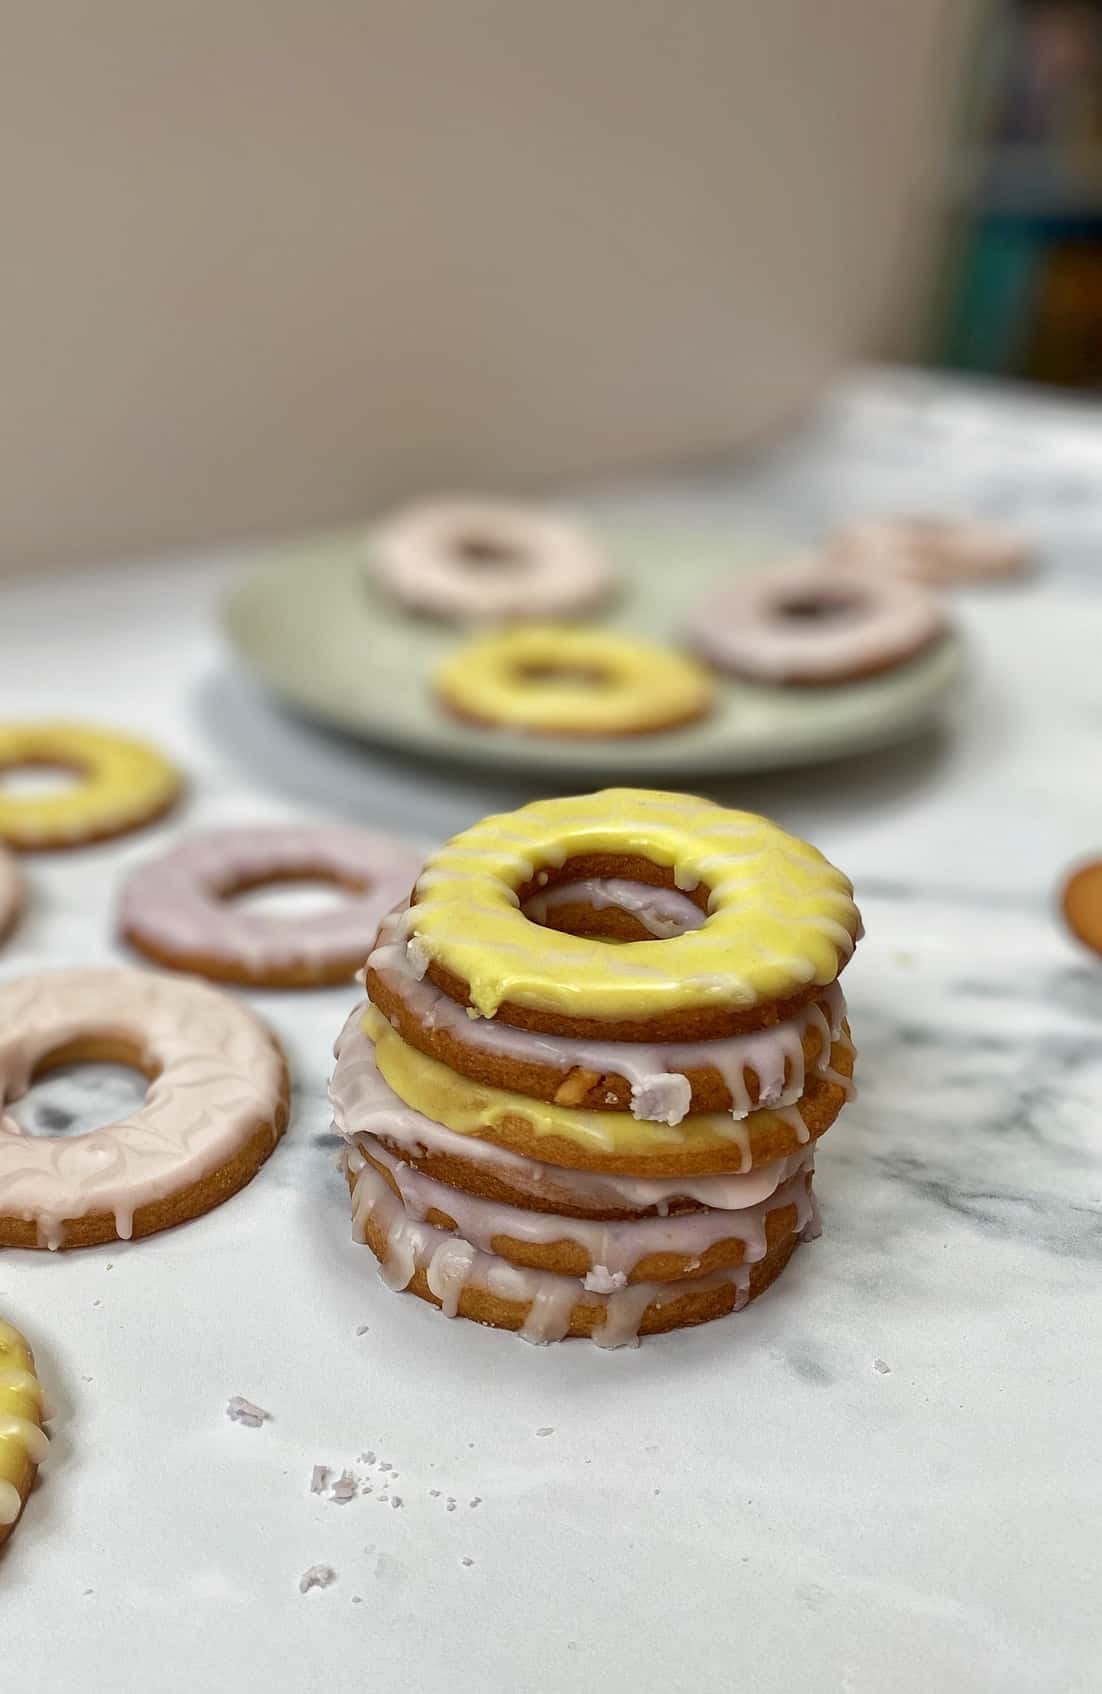
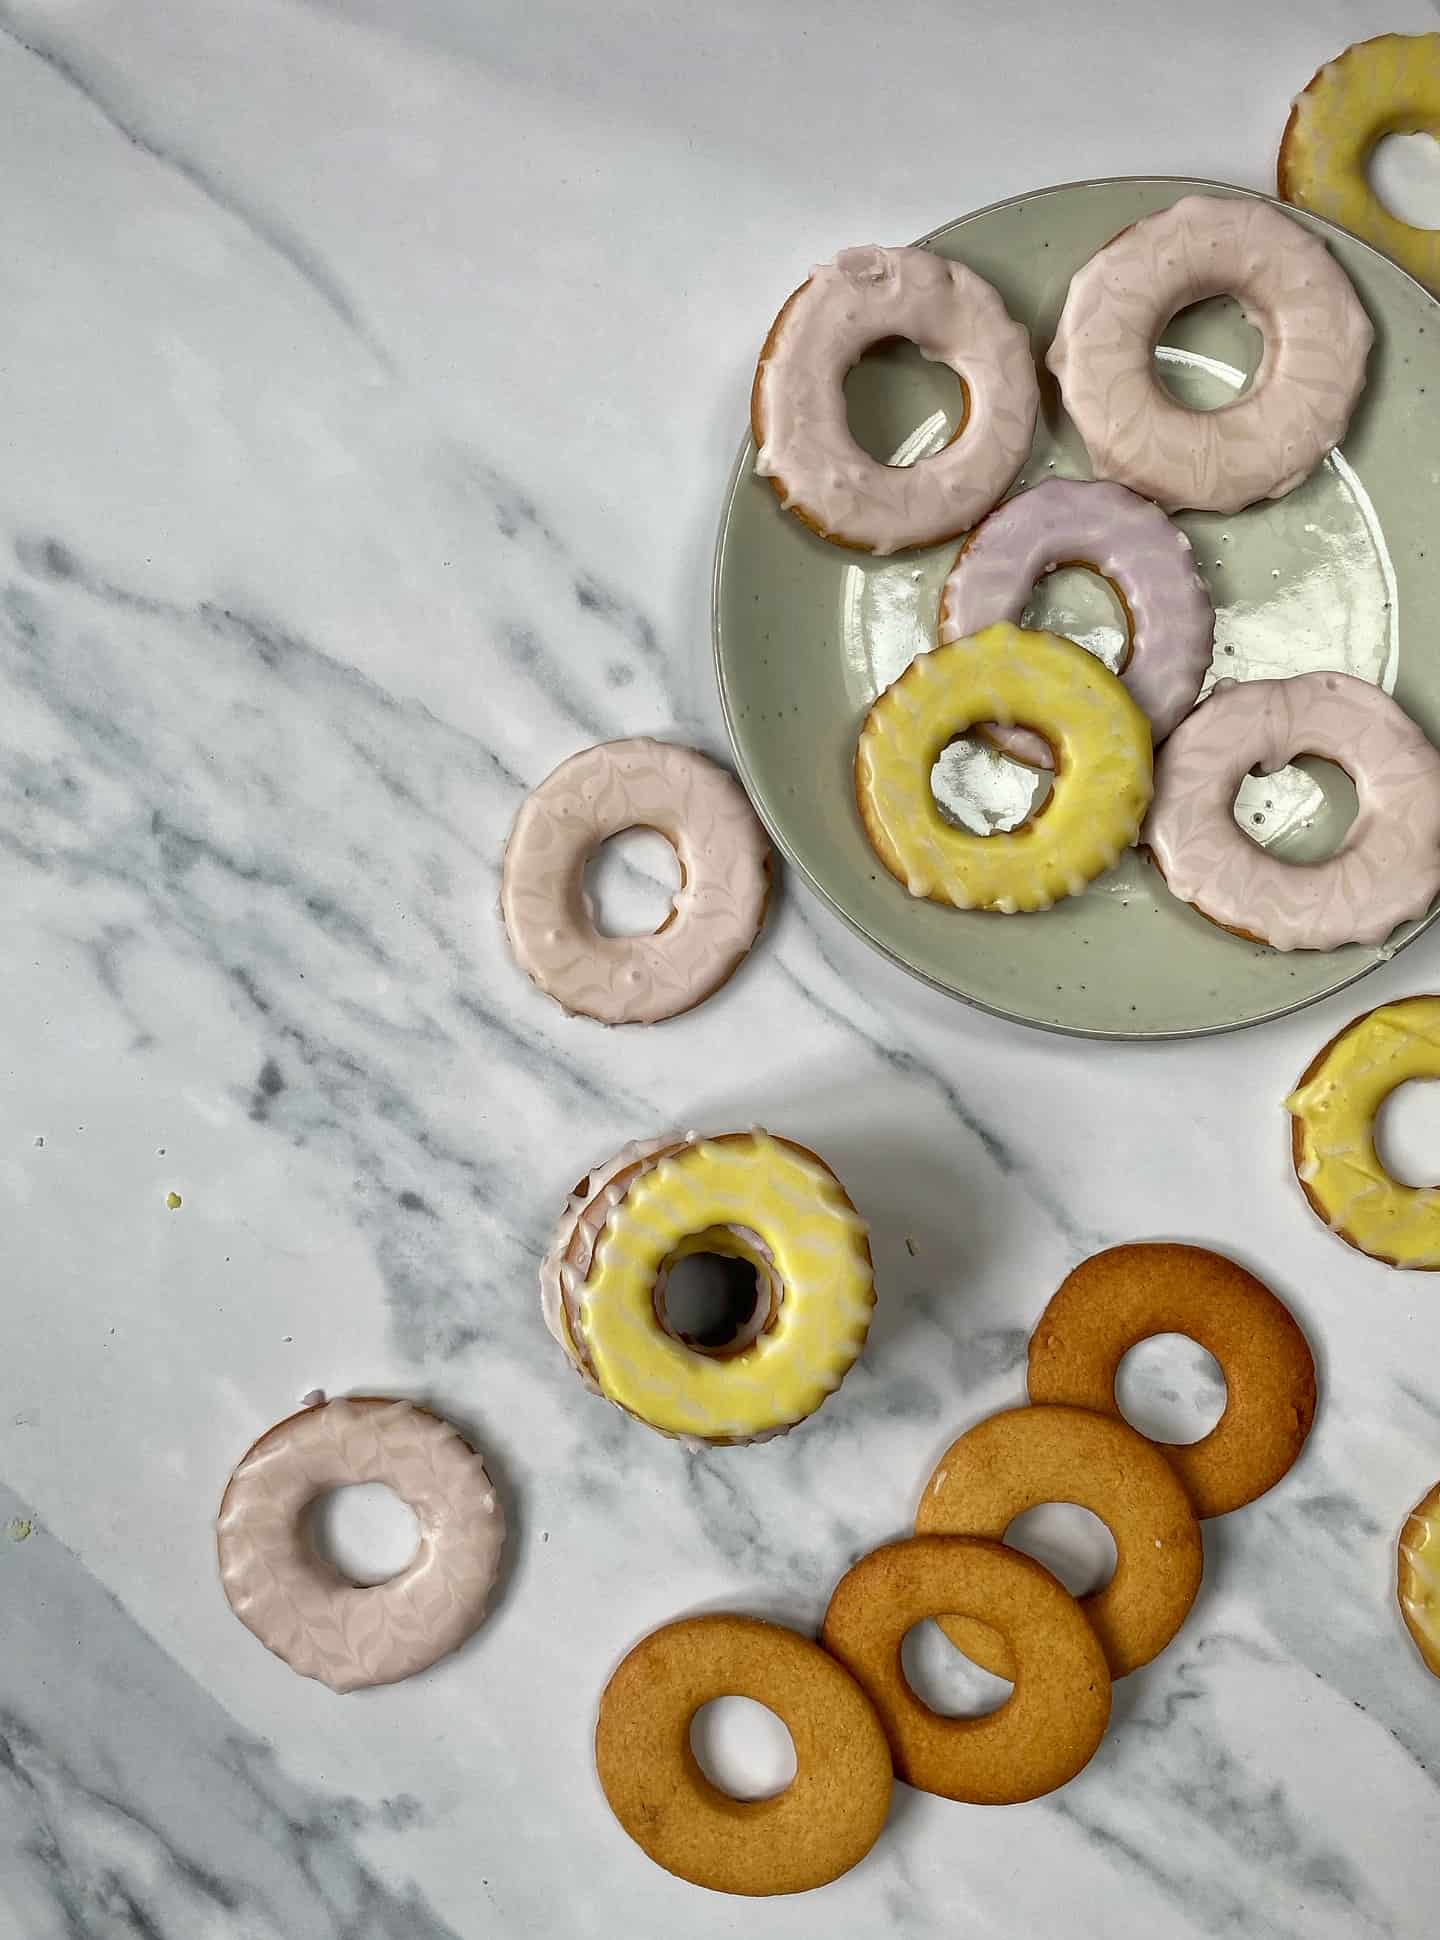
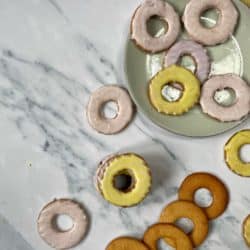
I created three colours for my party rings, but you could do as many as you want and in any colours you want! I went for pastel shades, but they could look really fun with bright colours too. What you do need however; is a cocktail stick. This is to create the feathered effect, that needs to be timed well.
Firstly you want to hold the biscuit face down in your coloured icing, and then place it on a cooling rack to set a little. A few minutes later, when its almost set, pipe lines of white icing across the biscuit. Then using your cocktail stick, run through the lines, alternating in direction. This is what creates the pretty feathered pattern!
I’d advise using a tester biscuit – maybe one that is a little over-baked or misshapen – to make sure your icing is at the right consistency. You want it to be thick enough that it sticks to your biscuit, but not so thick it doesn’t spread well.
These party rings are so tasty. The biscuits are crisp with the perfect snap. The honey gives just enough sweetness to the salted peanut butter. And the icing makes it feel like such a treat.
Perfect for a party where you want a nostalgic bake, with a more updated taste!
On with the recipe!
Fancy Party Rings – Salted Honey Peanut Biscuits
Ingredients
Biscuits
- 50 g crunchy peanut butter
- 50 g clear runny honey
- 110 g unsalted butter room temperature
- 200 g golden caster sugar
- 1 large egg
- 300 g plain flour
- 1 tsp salt
Icing
- 255 g royal icing sugar
- 4-5 tbsp water
- gel food colourings of your choice
Instructions
- For the biscuits: In a large bowl, combine the peanut butter, honey, butter and sugar until fully incorporated. Then mix in the egg. (The mixture will look like thick cake batter at this point.) Add half the flour and mix to combine, then add the final half and salt and mix again. Place clingfilm onto the dough, and put into the fridge for 30 minutes to chill.
- Liberally flour your worksurface and roll out the chilled dough. Using a 2 1/2inch circle cutter, cut out rounds. Then using a 1 1/2 piping tip cut out circles in the middle of your biscuits, to create rings. Then place them onto a baking tray lined with baking paper. Continue this process until all your dough is used – only re-roll the dough 2-3 times, after that your biscuits may be tough.
- Chill the rings on their baking trays in the fridge for 20 minutes until they’re firm to the touch. Meanwhile, preheat the oven to 175C/155C Fan.
- Bake the biscuits for 10-12 minutes, until golden brown. Leave the biscuits to cool on the tray for a few minutes, before placing them on a cooling rack.
- For the icing: Place the royal icing sugar in a large bowl and add the water in a tablespoon at a time until you reach a thick consistency. (You can use an over-baked/misshapen biscuit to test your icing is the correct consistency – it should stick to the biscuit well but spread evenly when turned.) Then place 1/4 in a small bowl and add your chosen food colouring, repeat this with two other bowls, leaving one bowl (and the final 1/4 icing) for your white icing. Place the white icing in a piping bag and snip off the end to create a small hole.
- Hold your biscuits face down into the coloured icing for a few seconds, then place face up on a cooling rack for the icing to set. After a few minutes, pipe the white icing in parallel lines across the biscuit, then using a cocktail stick drag through the icing in alternating directions to create a feathered effect. Leave the biscuits to set on the cooling rack.