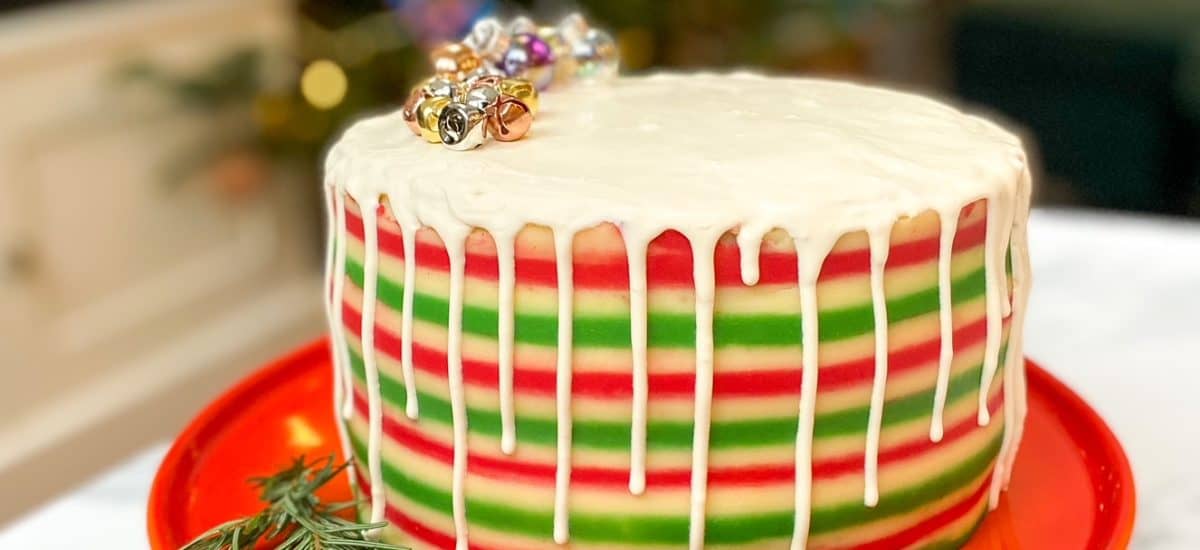
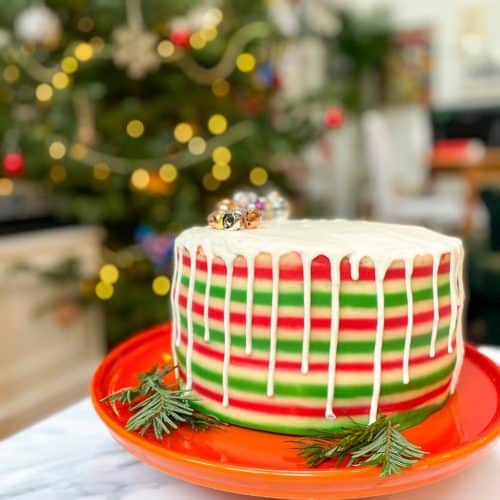
Ginger & lemon striped Christmas cake. A delicious alternative to fruit cake, that is the perfect centerpiece for your Christmas table!
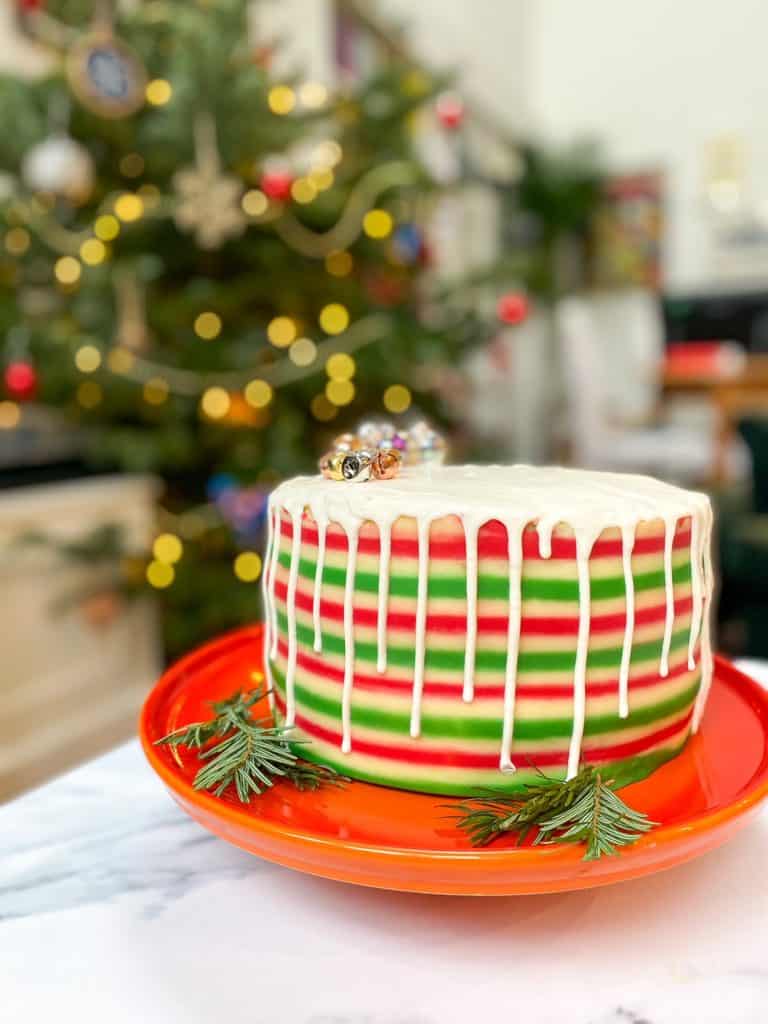
I’m sure I’ve mentioned it before on the blog, but I’m not a huge fan of a traditional Christmas cake. The heavy fruit sponge doesn’t excite me, and the layers of marzipan and either royal or fondant icing… justtt no. I’m sure there are some delicious traditional Christmas cakes out there, but for me I’d rather make something a little lighter and a lott more interesting.
Enter; my ginger & lemon striped Christmas cake!
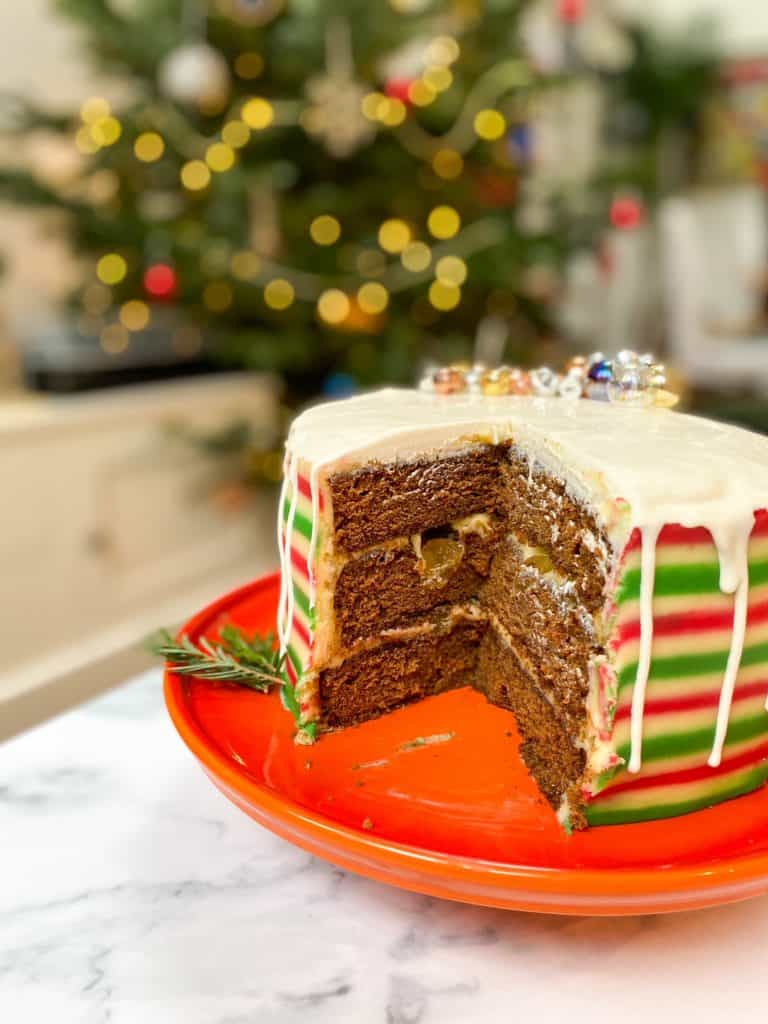
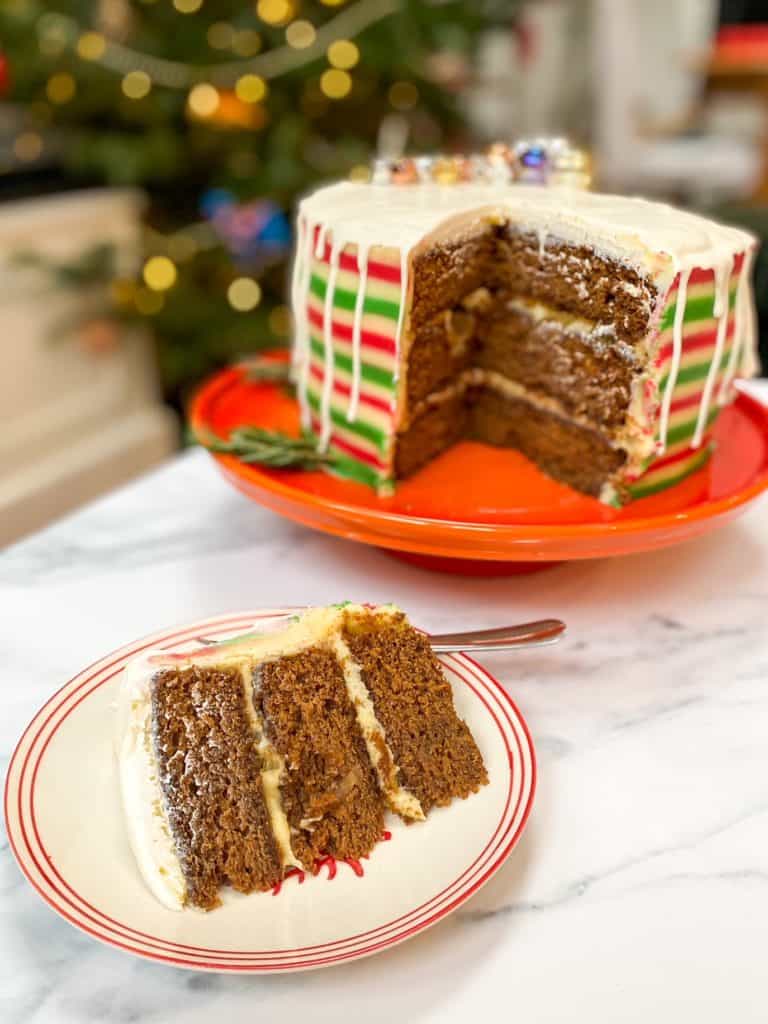
Ginger and lemon is a classic flavour combination, and I’ve made this cake combo quite a few times over the years – though never on the blog! For me, it works so well. Sticky ginger cake that’s packed full of flavour and a lemon curd American buttercream. This cake also has vanilla American buttercream for the exterior and a cheats white chocolate ganache drip. I say cheats, as I used candy melts. This helps to create the crisp white colour I wanted, rather than the slightly yellowed colour you get with real white chocolate. More on the drip later though, for now I want to focus on achieving the coloured stripes!
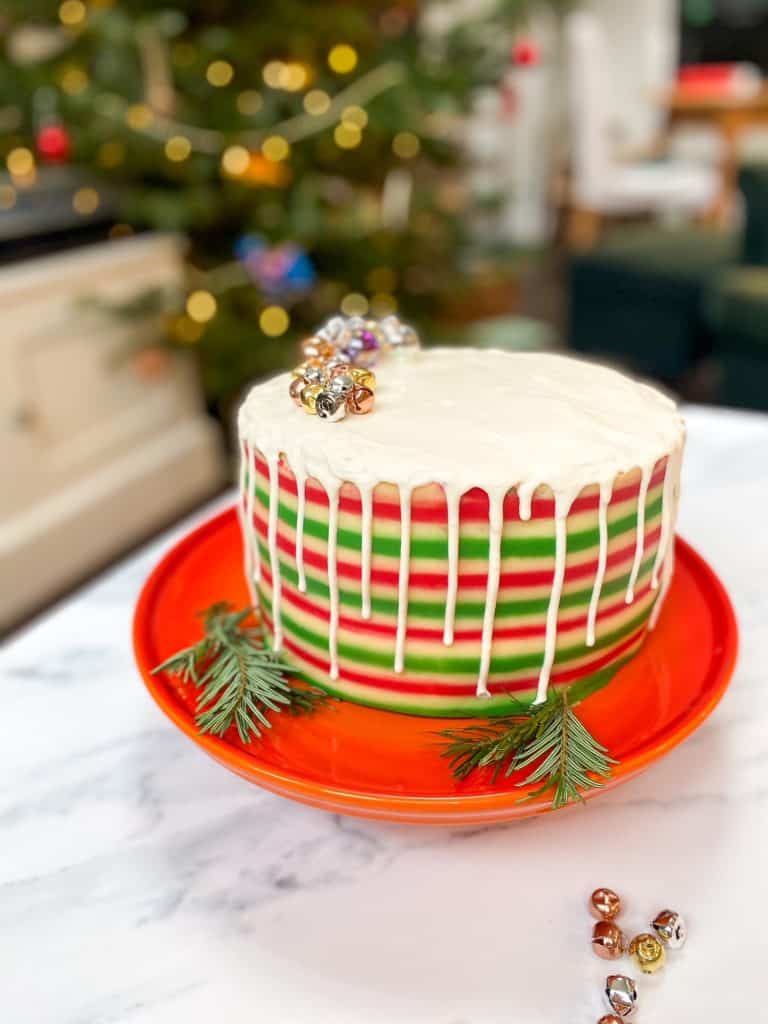
How to make a buttercream stripe cake:
So you may have seen striped buttercream cakes on Instagram or Pinterest orr pretty much everywhere at the moment to be honest. The trend started a few years ago and its showed no signs of waning yet. I think it can look sooo effective, but if I’m honest I was abit too intimidated to try it for myself. Until this year when I decided I wanted to create a stand-out Christmas cake.
So, for a buttercream stripe cake you will need:
- a decent amount of thick buttercream in your chosen base colour
- a small amount of thick buttercream in an alternate colour (and any other colours you want!)
- a striped buttercream scraper (I got mine from Finch Bakery, but you can get them from most cake/cookery shops and Amazon)
- A turntable will help – but not essential
- Patience!
Now, let me break down the process.
Firstly, you need to crumb coat your cake as usual and chill. Then coat it with your thick buttercream, in a thick layer. You want it to be thick so you can scrape around without scraping down to the cake layer. Smooth it out a little with the straight edge of your buttercream scraper, but don’t worry too much about this. Then, using the striped side of your scraper, begin scraping around the cake and creating indentations. Be careful to place your scraper in the same position each time, so you keep to the same indentations. You’ll need to do this a fair few times to create deep enough indentations. Then the cake needs to chill. This is extremely important, otherwise your stripes will end up in a mess!
Once your cake is chilled and the buttercream feels hard, you can pipe in your smaller batches of buttercream into the indentations, in alternating colours. Then with the smooth side of your scraper, scrape around the cake to smooth out. This will look like a mess at first, but I promise if you keep on scraping you will eventually see the clean lines come through!
There are two keys here:
1 – Make sure you clean your scraper in between each scrape. This will avoid the colours bleeding into eachother and looking messy.
2 – Don’t overdo it. The worst thing you could do is scrape too much, and you begin to see the cake underneath. Sometimes you just have to know when to stop while you’re ahead.
I hope reading the above helps, but I’ve also included a timelapse of the process below which I hope helps you to visualise it!
How to make a white chocolate drip?
Okay, you’ve made the cake, created the stripes. Now for the drip.
Though I do love white chocolate, its definitely not the easiest to work with and especially not for a drip. It doesn’t look a true-white colour and for this cake, I really wanted it to be snowy white. So I turned to candy melts. If you’ve not heard of them before, they are a sweet confectionary coating that are made to emulate chocolate. They are super sweet, so I wouldn’t use them in place of chocolate for cookies or in a cake. But for a drip, they’re perfect.
I made a ganache with the candy melts and cream and let it cool just enough that it was a little thickened. Then I began ‘dripping’.
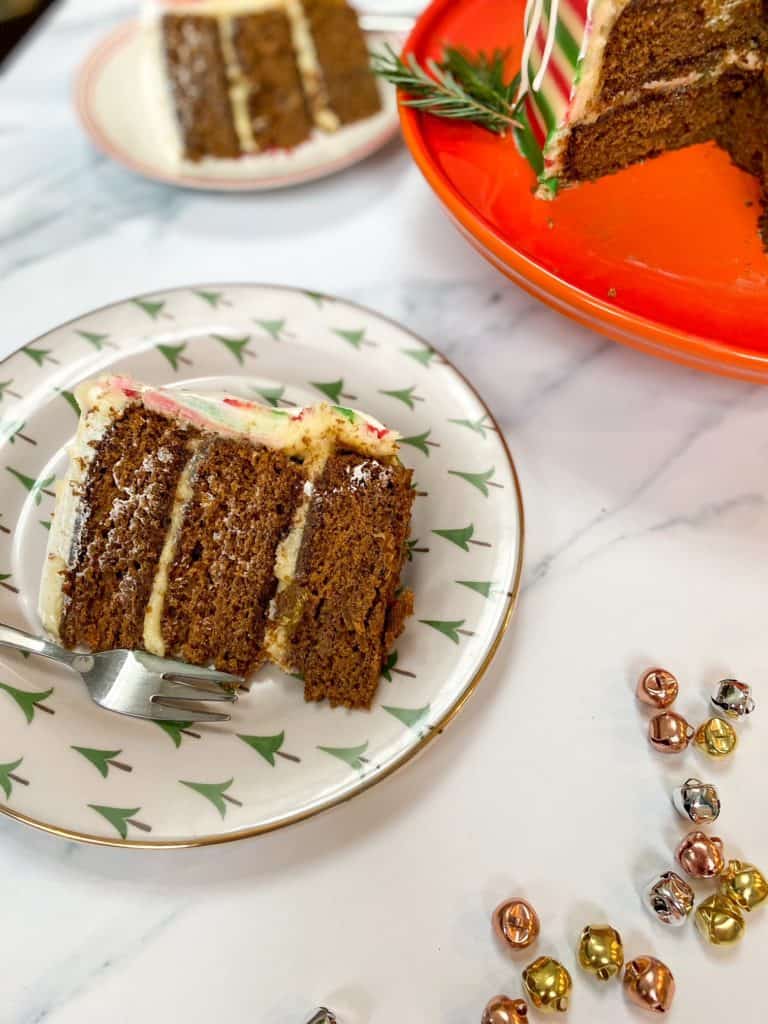
I find it best to create the drips first, then fill in the top of the cake afterwards. This way you have much more control over the length of the drips. You can do this with a squeezy tube if you have it, a piping bag or I just used a spoon.
Be gentle at first, gently coaxing the ganache off the edge of the cake. You can always add more ganache to make the drips longer, but you can’t make them shorter!
Also, make sure you’ve chilled your cake before adding the drips! This will help to control the length of the drips, as the warm ganache hits the cold cake it’ll cool and slow down.
I really hope you like this cake as much as I do. I think it gives a really different take on the usual Christmas cake, but its still equally as festive and delicious!
On with the recipe:
Ginger & Lemon Buttercream Stripe Cake
Ingredients
Sponges
- 450 g self-raising flour
- 2 tsp bicarbonate of soda
- 3 tbsp ground ginger
- 2 tsp mixed spice
- 200 g unsalted butter
- 200 g black treacle
- 200 g golden syrup
- 200 g soft light brown sugar
- 2 large eggs
- 550 ml whole milk
Lemon Buttercream
- 110 g unsalted butter room temperature
- 220 g icing sugar
- 1 tbsp whole milk
- 160 g lemon curd
- 1 pinch of salt
Filling
- 3 bulbs stem ginger in syrup chopped finely
Vanilla Buttercream
- 450 g unsalted butter room temperature
- 800 g icing sugar
- 1 tbsp vanilla extract
- 1 pinch of salt
- red & green food colouring
White Chocolate Drip
- 100 g white candy melts
- 50 ml double cream
Instructions
- For the sponges: Firstly, preheat the oven to 190C/170C Fan/Gas Mark 5 and line three 8inch round baking tins. Then set aside.
- Combine the flour, bicarb, ginger and mixed spice in a large bowl and set aside. In a medium pan, combine the butter, treacle, golden syrup and sugar and set over a low heat. Stir until the butter has melted – the mixture will feel looser. Then pour into the flour mixture and whisk until combined. Then add the eggs and whisk again. Finally, add the milk and whisk again until just combined. Divide the mixture between the prepared tins and bake for 26-28 minutes until a skewer inserted into the middle comes out clean. Leave the cakes to cool in their tins for 5 minutes, before removing and placing on a cooling rack to cool completely.
- For the lemon buttercream: Place the butter into the bowl of a stand mixer (or you can use an electric hand whisk) and beat on high until pale and softened. Then add the icing sugar and beat again for around 5 minutes until well combined and fluffy. Then beat in the milk, lemon curd and salt until combined. Set aside.
- For the vanilla buttercream: Place the butter into the bowl of a stand mixer (or you can use an electric hand whisk) and beat on high until pale and softened. Then add the icing sugar and beat again for around 5 minutes until well combined and fluffy. Then beat in the vanilla and salt until combined.
- Remove about 1/4 of the vanilla buttercream and divide into two bowls. Colour one with red food colouring and the other with green food colouring. Then set aside.
- To assemble: Spread a little of the lemon buttercream onto your cake board or plate, and then place one of the cooled sponges on top and press down to stick. Then using a palette knife, spread 1/3 of the lemon buttercream on top in an even layer and top with half of the chopped stem ginger. Then place the second sponge on top and press down gently to stick. Spread another 1/3 of the lemon buttercream on top in an even layer, and top with the remaining chopped stem ginger. Then place the final sponge on top and press down again to stick. Coat the whole cake in the remaining lemon buttercream and using a buttercream scraper, scrape the sides and top to ensure its smooth. Then place in the fridge for 45 minutes to chill – this is your crumb coat.
- Using a palette knife, coat the entire cake in a thick layer of vanilla buttercream. Using the smooth side of the scraper, scrape around the cake a few times to smooth it out. Then using the striped side of the buttercream scraper, scrape around the cake to create ridged indentations. Clean your scraper between each scrape, and make sure you place it in the same position each time. Keep scraping until you have clear ridged indentations. Then place in the fridge for 45 minutes until the buttercream is hard.
- Place the red and green buttercreams into separate piping bags. Then pipe into the indentations on the cake, making sure to alternate the colours. Using the smooth side of the scraper, scrape around the cake smoothing out the buttercream. Clean your scraper between each scrape, and scrape slowly but deliberately. Keep scraping until the stripes are clearly defined, but don't be tempted to over do it! Then place in the fridge for 30 minutes.
- For the drip: Place the candy melts in a small heat-proof bowl. Then heat the cream either in the microwave or in a pan until its just simmering, then pour over the candy melts. Stir until the candy melts have melted and combined with the cream. Then leave to thicken slightly for around 15 minutes. Finally, using a small spoon (or a piping bag) spoon the ganache over the edges of the cake to create drips. Then fill in the center with the remaining ganache, being careful not to spread too much as you don't want to cause your drips to run further down. Then leave to set.
Notes
Want another alternative Christmas cake? Why not try my earl grey buttercream wreath cake? Or chocolate and mint vertical cake?
