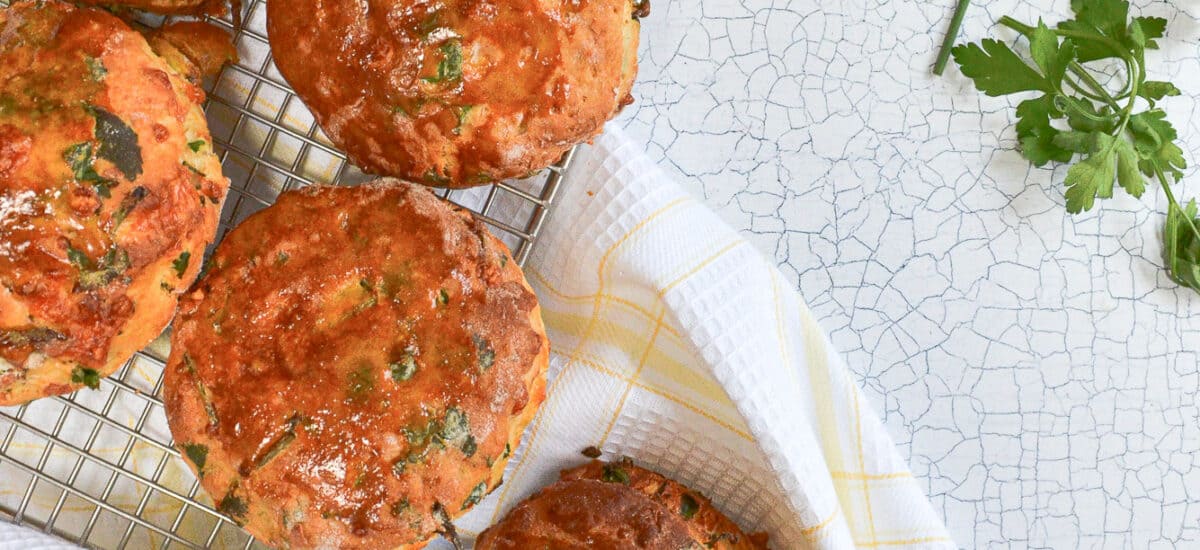
Deliciously light and tender herby cheese scones, perfect for a picnic, light lunch or a savoury afternoon tea!
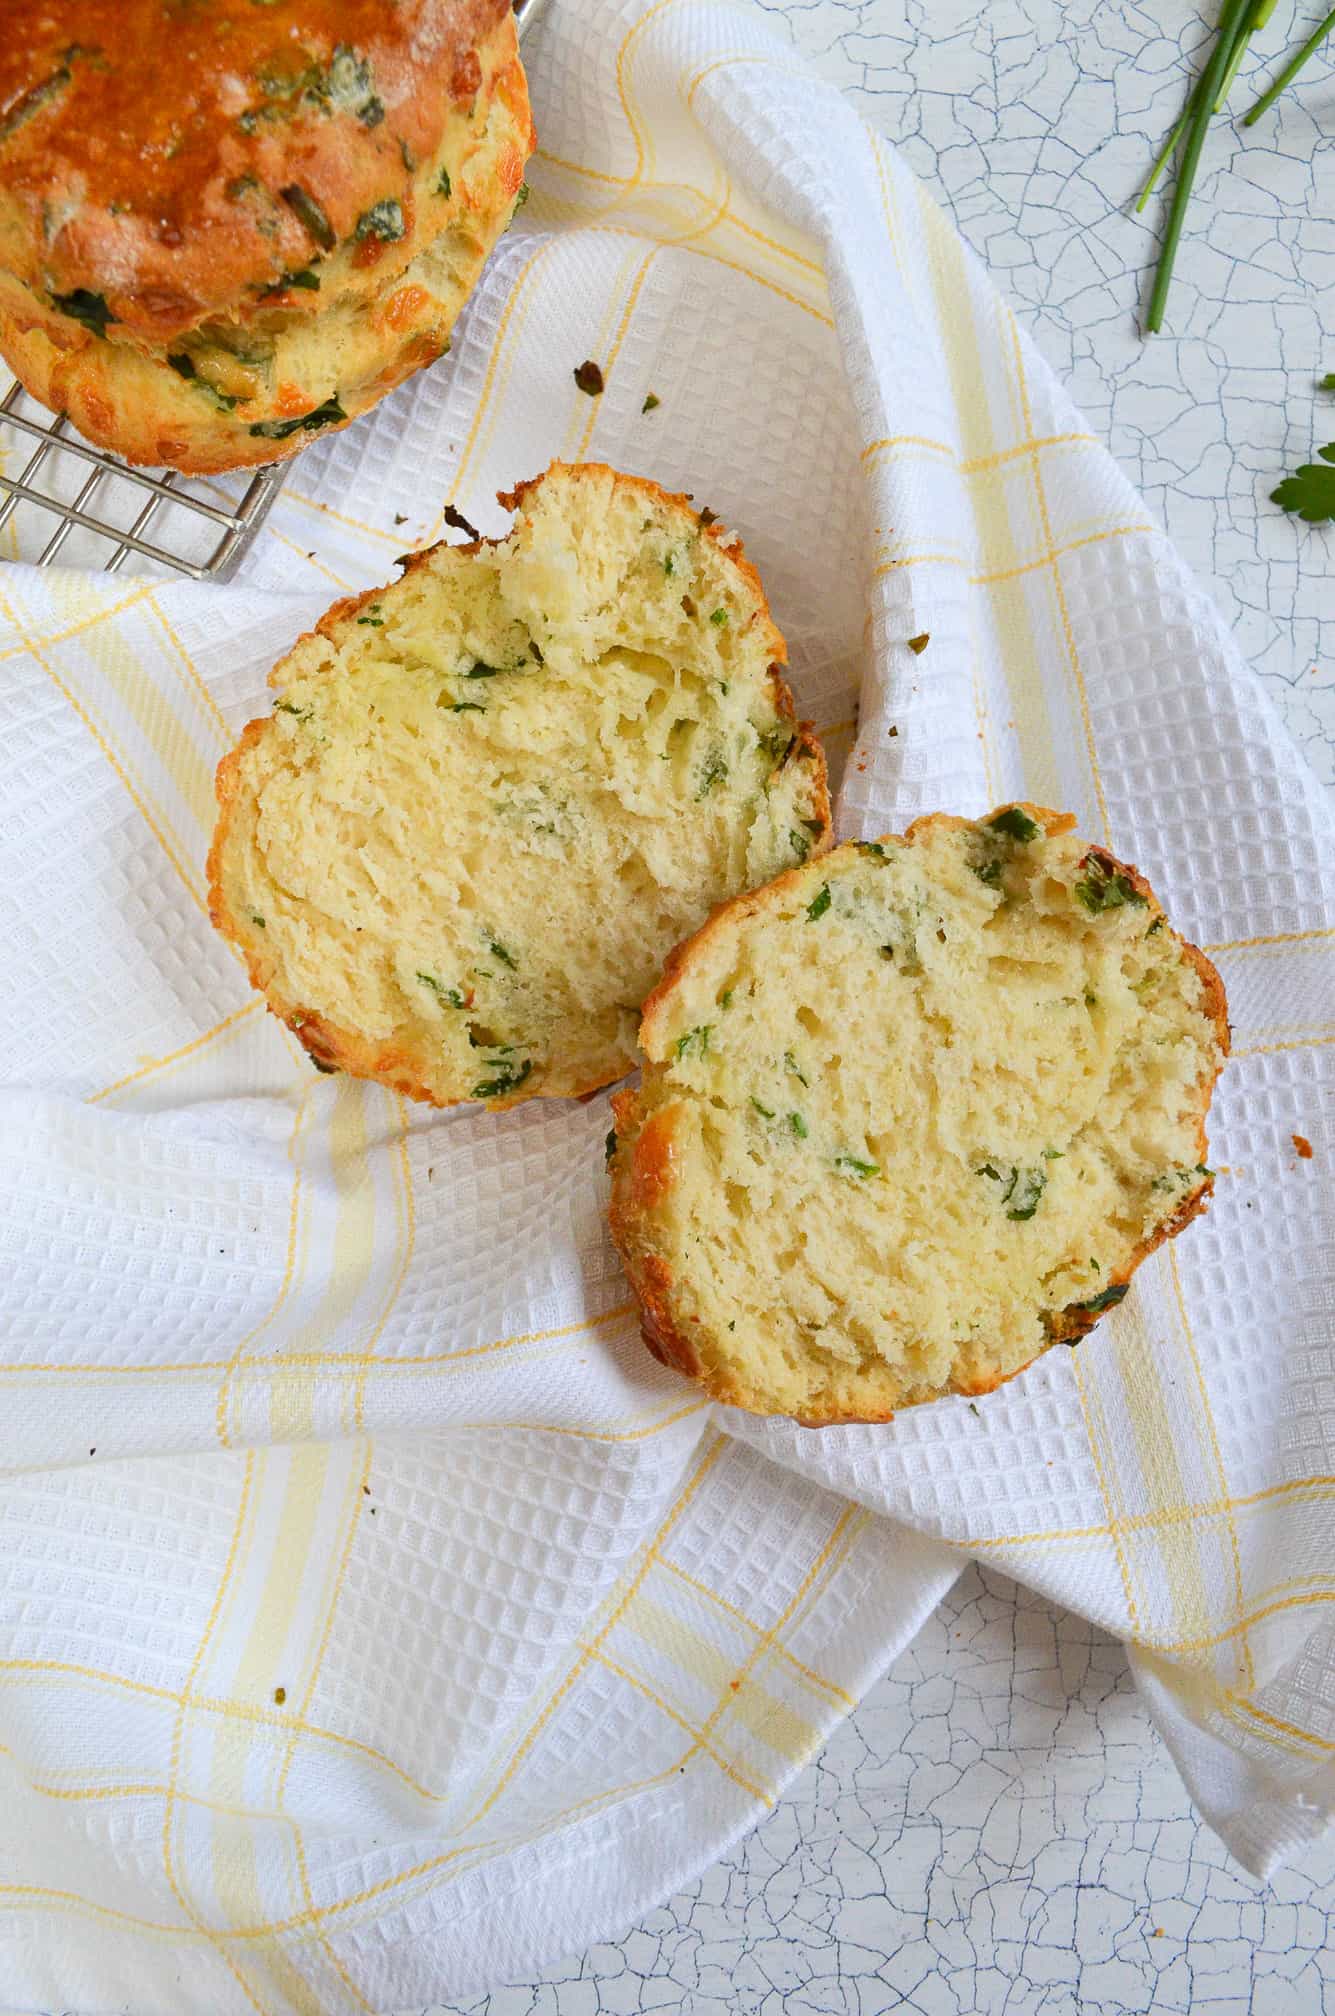
However you say it, scones are a delicious treat for a light lunch, at a picnic or as a savoury addition to an afternoon tea! And these herby cheese scones are so sooo good. They’re light and tender, super quick to make and perfect when they’re still a little warm from the oven! Liberally smeared in butter of course! Scones are famously easy to make, and barely require any rolling. The perfect rustic bake! And these scones are bigggg. So you could make a little lunch out of these savoury scone beauties.
Key Ingredients You’ll Need
- Bread Flour – Using bread flour in scones rather than plain flour gives a lighter, chewier texture. It does also make them more filling, making them perfect for lunch!
- Strong Cheddar Cheese – You really want the cheese to shine in these scones, so choose your preferred brand and the strongest cheddar you like. A cheesy scone is nothing without a great cheese after all!
- Fresh herbs – I used a mixture here, of flat-leaf parsley, chives and coriander. If you’re someone who hatesss coriander, you can leave it out. To be honest, you can switch out the herbs to whatever you prefer, though I would stick to the chives at least if you can!! Cheese and chive is a perfect pairing, and goes so well in these scones.

How to make herby cheese scones
Scones don’t take long to create at all. It’s a very soft, slightly wet dough that you don’t want to handle too much at all. The more you handle scone dough, the tougher your scones will be. So a quick mix, roll and cut. And then into the oven! Scones are definitely best eaten on the same day of baking, and even better when they’re still a little warm so bear that in mind when baking!
How to make the scone dough
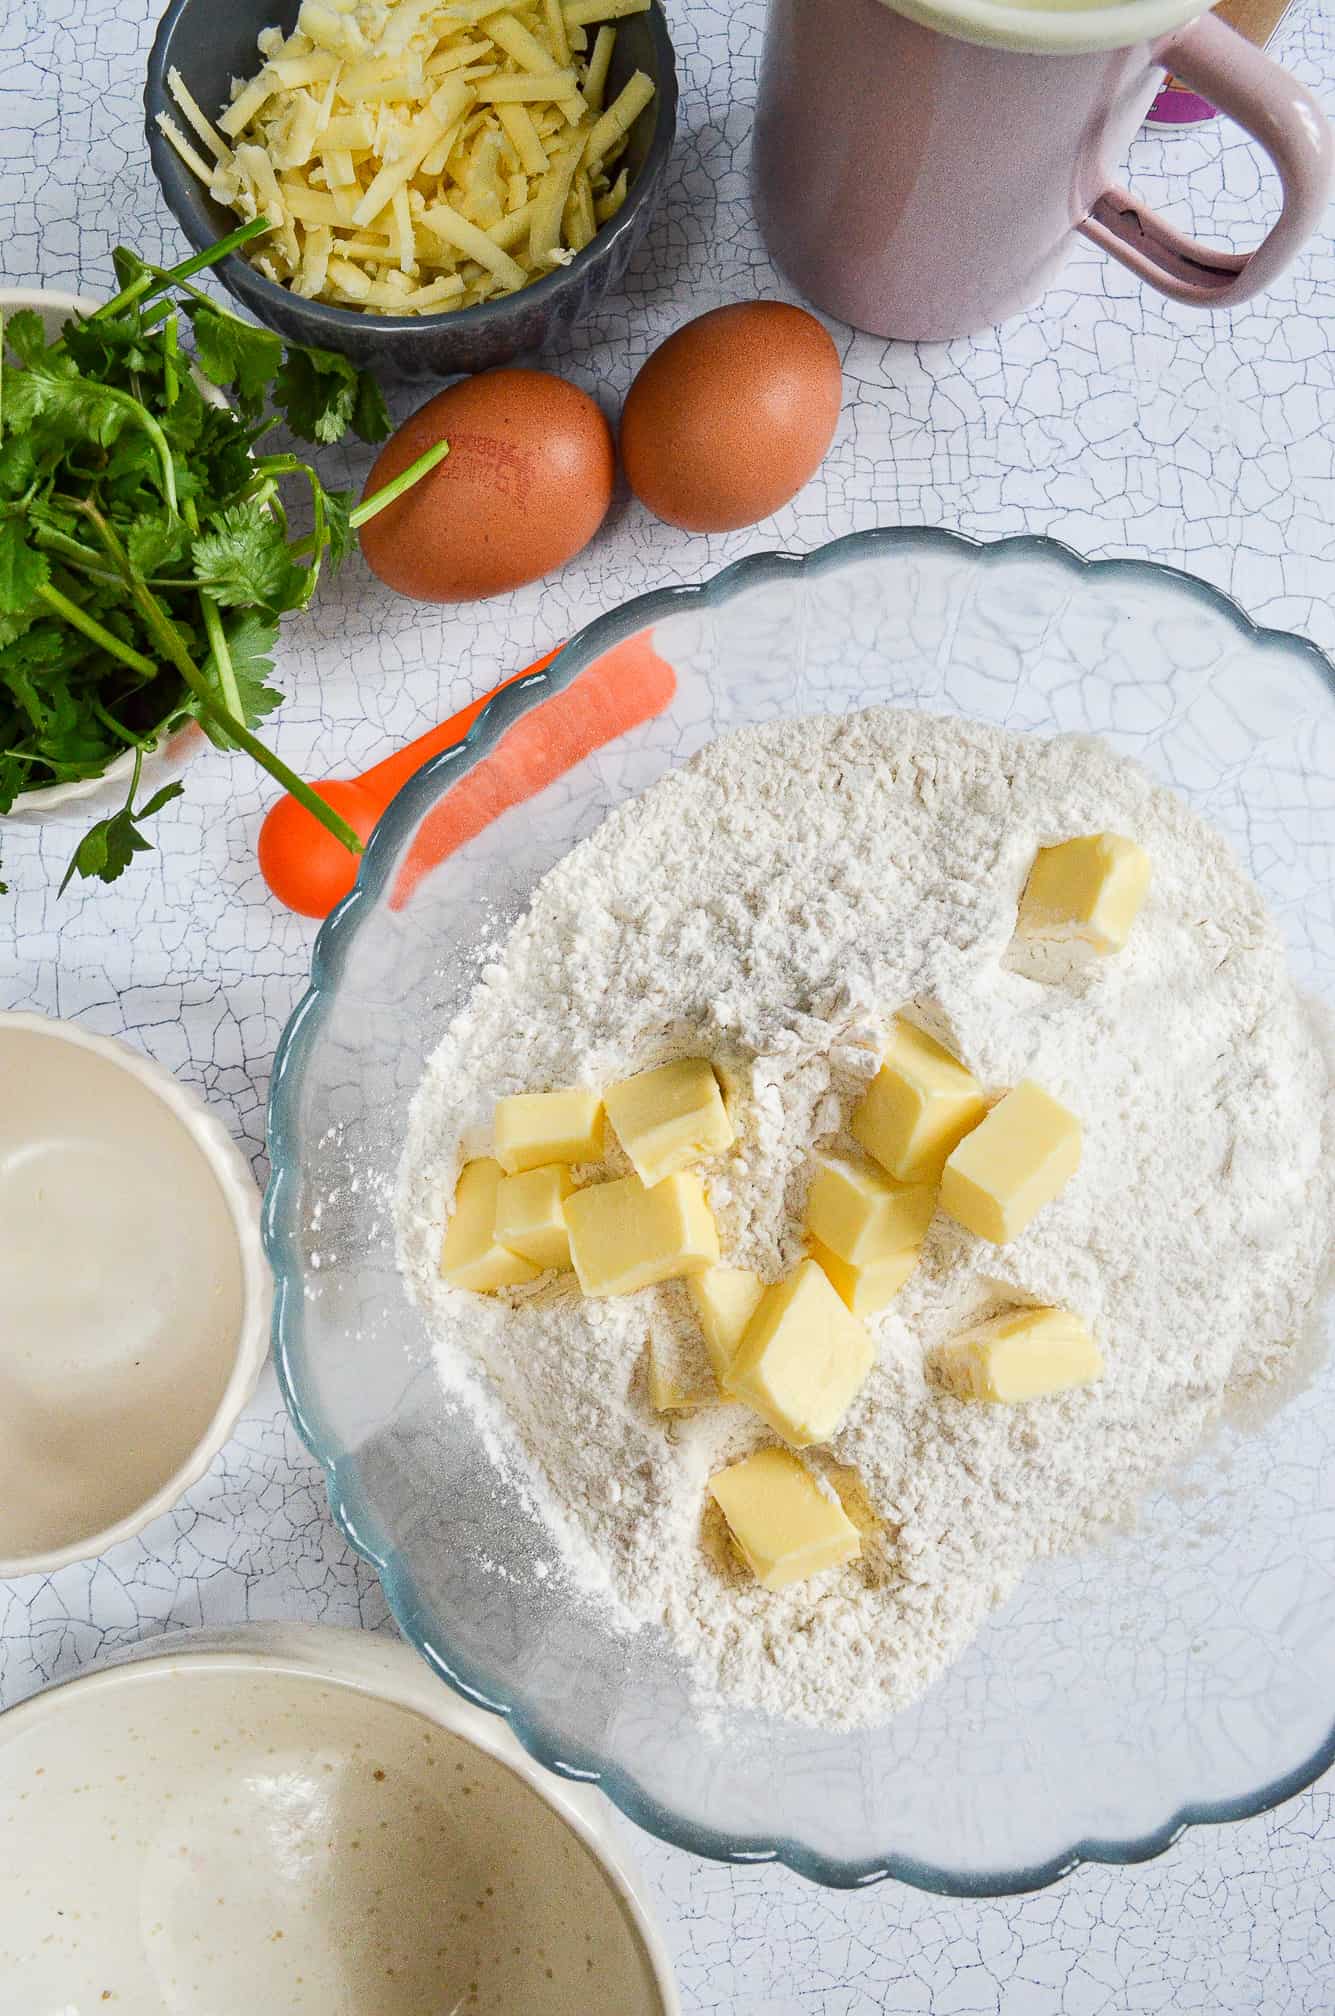
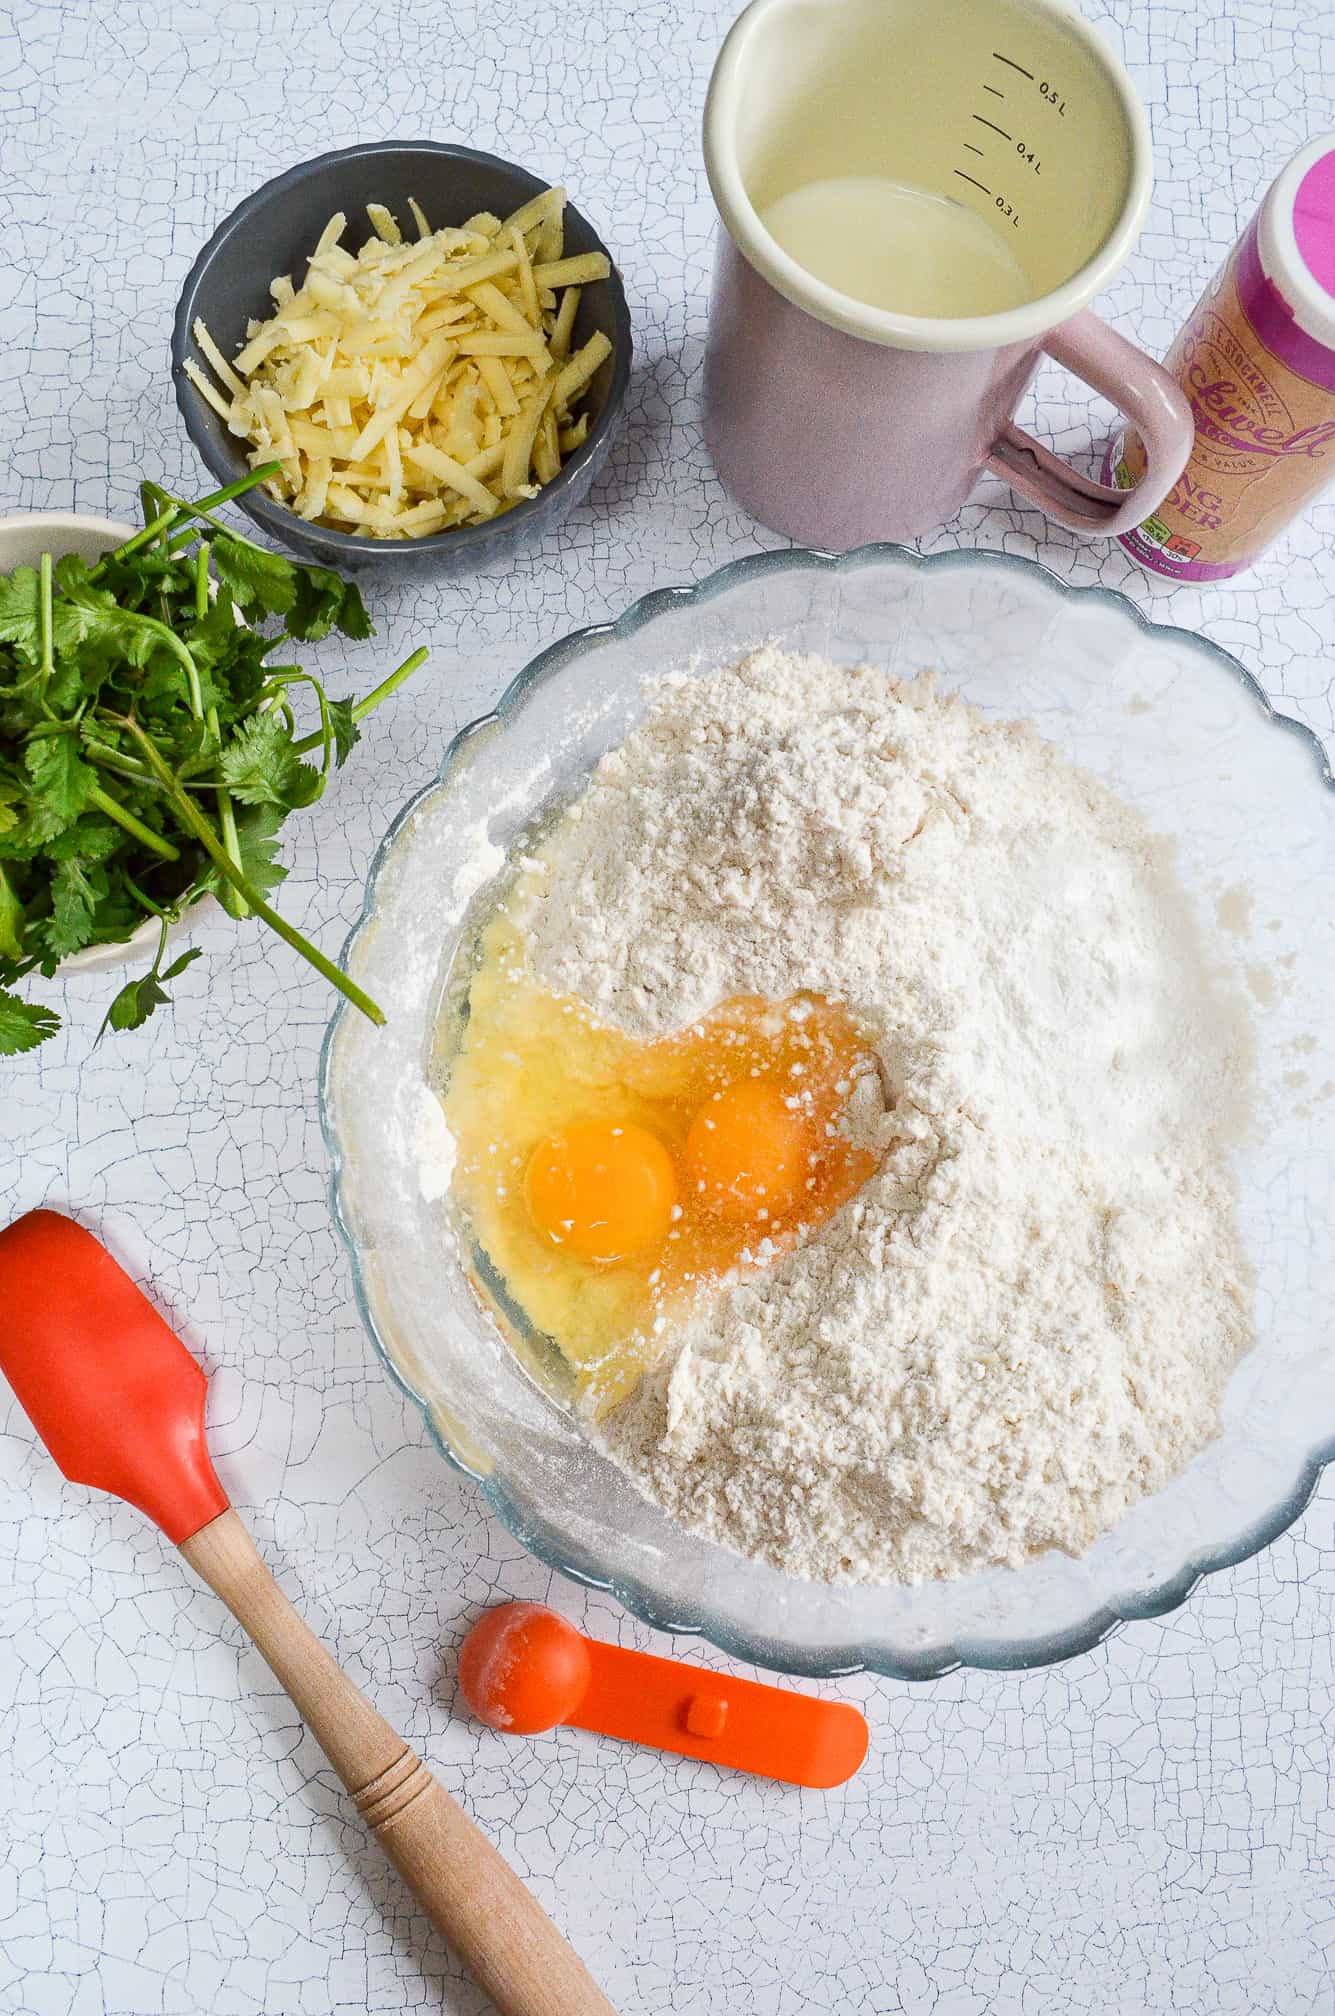
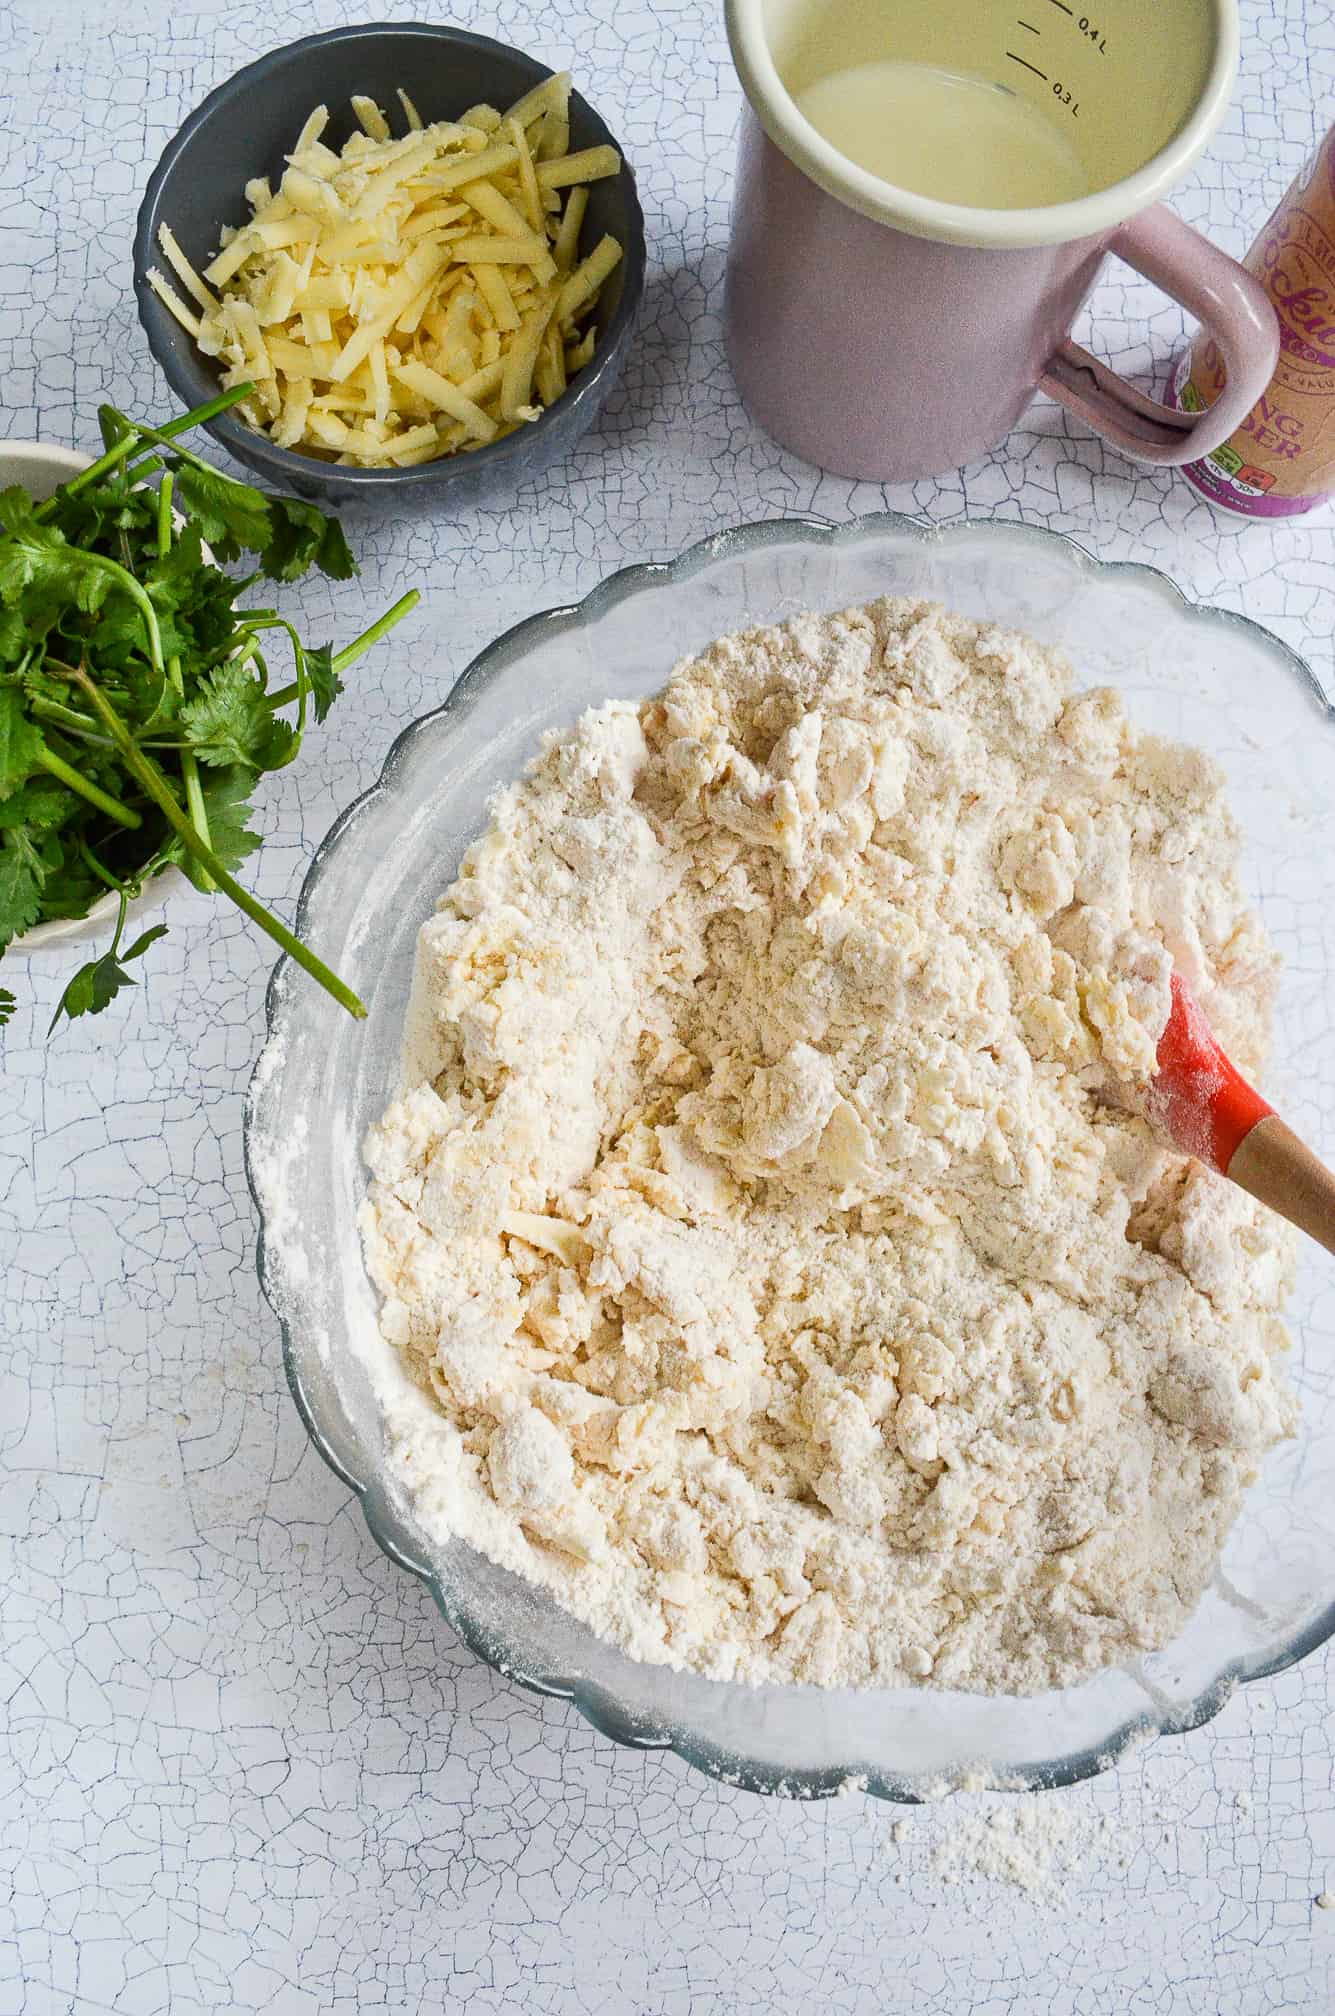
The first step for these scones is to rub cold butter into the flour and salt. Like you would when making a pastry, you want the mixture to resemble breadcrumbs when all the butter is incorporated. Then the eggs and baking powder can be added – there is quite a lot of baking powder in these scones, making for really big scones! Perfect for a savoury scone I think, which is more likely to be eaten as a brunch/lunch rather than an afternoon treat.
At this point, the mixture will be quite stiff. So now the milk can be added. Only half the milk initially, and then a little at a time until it comes together as a very soft, slightly wet dough. You may not need to use all the milk, so make sure you don’t tip it all in at once! The final step is to add the grated cheese and chopped herbs, and then you’re ready to roll out the dough.
Rolling out the scone dough
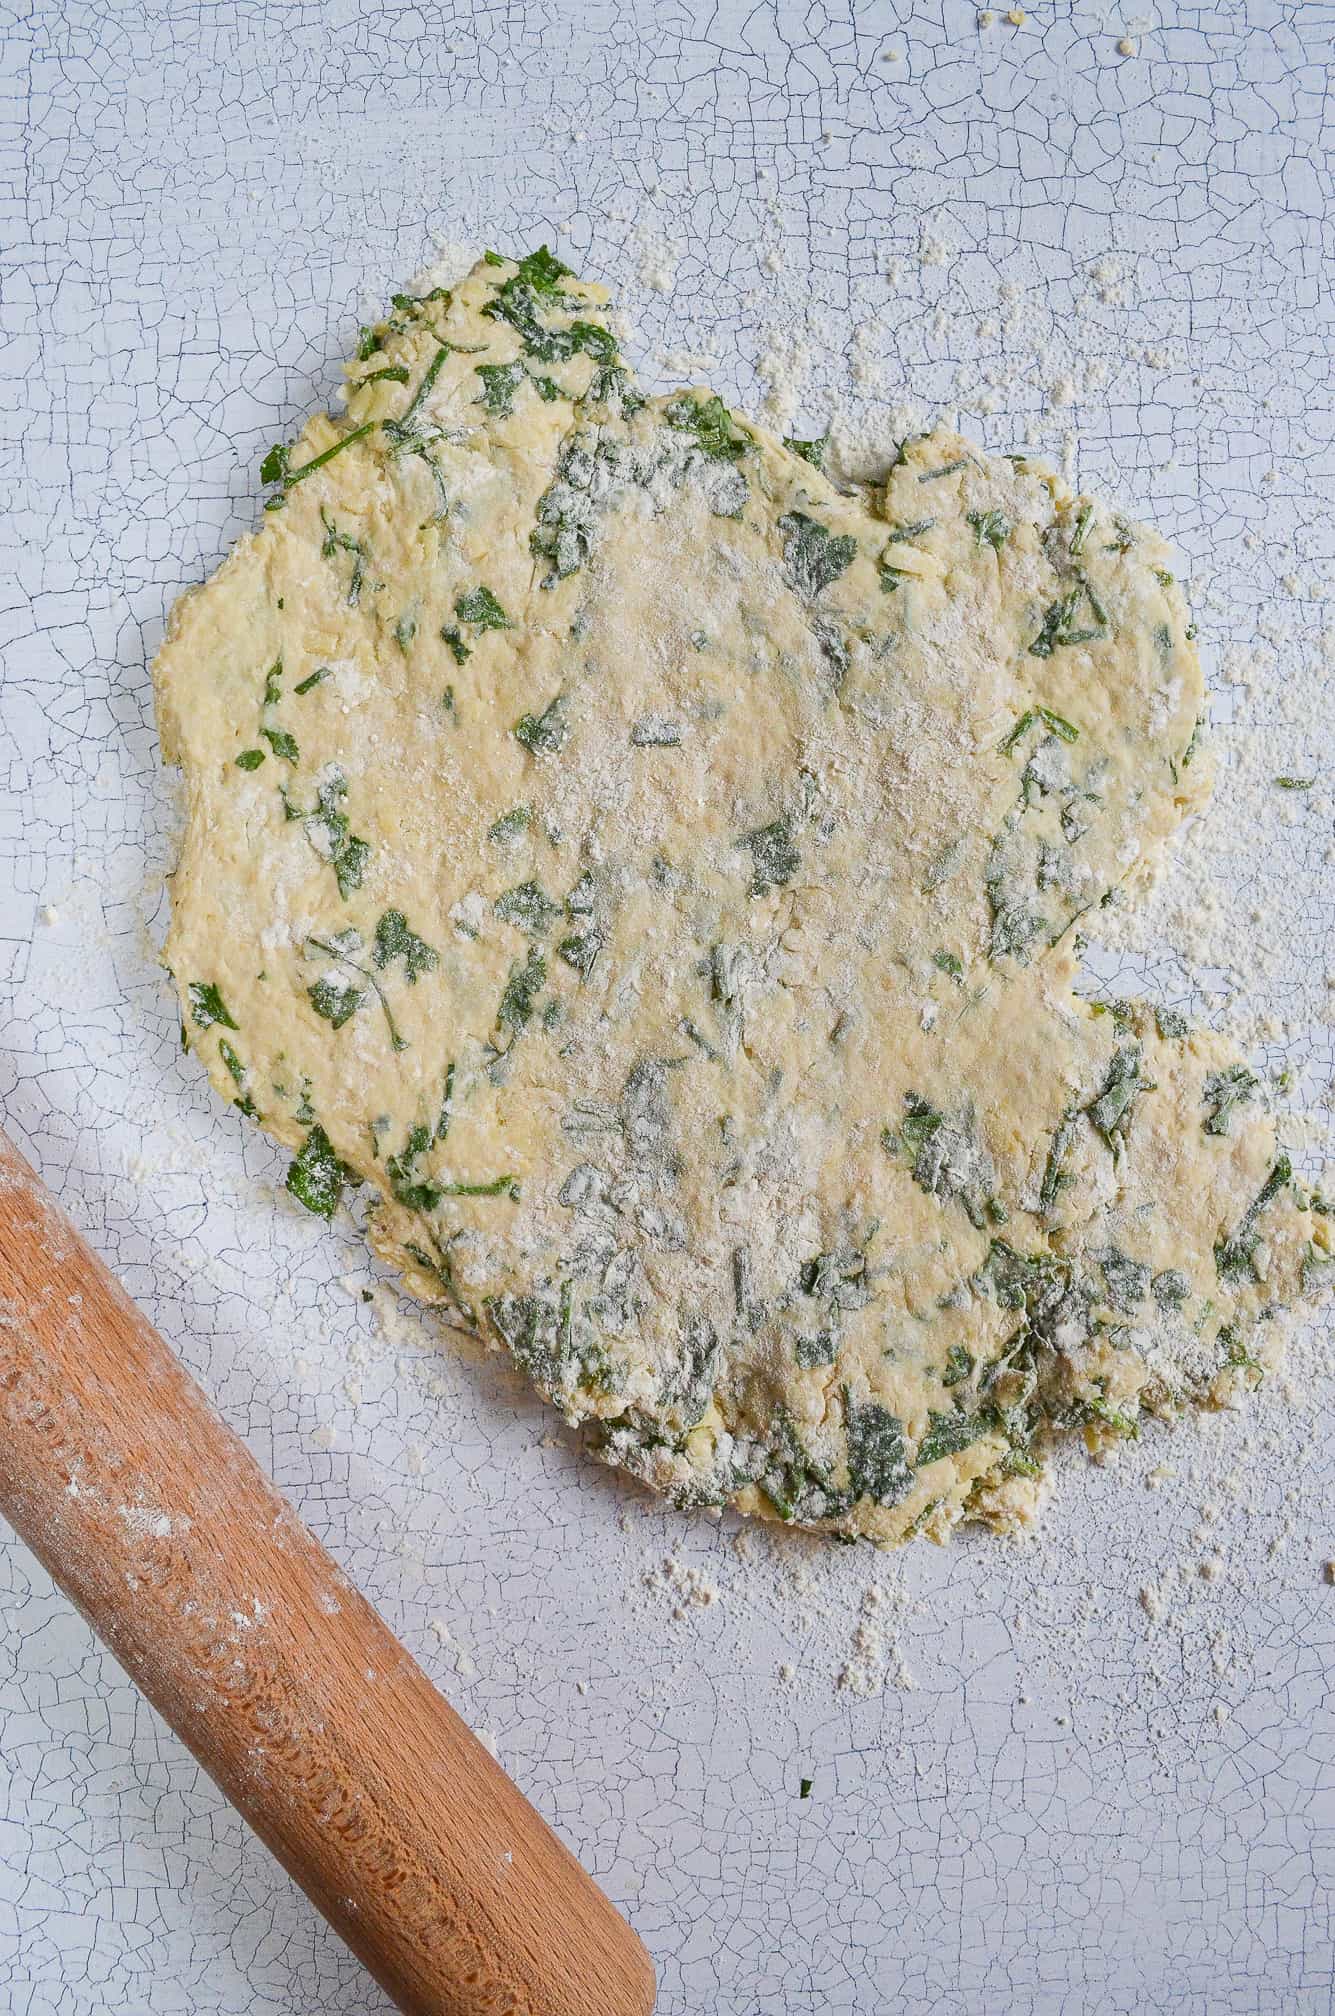
Make sure you place the dough onto a floured work surface, as with the dough being quite wet it will be sticky! I also like to sprinkle a little flour on top of the dough, just to help prevent it sticking to your hand/the rolling pin.
Firstly, I like to flatten the dough a little with my hands to spread it out without squashing it too much. I then take a rolling pin and roll it just two or three times. The idea here isn’t to roll the dough thinly, but more to spread it out to give you space to cut rounds from. The dough should be quite thick, about 1/2 inch.
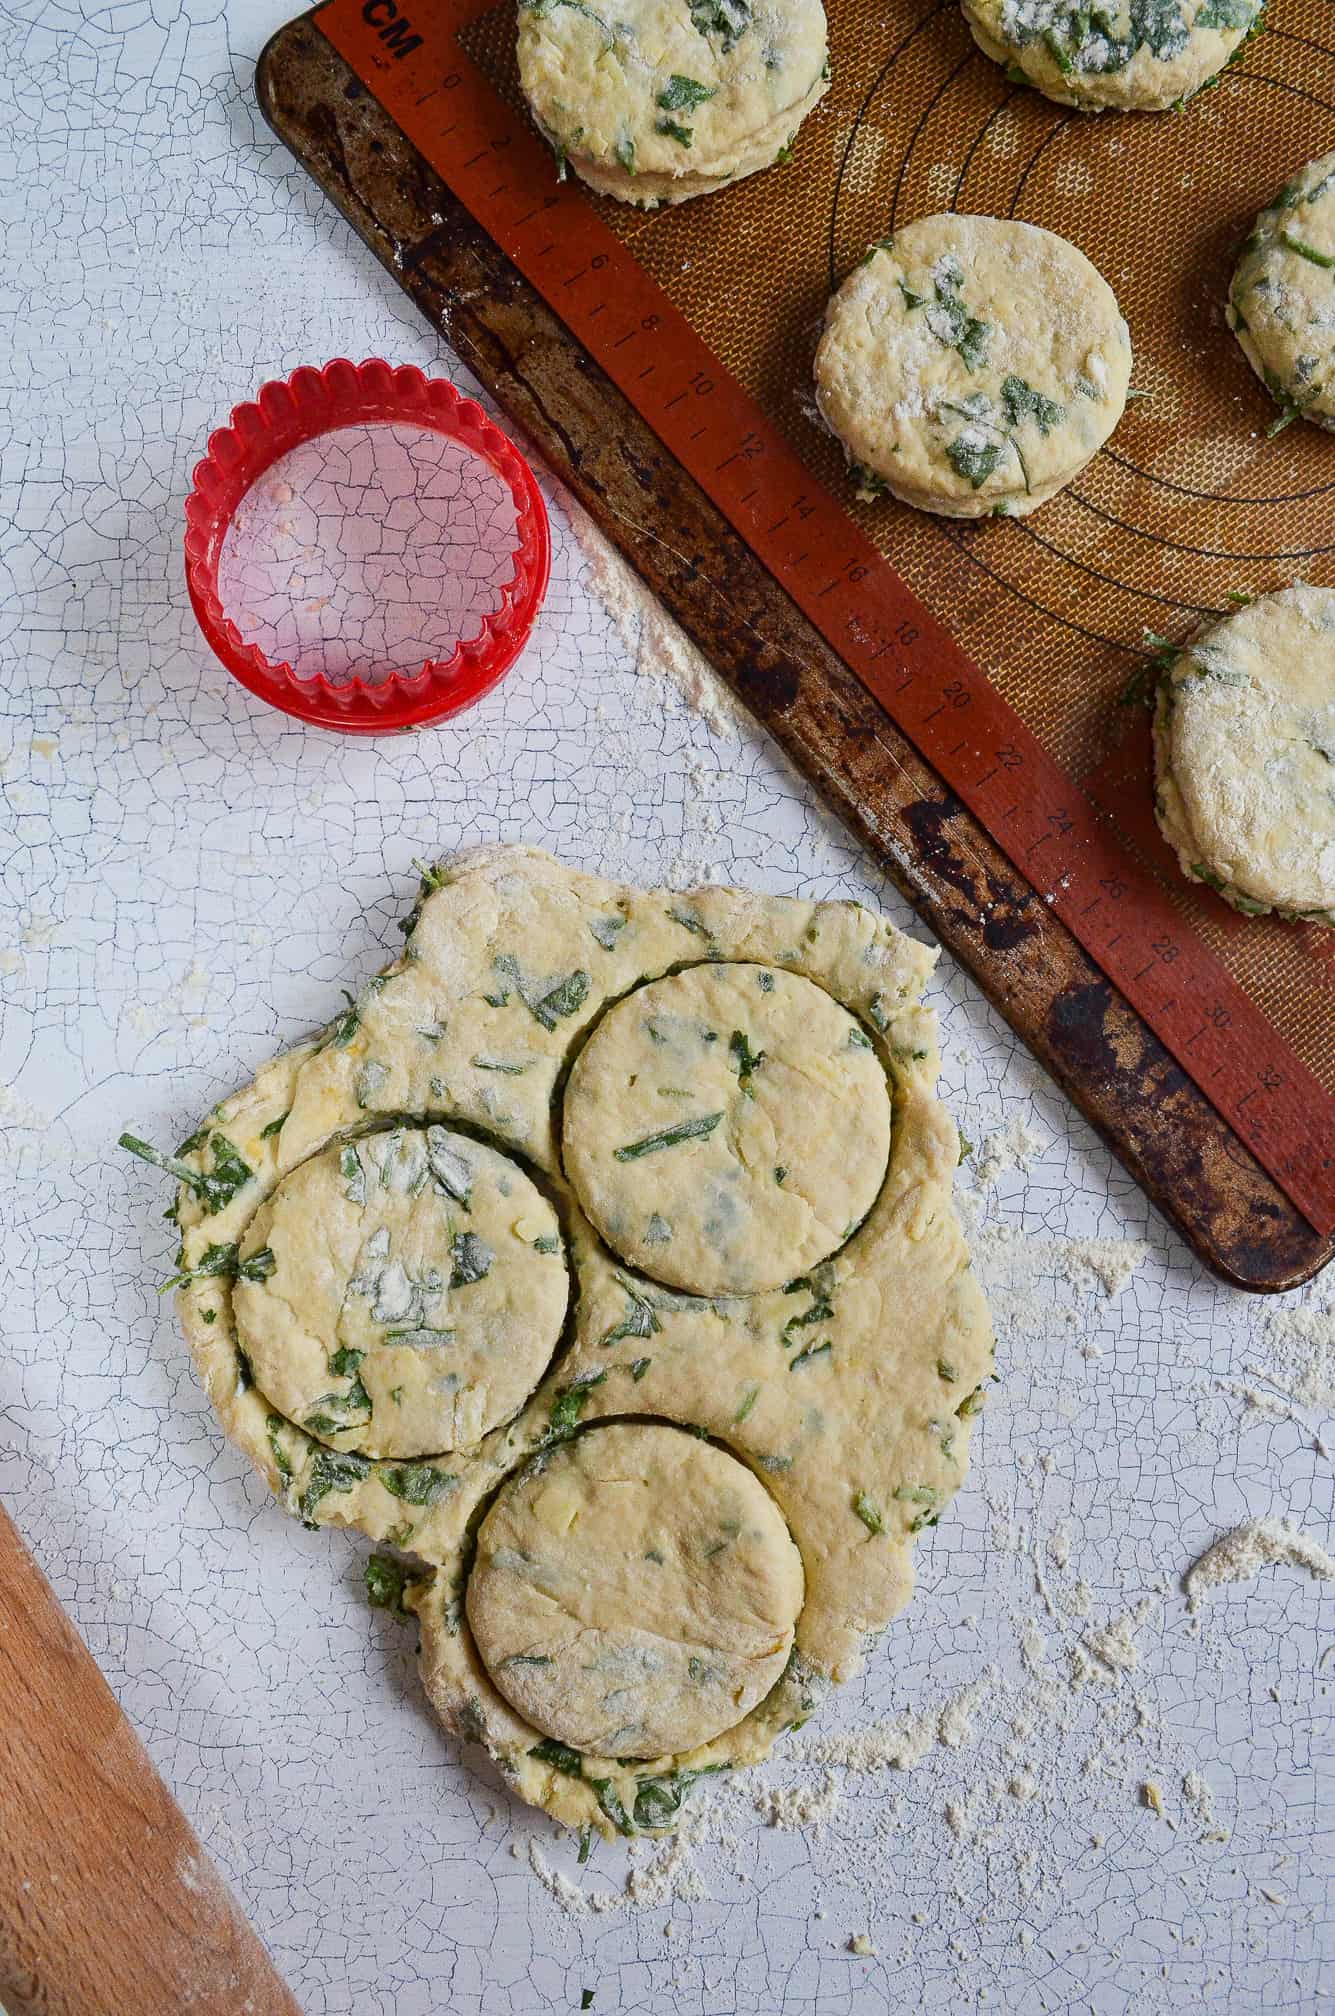
Using a round cookie cutter, rounds should then be stamped cleanly out – its important with scones, not to twist the cookie cutter in the dough. Just press down firmly, and remove. This helps the scones to rise evenly, rather than being flat or lopsided.
You will likely need to re-roll the dough to be able to cut all of the scones out, but try again to not roll the dough too much. Too much rolling and your scones will be tough.
The final touch before baking the scones, is to glaze the tops, and only the tops, with an egg wash. Glazing only the tops, again helps the scones to rise evenly. They can then be baked, and eaten when warm with lashings of butter!

Tips & Tricks
Scones are best eaten on the day of baking, but they do freeze well! You can defrost them at room temperature and then reheat them in the oven for a few minutes to refresh them.
Absolutely! Any hard cheese would work really well in these. I would try and use a strong flavoured cheese though, so that the herbs don’t overpower it.
If your scones aren’t rising you might not be adding enough milk. Your dough should be wet and sticky, not dry. Don’t be afraid of a wet dough, generally this means a better bake!

These scones are light, tender and moist. Packed full of strong cheddar cheese and fresh vibrant herbs. They are deliciously moreish eaten warm from the oven with lashings of butter…and if you have extra cheese I won’t tell! I love how quickly and easily they come together and how easily customisable they can be for additions!
You may also like:

Herby Cheese Scones
Ingredients
- 450 g strong white bread flour
- 1 pinch of salt
- 80 g unsalted butter cold
- 2 large eggs
- 5 tsp baking powder
- 250 ml milk whole or semi-skimmed
- 80 g mature cheddar cheese
- 30 g mixed fresh herbs chives, parsley, coriander
Egg Wash
- 1 large egg
Instructions
- Firstly, preheat the oven to 220C/200C Fan/Gas Mark 7 and line a large baking tray with baking paper. Then, in a large bowl, rub the flour, salt and butter together until it resembles breadcrumbs.
- Then add the eggs and baking powder and using a silicone spatular or wooden spoon, mix to combine. Then pour in half the milk, mixing again until fully combined. Then add the remaining milk, a little at a time, until it comes together and forms a very soft and slightly wet dough. (You may not need to use all of the milk.) Finally, grate the cheese and roughly chop the fresh herbs, then mix into the dough.
- Generously dust a clean work surface with flour and tip the dough onto it, sprinkling a little more flour on top of the dough. Flatten the dough out a little with your hands, then using a rolling pin, roll the dough 2/3 times till approx. 1/2 inch thick. Finally, 'relax' the dough by slightly lifting the edges and letting it drop back onto the work surface.
- Using an 8cm cookie cutter, cut out rounds by pressing firmly down (without twisting!) and place onto the prepared baking tray, leaving room to spread. Once you've cut as many rounds as you can, re-roll the remaining dough and repeat the cutting process.
- In a small bowl, briefly whisk the remaining egg for glazing. Then using a pastry brush, brush the top of the scones with the egg, ensuring it doesn't drop down the sides. Then place in the oven for 15 minutes until the scones are risen and golden brown. Serve warm.
