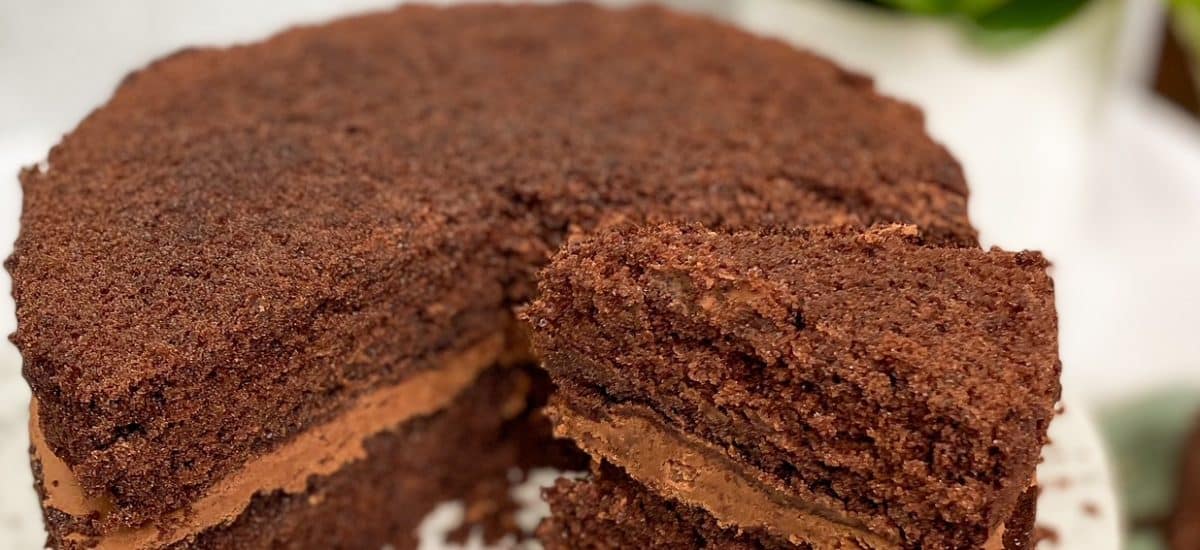
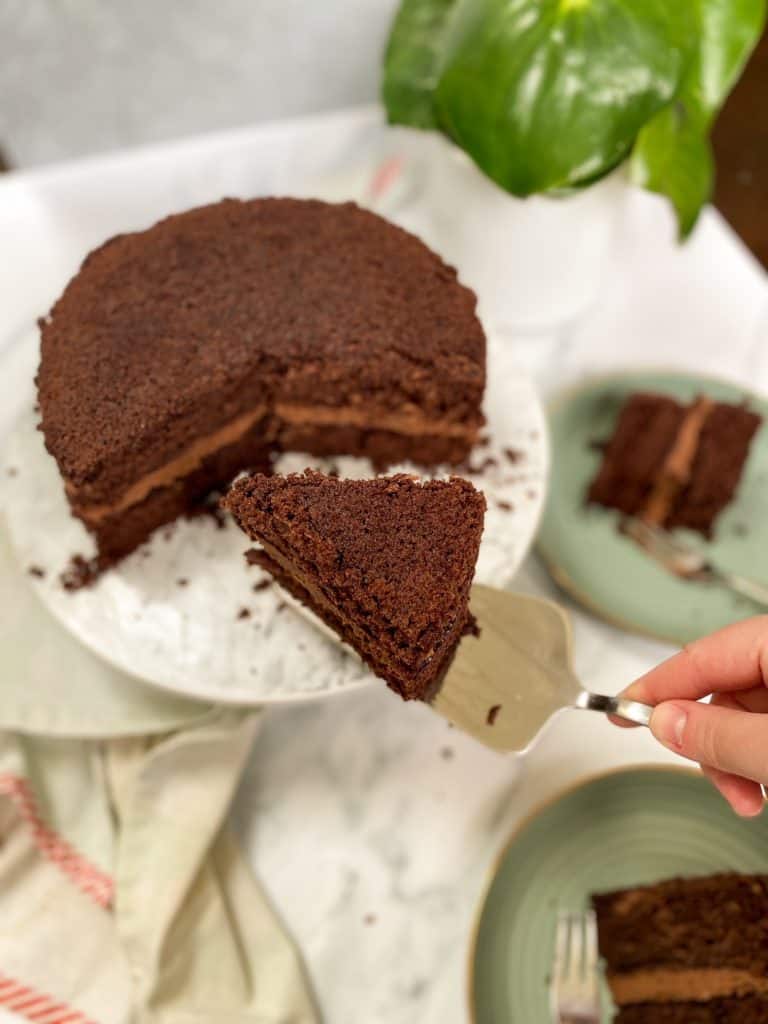
Super moist, decadent and indulgent. You can’t beat a good chocolate cake, and this is the ultimate recipe. Once you’ve made my classic easy double chocolate cake, its bound to be a staple in your kitchen!
Jump to RecipeChocolate cake is a staple the world over, loved by children and adults alike. But I also think its often one of the most disappointing cakes! Its either dry, doesn’t taste chocolatey enough or is just completely over decorated – covered in chocolate bars or fancy drips. Sometimes you just need a good basic staple that you can rely on. Without any frills.
This is that recipe. This chocolate cake is so moist, packed full of flavour and SO easy to put together. Let me talk you through it;
How to make a classic easy double chocolate cake:
For this chocolate cake all you need is two 8inch sandwich cake tins and an electric hand-whisk. You could do this by hand with a whisk or silicone spatula, but you’ll get a much lighter sponge if you use an electric hand-whisk. They are pretty cheap these days in supermarkets, so if you invest in one thing for your baking arsenal, let it be this!
Why do you add coffee to a chocolate cake?
Now, this might seem counter-intuitive for a chocolate cake, but adding coffee will actually enhance the chocolate flavour! Coffee and chocolate don’t just have an overlap in growing regions, they also share a flavour profile. So adding a strong cup of coffee to the cake batter, increases the rich flavours giving you the most delicious cake.
Now I take this one step further, by combining the cocoa powder with the coffee. This ‘cooks’ the cocoa, helping to deepen the rich chocolate flavour even further.
How to make the chocolate sponge:
So the first step is to combine the coffee and cocoa powder together as above, to create a thick paste. You then need to set this aside for 2-3 minutes to cool slightly – just so it doesn’t melt the butter when you combine the batter.
Then, using the electric hand-whisk whip together the cocoa paste, sugar and butter for 2-3 minutes until creamy and slightly lightened in colour. Next the eggs must be added one by one, mixing between each addition.
Then the dry ingredients are added – the flour and baking powder. I prefer to fold this in by hand. At this point, you don’t want to overmix as this will result in a tough cake. So just mix enough that no pockets of flour remain. Then finally, stir in the milk and that’s it.
This cake really does come together so quickly, and almost in one bowl! Its so simple, but creates SUCH a light sponge.
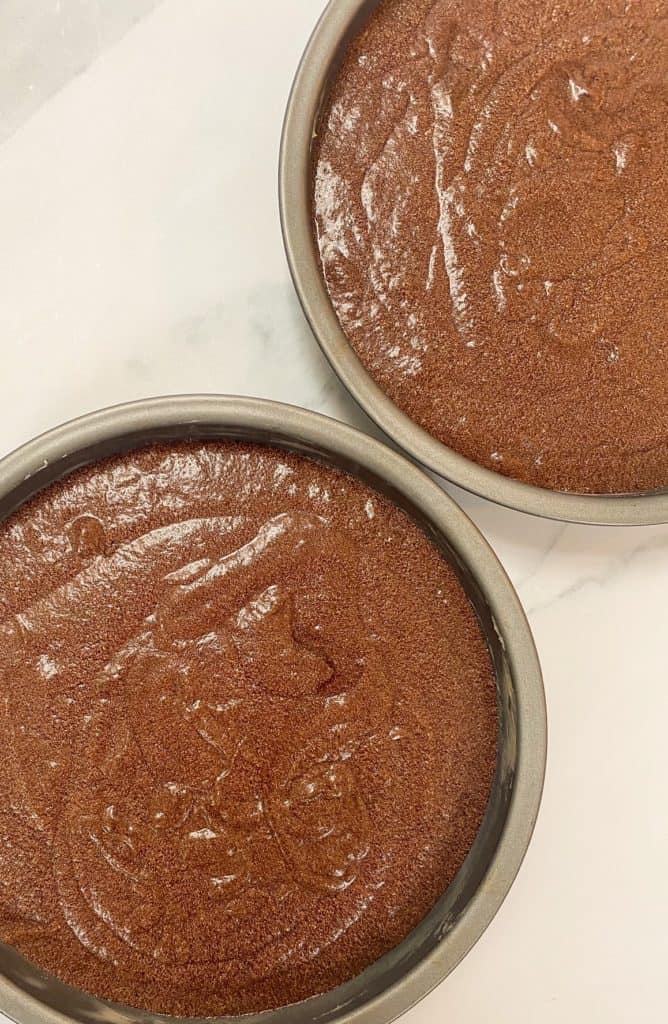
The batter needs to be divided between the two lined sandwich tins – I prefer to do this by weight so they both bake evenly. But you can do it by eye, if you’re not as anal as me! 😉
How to make milk chocolate ganache:
The next step is to make the filling. I really wanted the whole cake to be as chocolatey as possible, filling included. So what’s more ‘chocolatey’ than ganache?! Ganache is the combination of cream and chocolate that’s used for truffles, tarts, lava cakes and glazes. How much cream to chocolate depends on what kind of chocolate you’re using and what you plan on making, but as a general rule:
- Dark Chocolate = 1:1
- Milk Chocolate = 2:1
- White Chocolate = 3:1
Working with chocolate can be a little temperamental, but if you stick to the steps below you’ll create a beautifully glossy ganache in no time.
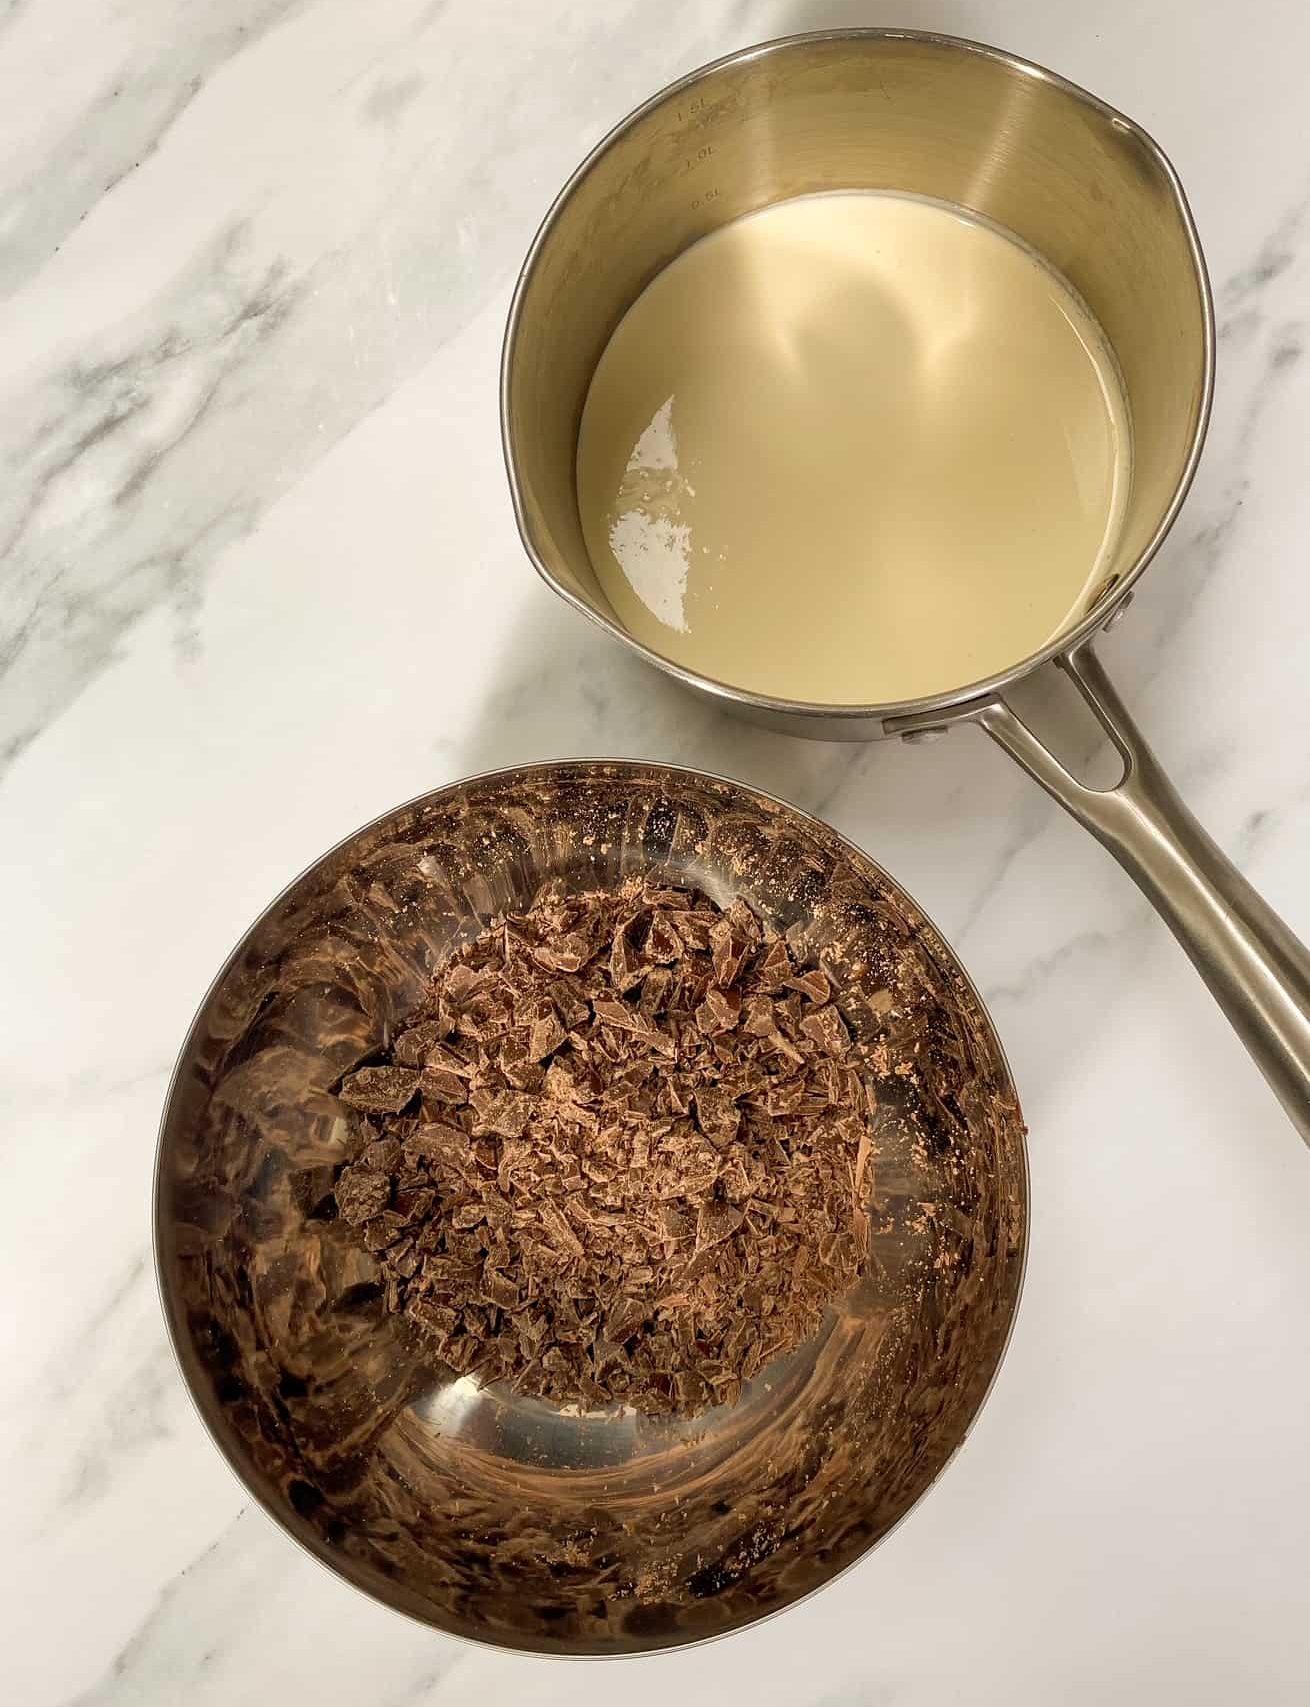
Firstly you’ll need to chop your chocolate very finely. You also need to make sure you’re using a good-quality milk chocolate. I used Dr Oetkers 35% milk chocolate. The chocolate needs to be very fine, as you’ll pouring the heated cream over the chocolate to melt it, and this needs to be as even a process as possible.
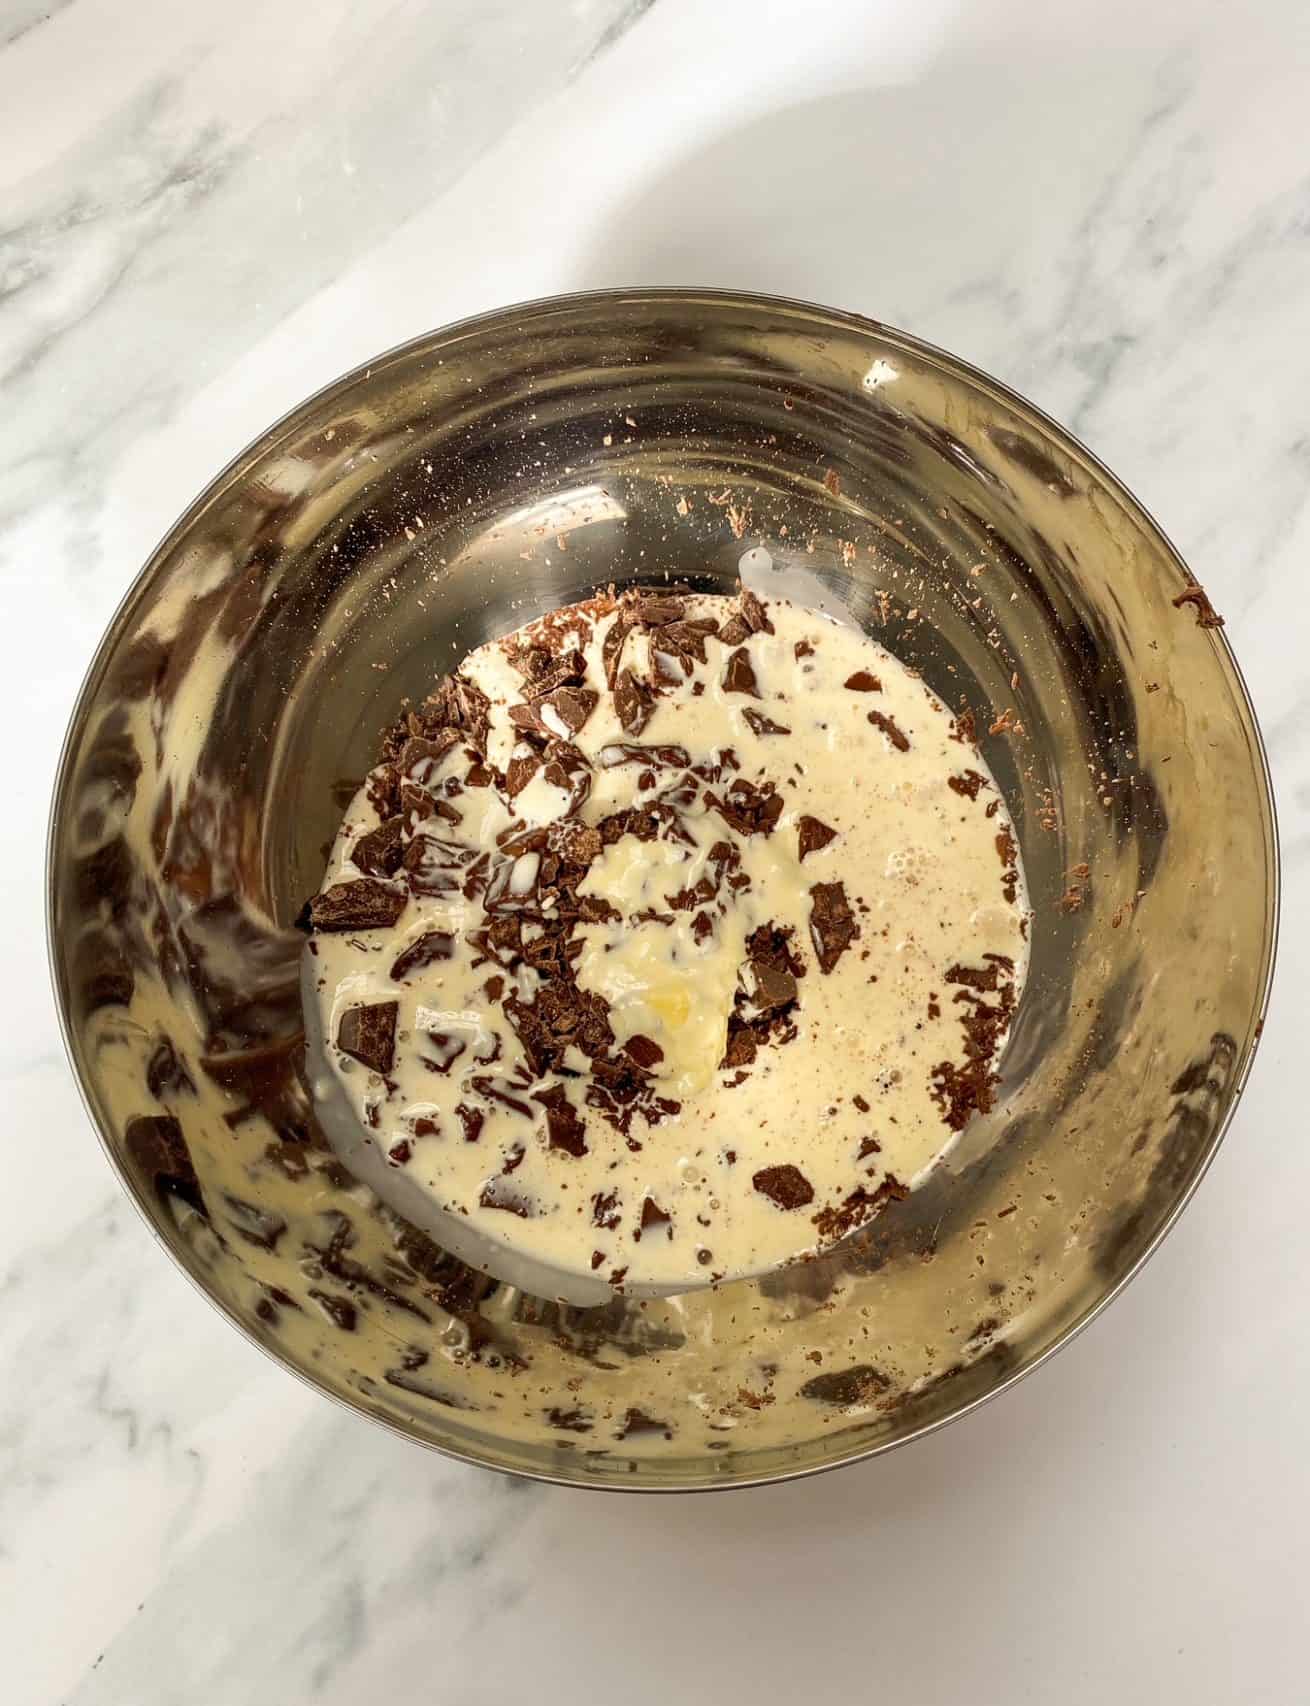
Once your chocolate is ready in a heat-proof bowl, place your cream in a small saucepan over a low heat. You want to cook the cream until it just starts to bubble at the edges, you don’t want to boil or burn it! Then you can pour it over the chocolate and leave to sit for 2 minutes. It’s really important that you don’t stir the mixture straight away, and instead you leave it alone to work its magic. I cover the bowl with clingfilm to trap the heat and help the melting process.
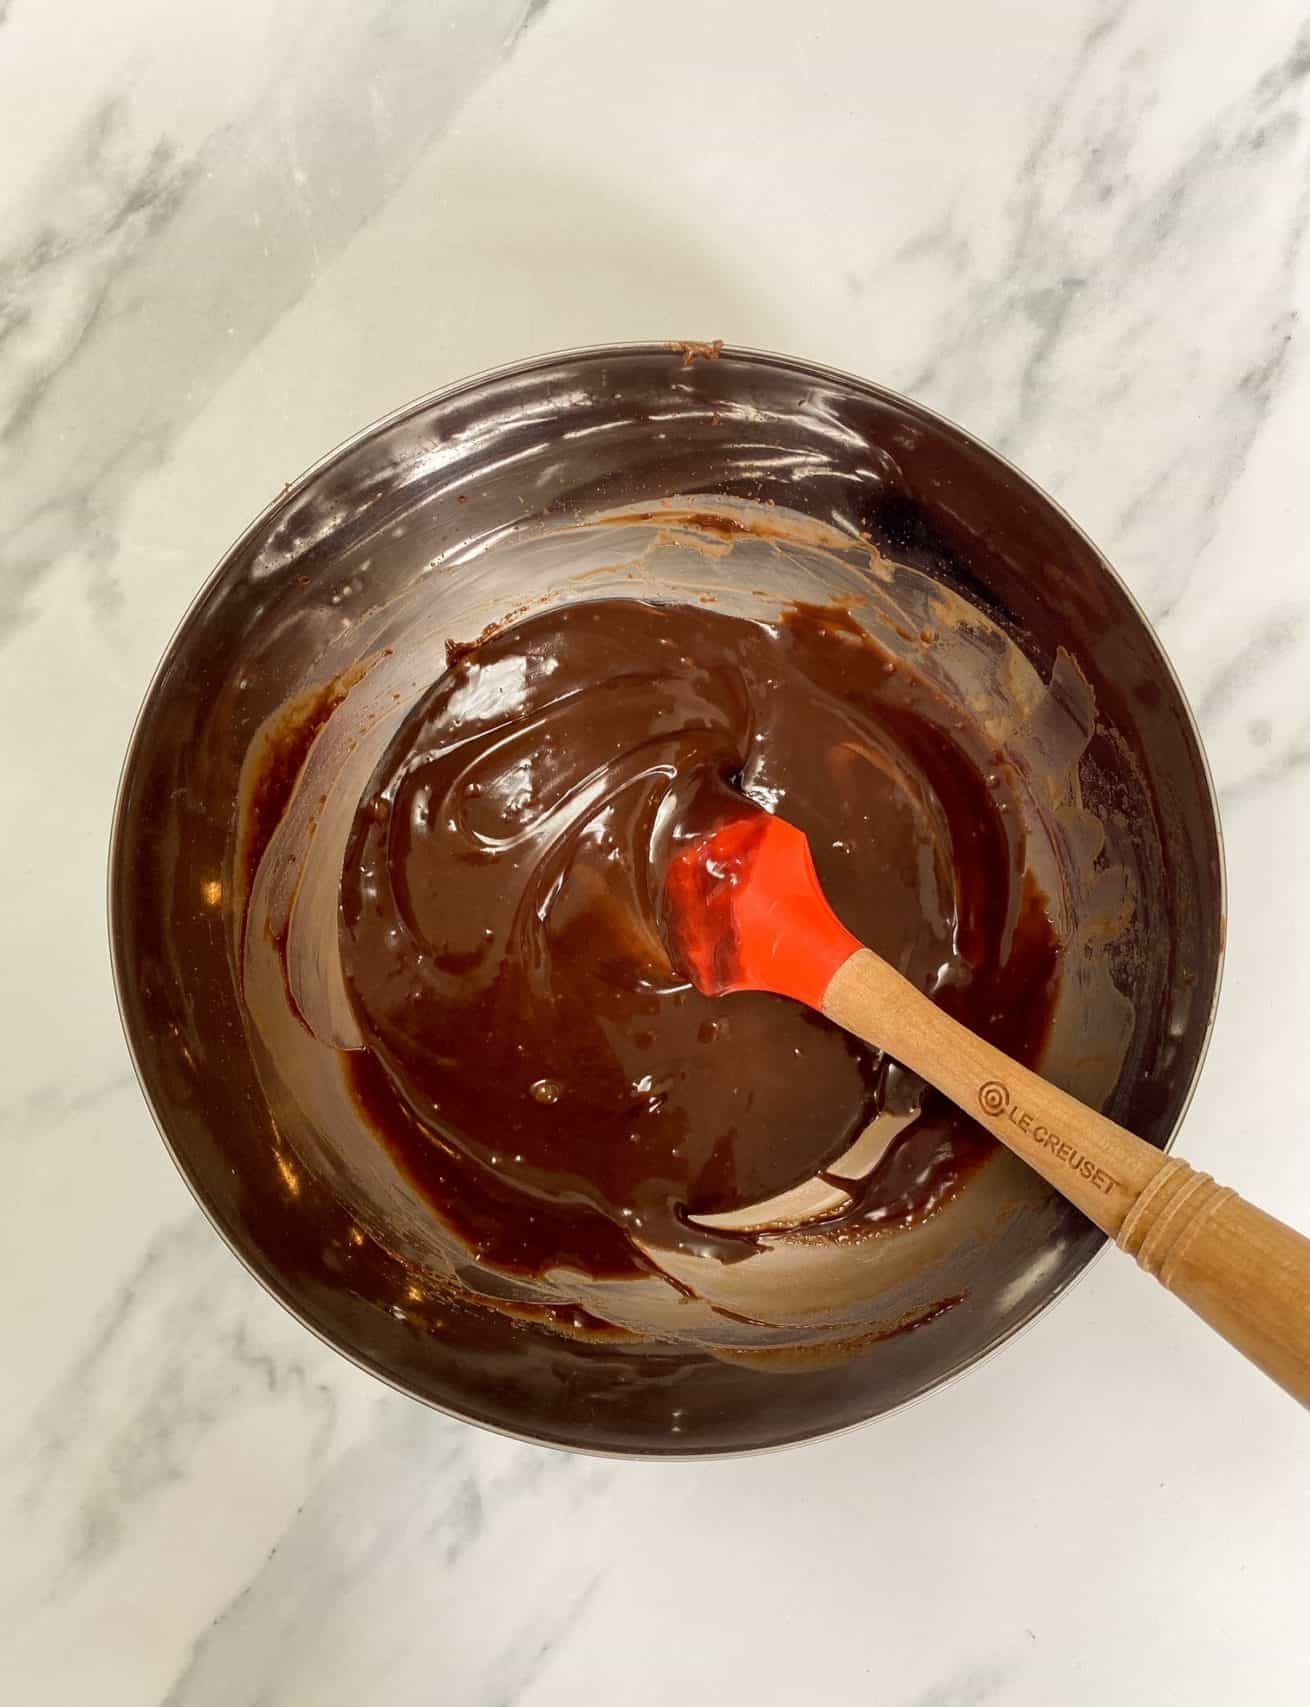
Once the two minutes are up, you can carefully and slowly stir the cream into the chocolate which should have almost fully melted, until you get a glossy thick emulsion. And leave it to set for an hour or so until it has the consistency of buttercream – solid but still soft and scoopable.
How to make whipped ganache:
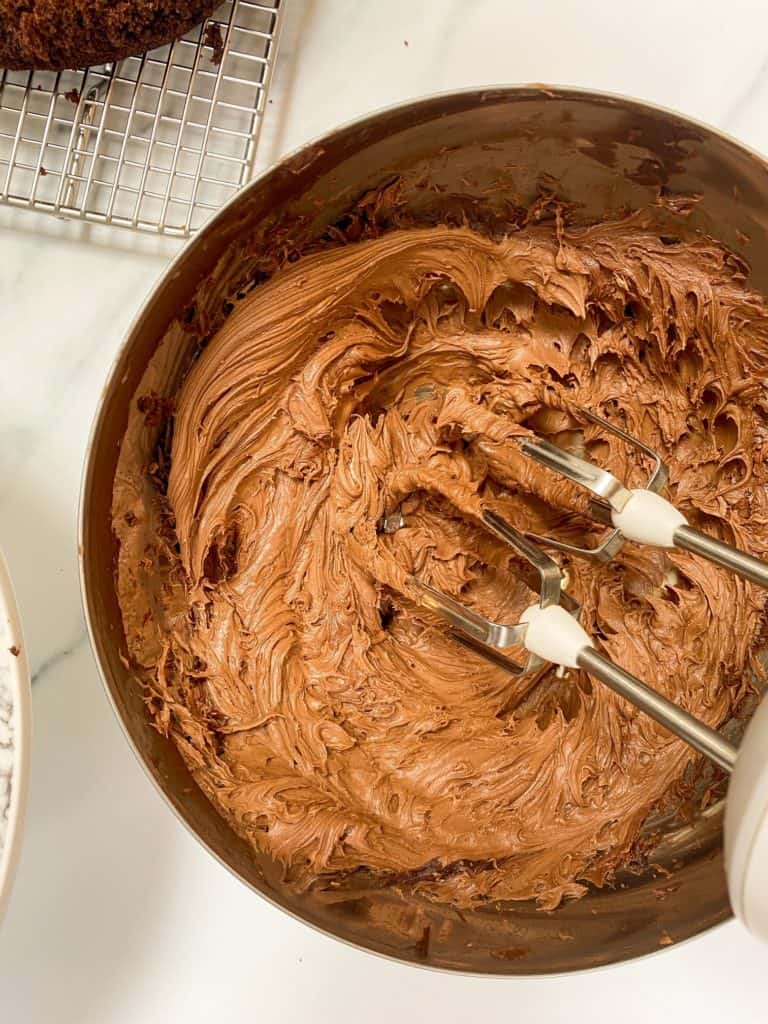
To turn the ganache into whipped ganache, you may have guessed it…but you need to whip it 😉 BUT, only for 1-2 minutes max with an electric hand-whisk. I know this seems so short, but any longer and you’ll make it grainy and it won’t be delicious smooth and spreadable. You could do it by hand if you wanted to be extra careful!
And that really is it.
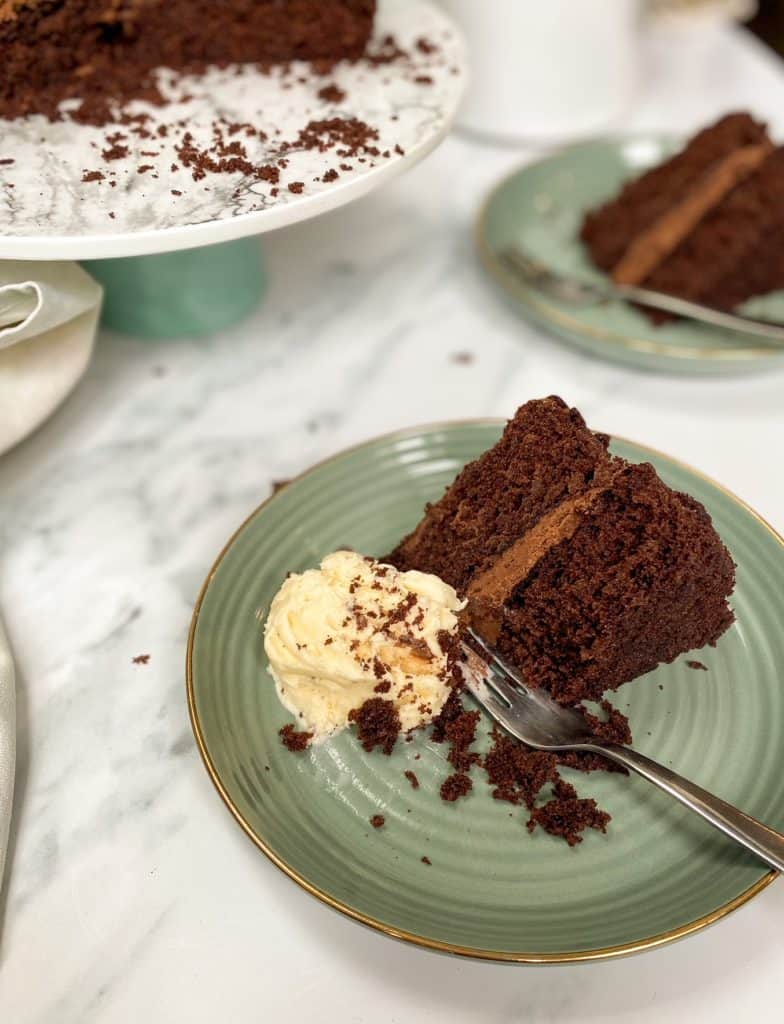
This cake is so so delicious, I ate a slice and a half when photographing it because I just couldn’t stop. Guiltyyy. Its so moist, so flavourful and the whipped ganache is the perfect creamy accompaniment.
The chocolate sponge can be made the day before eating, wrapped in cling film to keep it air-tight. The ganache can be made in advance and kept air-tight at room temperature. Whipping the ganache is best done on day of assembly.
Don’t worry! Just place the whole thing over a bain-marie and stir the ganache until all the chocolate has melted and you’re left with a smooth and glossy consistency.
This is a common problem, so don’t beat yourself up! Firstly, place the bowl over a bain-marie and whisk vigorously. If your ganache still hasn’t come together, vigorously whisk in a small amount of lukewarm milk.
Like with most bakes, they’re always best eaten same day. But as this cake is so moist, it will keep well for 3-4 days in an air-tight container.
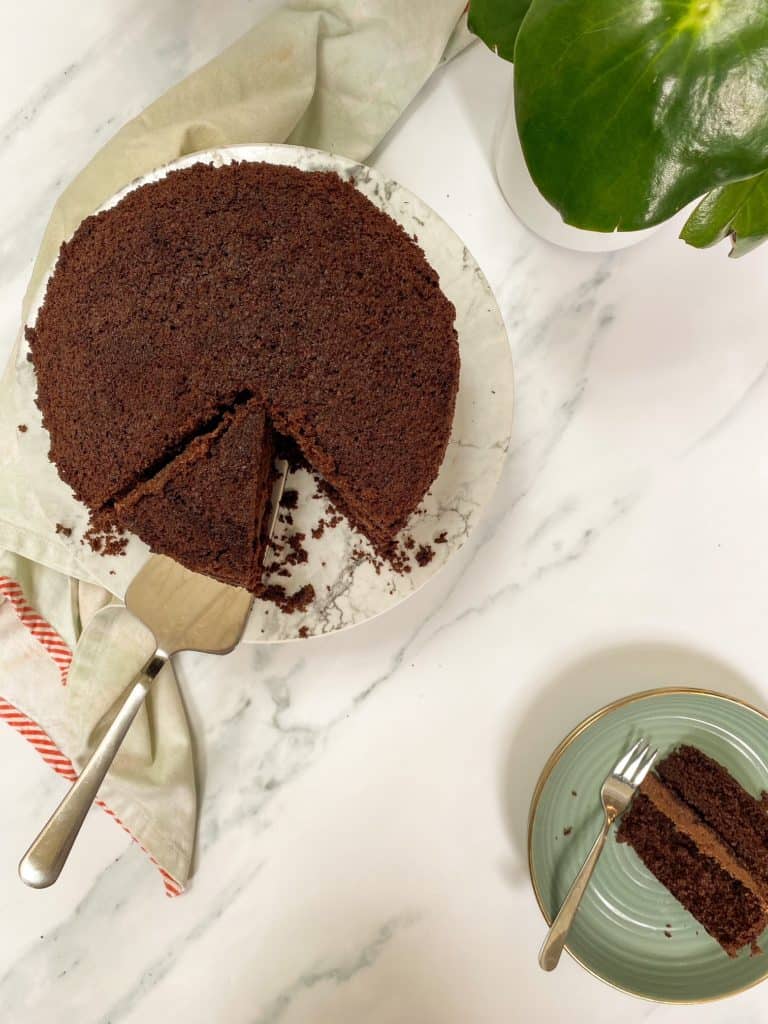
This is the ultimate classic easy double chocolate cake, and I really hope you like it! If you’re looking for something a little more adventurous however, why not try my Salted Chocolate Rye Cake or my Chocolate Tahini Traybake.
Classic Easy Double Chocolate Cake
Ingredients
Sponges
- 50 g cocoa powder
- 90 ml freshly brewed black coffee 1tsp coffee
- 100 g unsalted butter room temperature
- 275 g caster sugar
- 3 large eggs
- 175 g plain flour
- 3 tsp baking powder
- 125 ml milk whole or semi-skimmed
Whipped Ganache
- 200 g milk chocolate around 35%
- 100 g double cream
Instructions
- For the sponges: Preheat your oven to 180C/160C Fan/Gas Mark 4 and grease and line two 8inch sandwich tins. In a small bowl, stir together the cocoa powder and freshly brewed black coffee to create a thick paste without lumps. Then set aside to cool slightly.
- In a large bowl using an electric hand-whisk, whisk together the cocoa paste, butter and sugar for 1-2minutes until thick, well combined and slightly lightened in colour. Then add the eggs one at a time, mixing well between each addition.
- Then fold in the flour and baking powder by hand, until just combined. Finally, gently stir in the milk until combined. Then divide the batter between the two tins.
- Bake for 25 minutes until a skewer inserted into the centre of the cakes comes out clean. Leave to cool in the tin for 10 minutes, then remove and leave on a wire rack to completely cool.
- For the whipped ganache: While the sponges are baking, very finely chop the chocolate and place in a heatproof bowl. Then heat the cream in a small saucepan, until just bubbling at the edges. Pour over chocolate, cover with cling film and leave to sit for 2 minutes. Then carefully and slowly stir to combine until you're left with a smooth emulsion. Place clingfilm on the ganache to prevent a skin forming, and leave to cool and thicken until its a buttercream consistency (solid but scoopable).
- Once the right consistency has been achieved, using an electric hand-whisk, whisk for 1-2 minutes until light and fluffy.
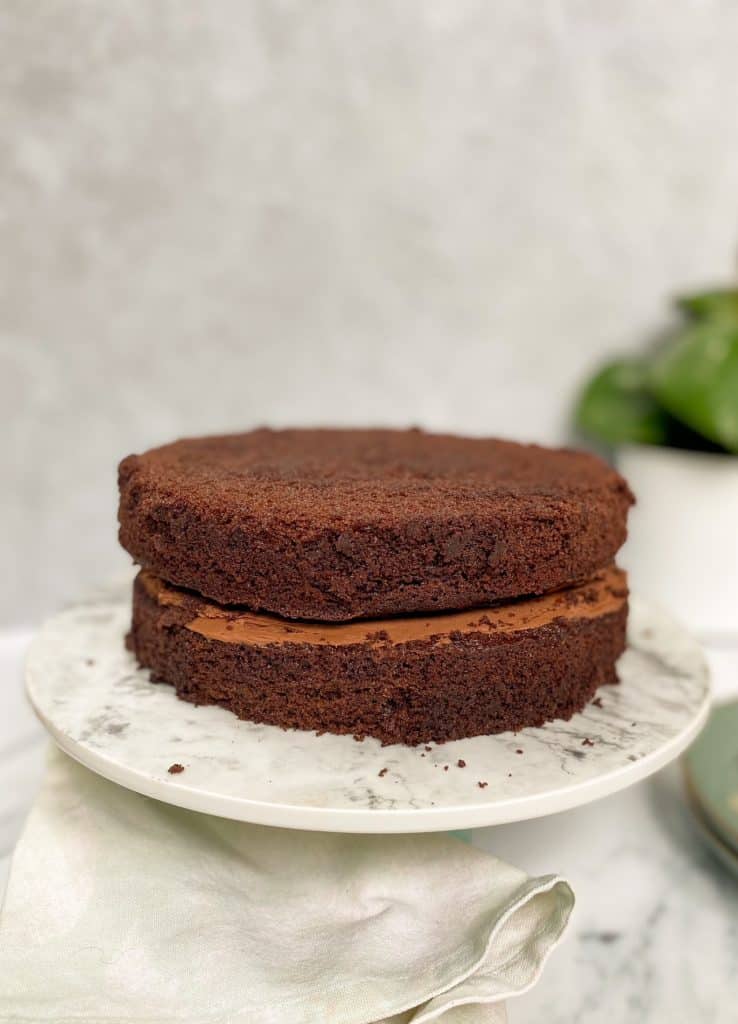
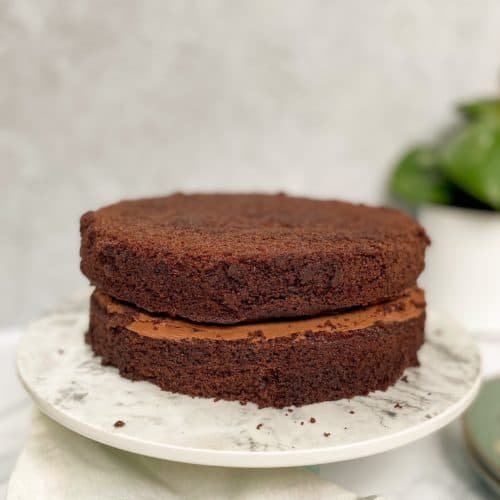
- To assemble: Place one of the sponges onto your cake stand or plate, then using a palette knife spread the whipped ganache over in an even layer. Then place the second sponge on top.
