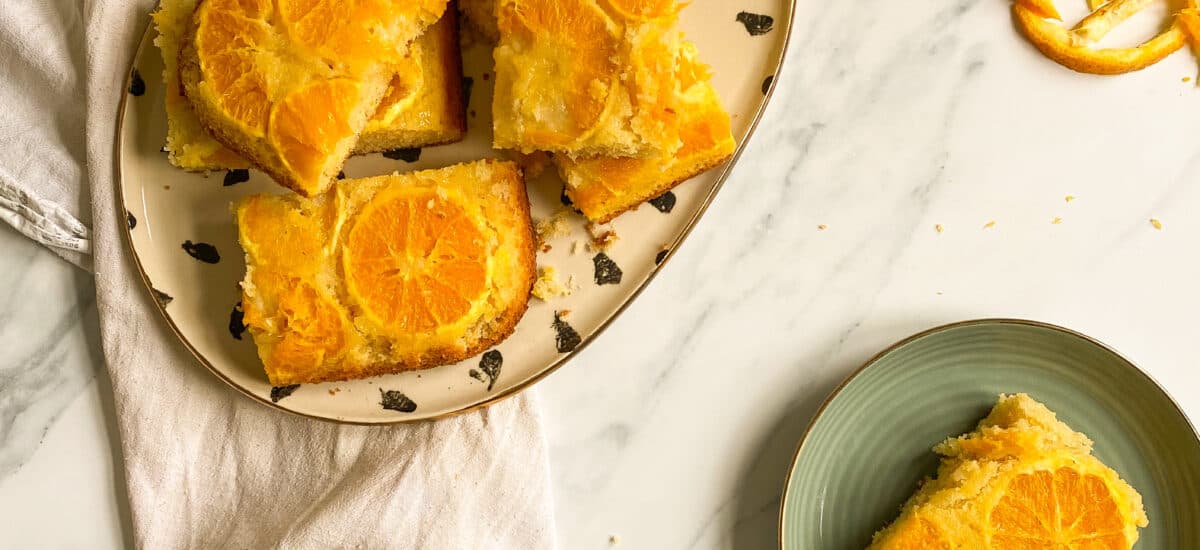
Light, fresh and packed full of flavour. This orange upside down traybake cake is the perfect spring/summer treat!
Upside down cakes are one of the easiest but most effective ways to create a beautifully decorated cake – but in just one pan! If you don’t know what an upside down cake is, its a cake that’s baked with the toppings on the bottom. Once removed from the oven, the cake is turned upside down, which then means the toppings are on top of the cake! A pineapple upside down cake is probably the most popular style, but you can create so many versions with different fruits.
I actually started testing this recipe with grapefruit – but for me personally, the grapefruit was just way too bitter for my taste – even with sugar and the cake mix on top! You can of course substitute grapefruit into this recipe instead of the orange though, if you’re a big fan! I honestly wish I liked grapefruit more than I do!!
Ingredients You’ll Need
- Oranges – No surprise there 😉 I used extra-large oranges so I could have big beautiful slices. But whatever oranges you like best will be perfect! You’ll need 2 or 3 depending on the size.
- Caster Sugar – This is used to sprinkle onto the orange slices and in the cake – giving the oranges a deliciously sweet note.
- Unsalted Butter – I always use unsalted butter in my bakes, so that you can control the amount of salt that’s added yourself. This needs to be at room temperature too, so it can combine well with the sugar.
- Vanilla Extract – The hardest working ingredient in baking thats for sure! Vanilla adds the most delicious flavour to the sponge.
- Eggs – You’ll need two large eggs for this bake – again at room temperature!
- Plain Flour – Similar to using unsalted butter, I like to use plain flour to be able to control the rise of my cakes better.
- Baking Powder – 2 and a half teaspoons are needed here, to give the cake the perfect lift.
- Salt – Salt in bakes helps to bring out all the flavours.
- Milk – The milk adds a richness to the cake, and helps to thin the batter slightly.
How to make an Orange Upside Down Traybake Cake:
This cake is so easy to make and comes together really quickly. Perfect if you’re hosting guests last minute or if you just want a quick summery treat!
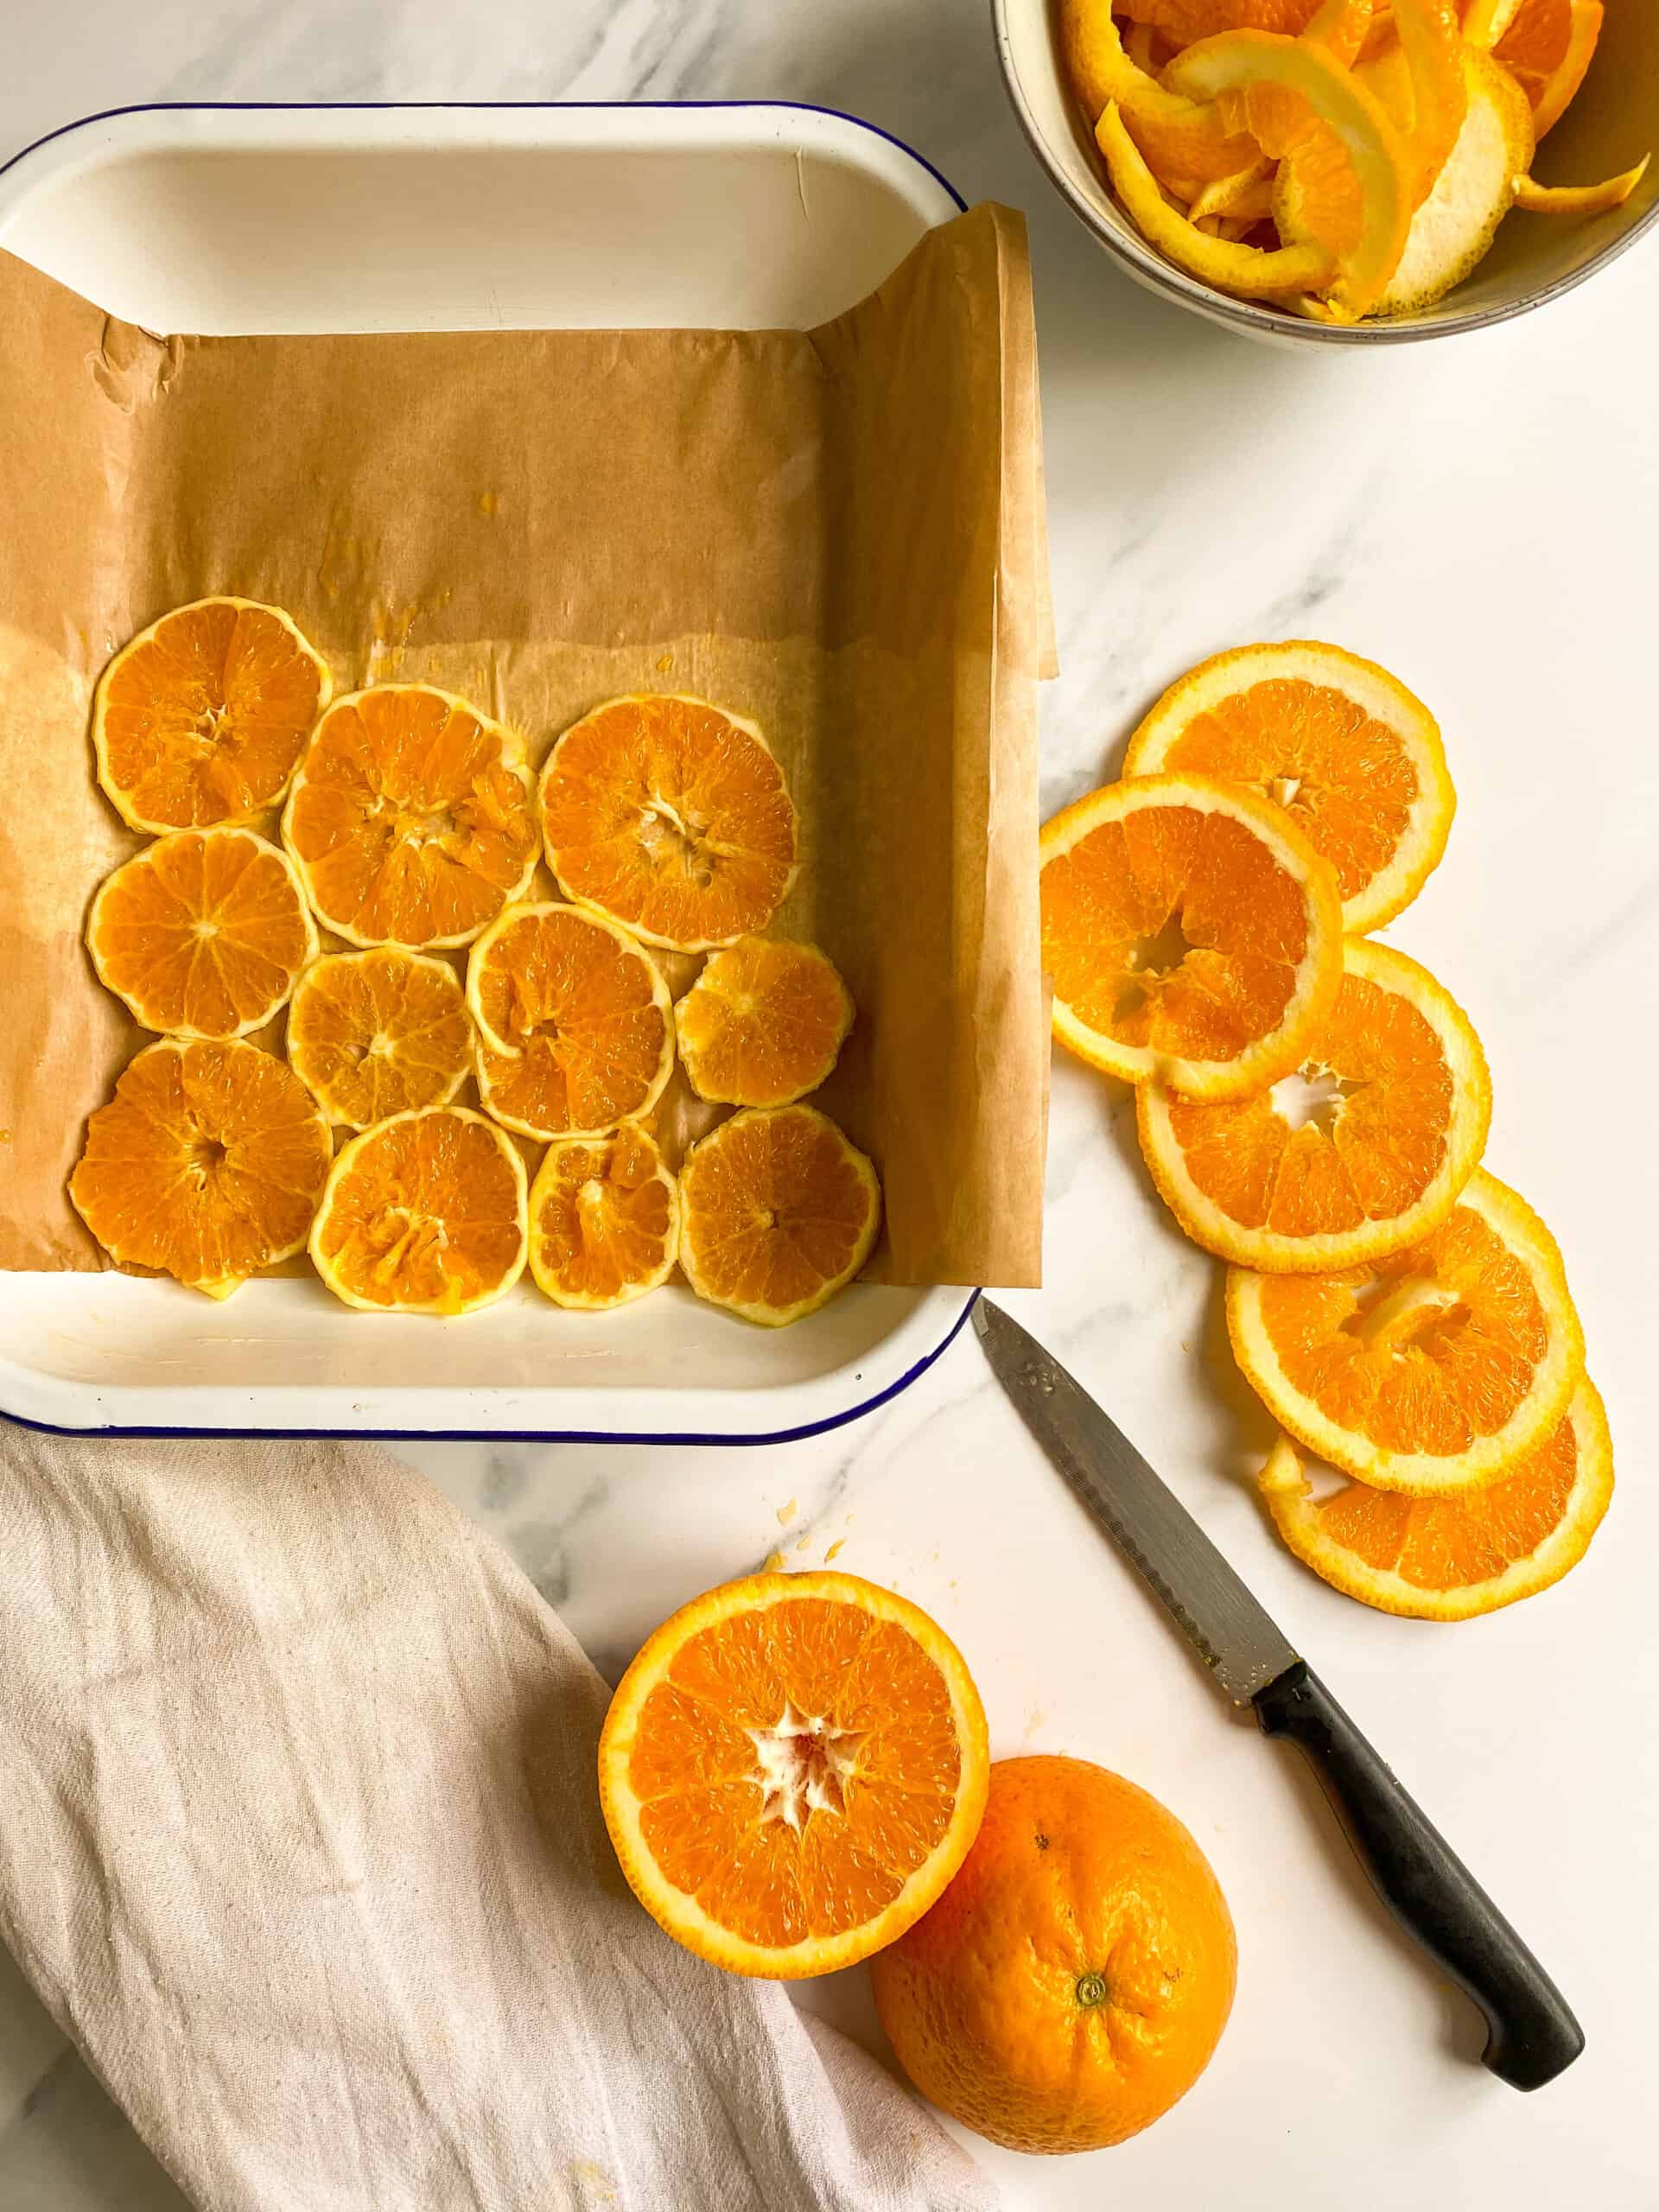
Slicing the oranges
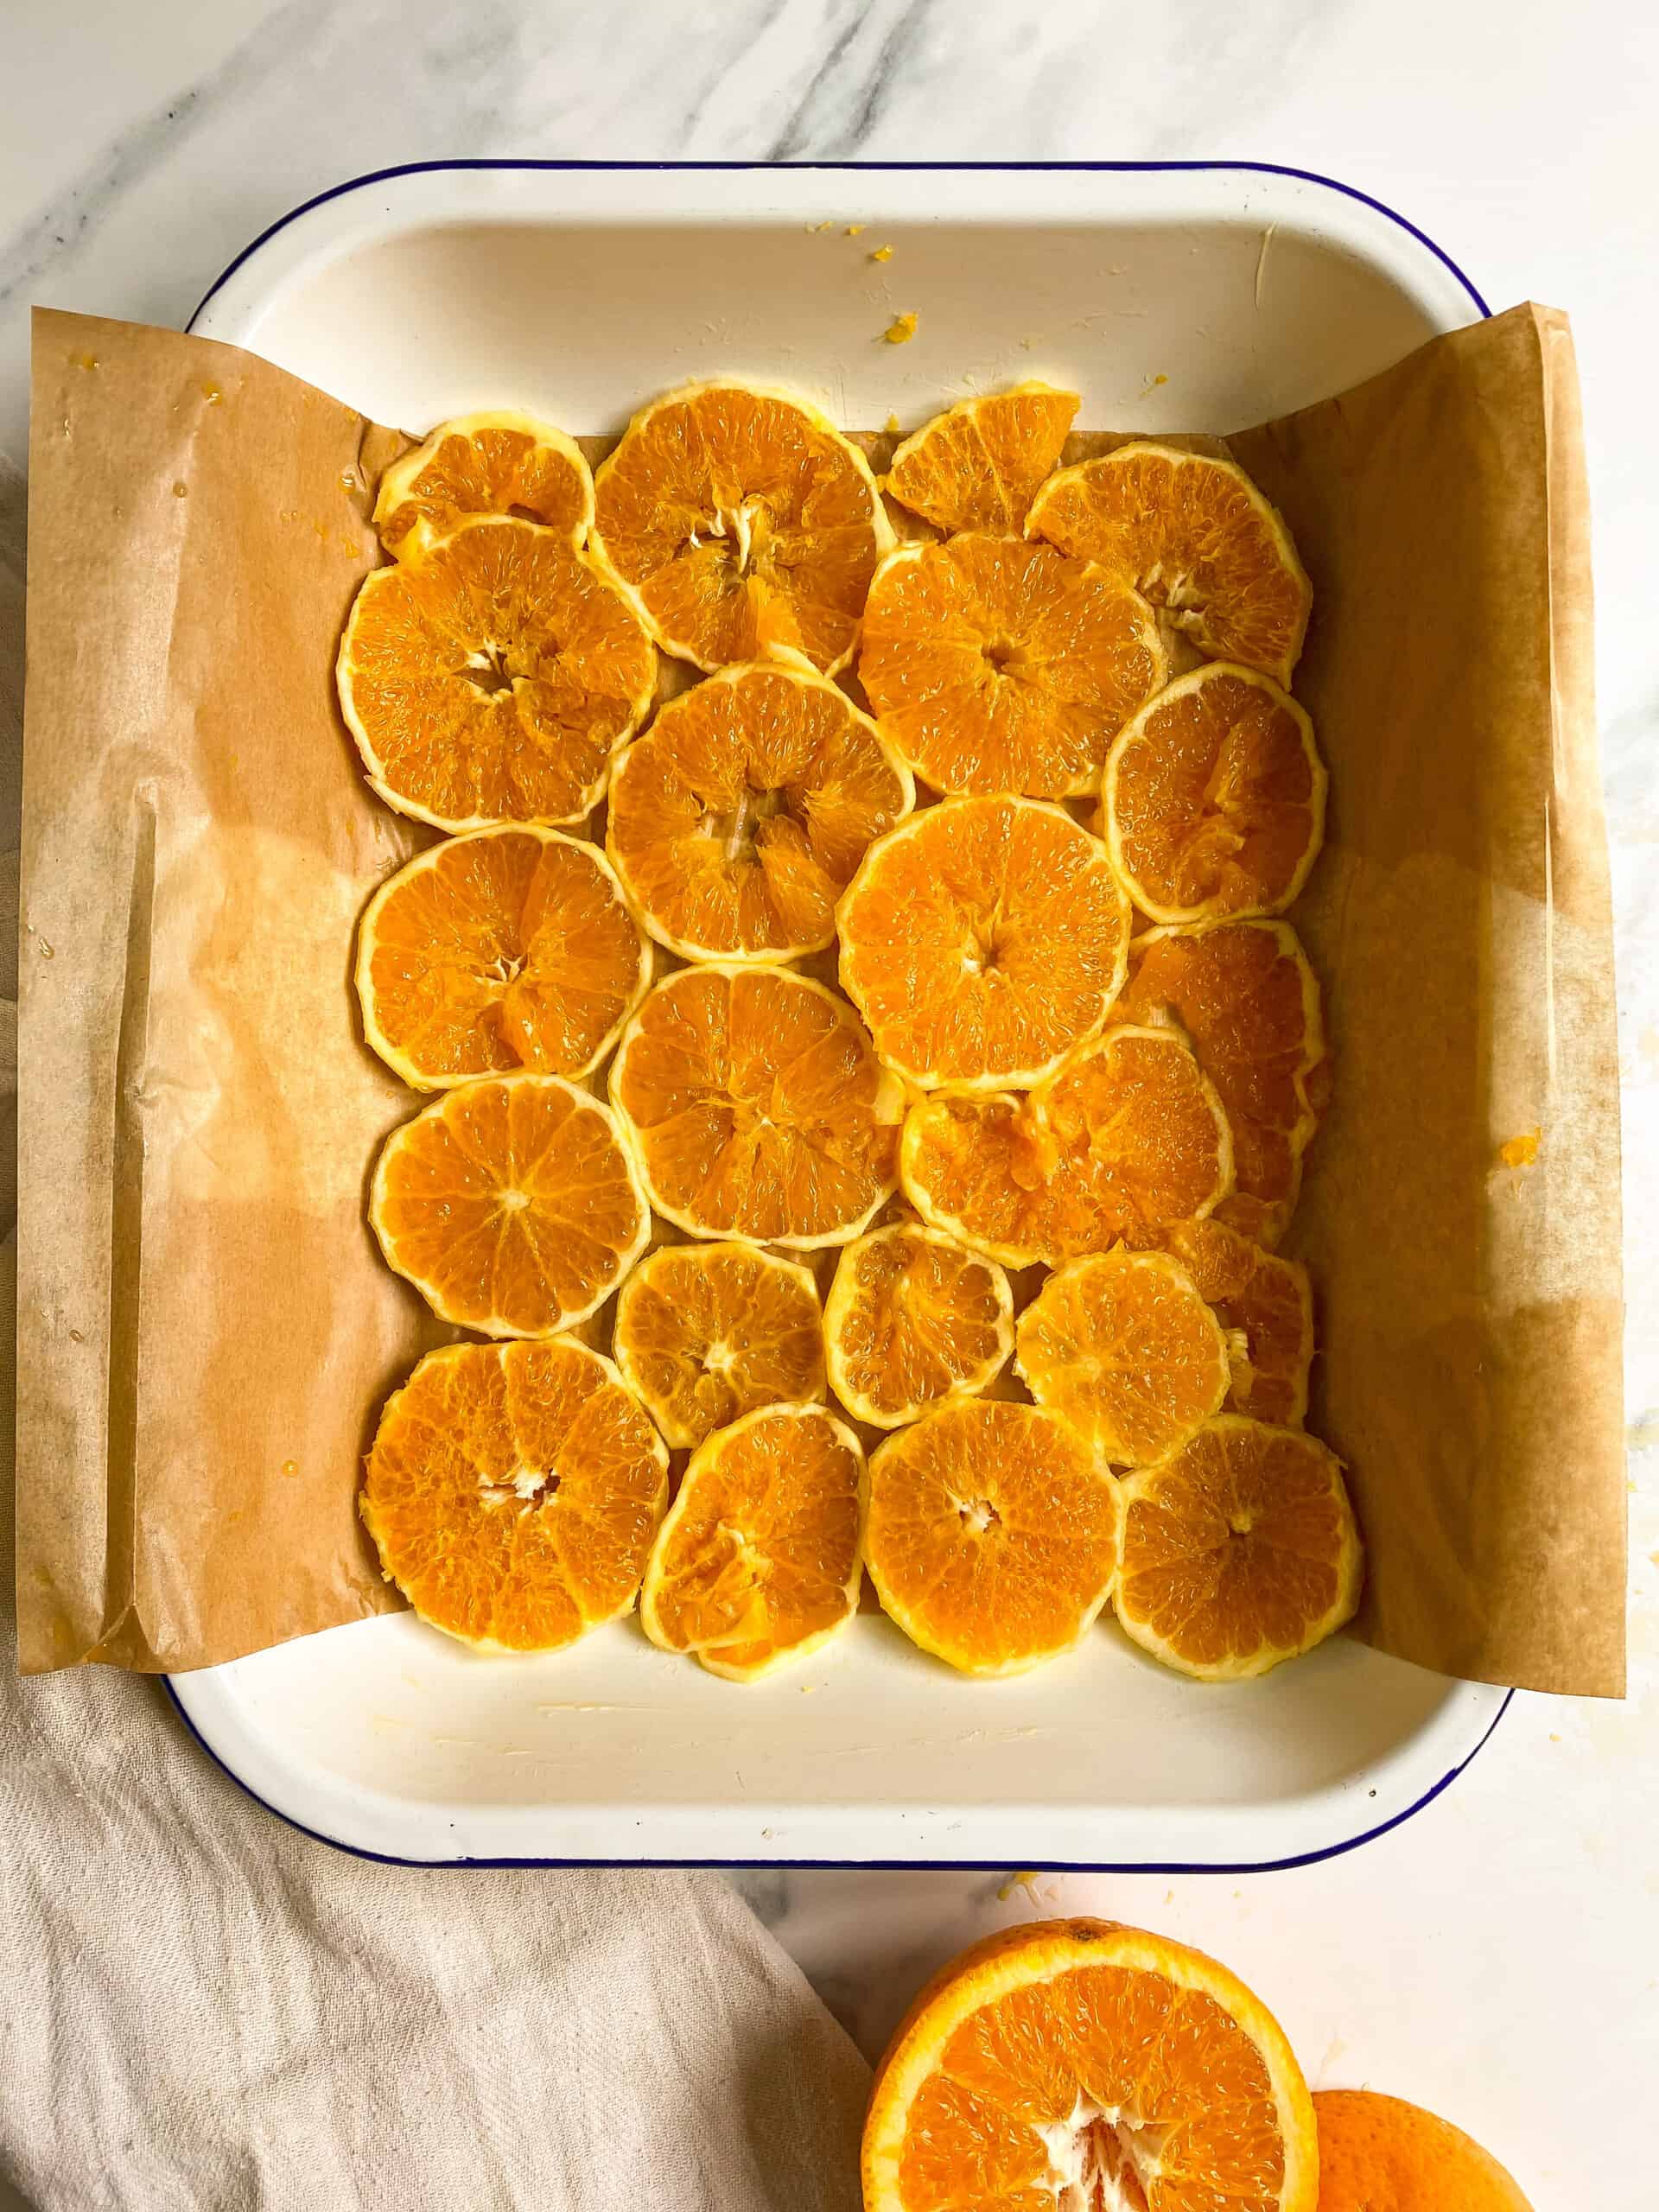
To create the ‘top’ of our traybake, you first need to thinly slice oranges to create the fruit layer. I preferred to cut the peel off, leaving just a thin edge of the white pith so that the orange slices remained intact. But if you like a little bite, you can leave the peel on, just make sure your slices are thin.
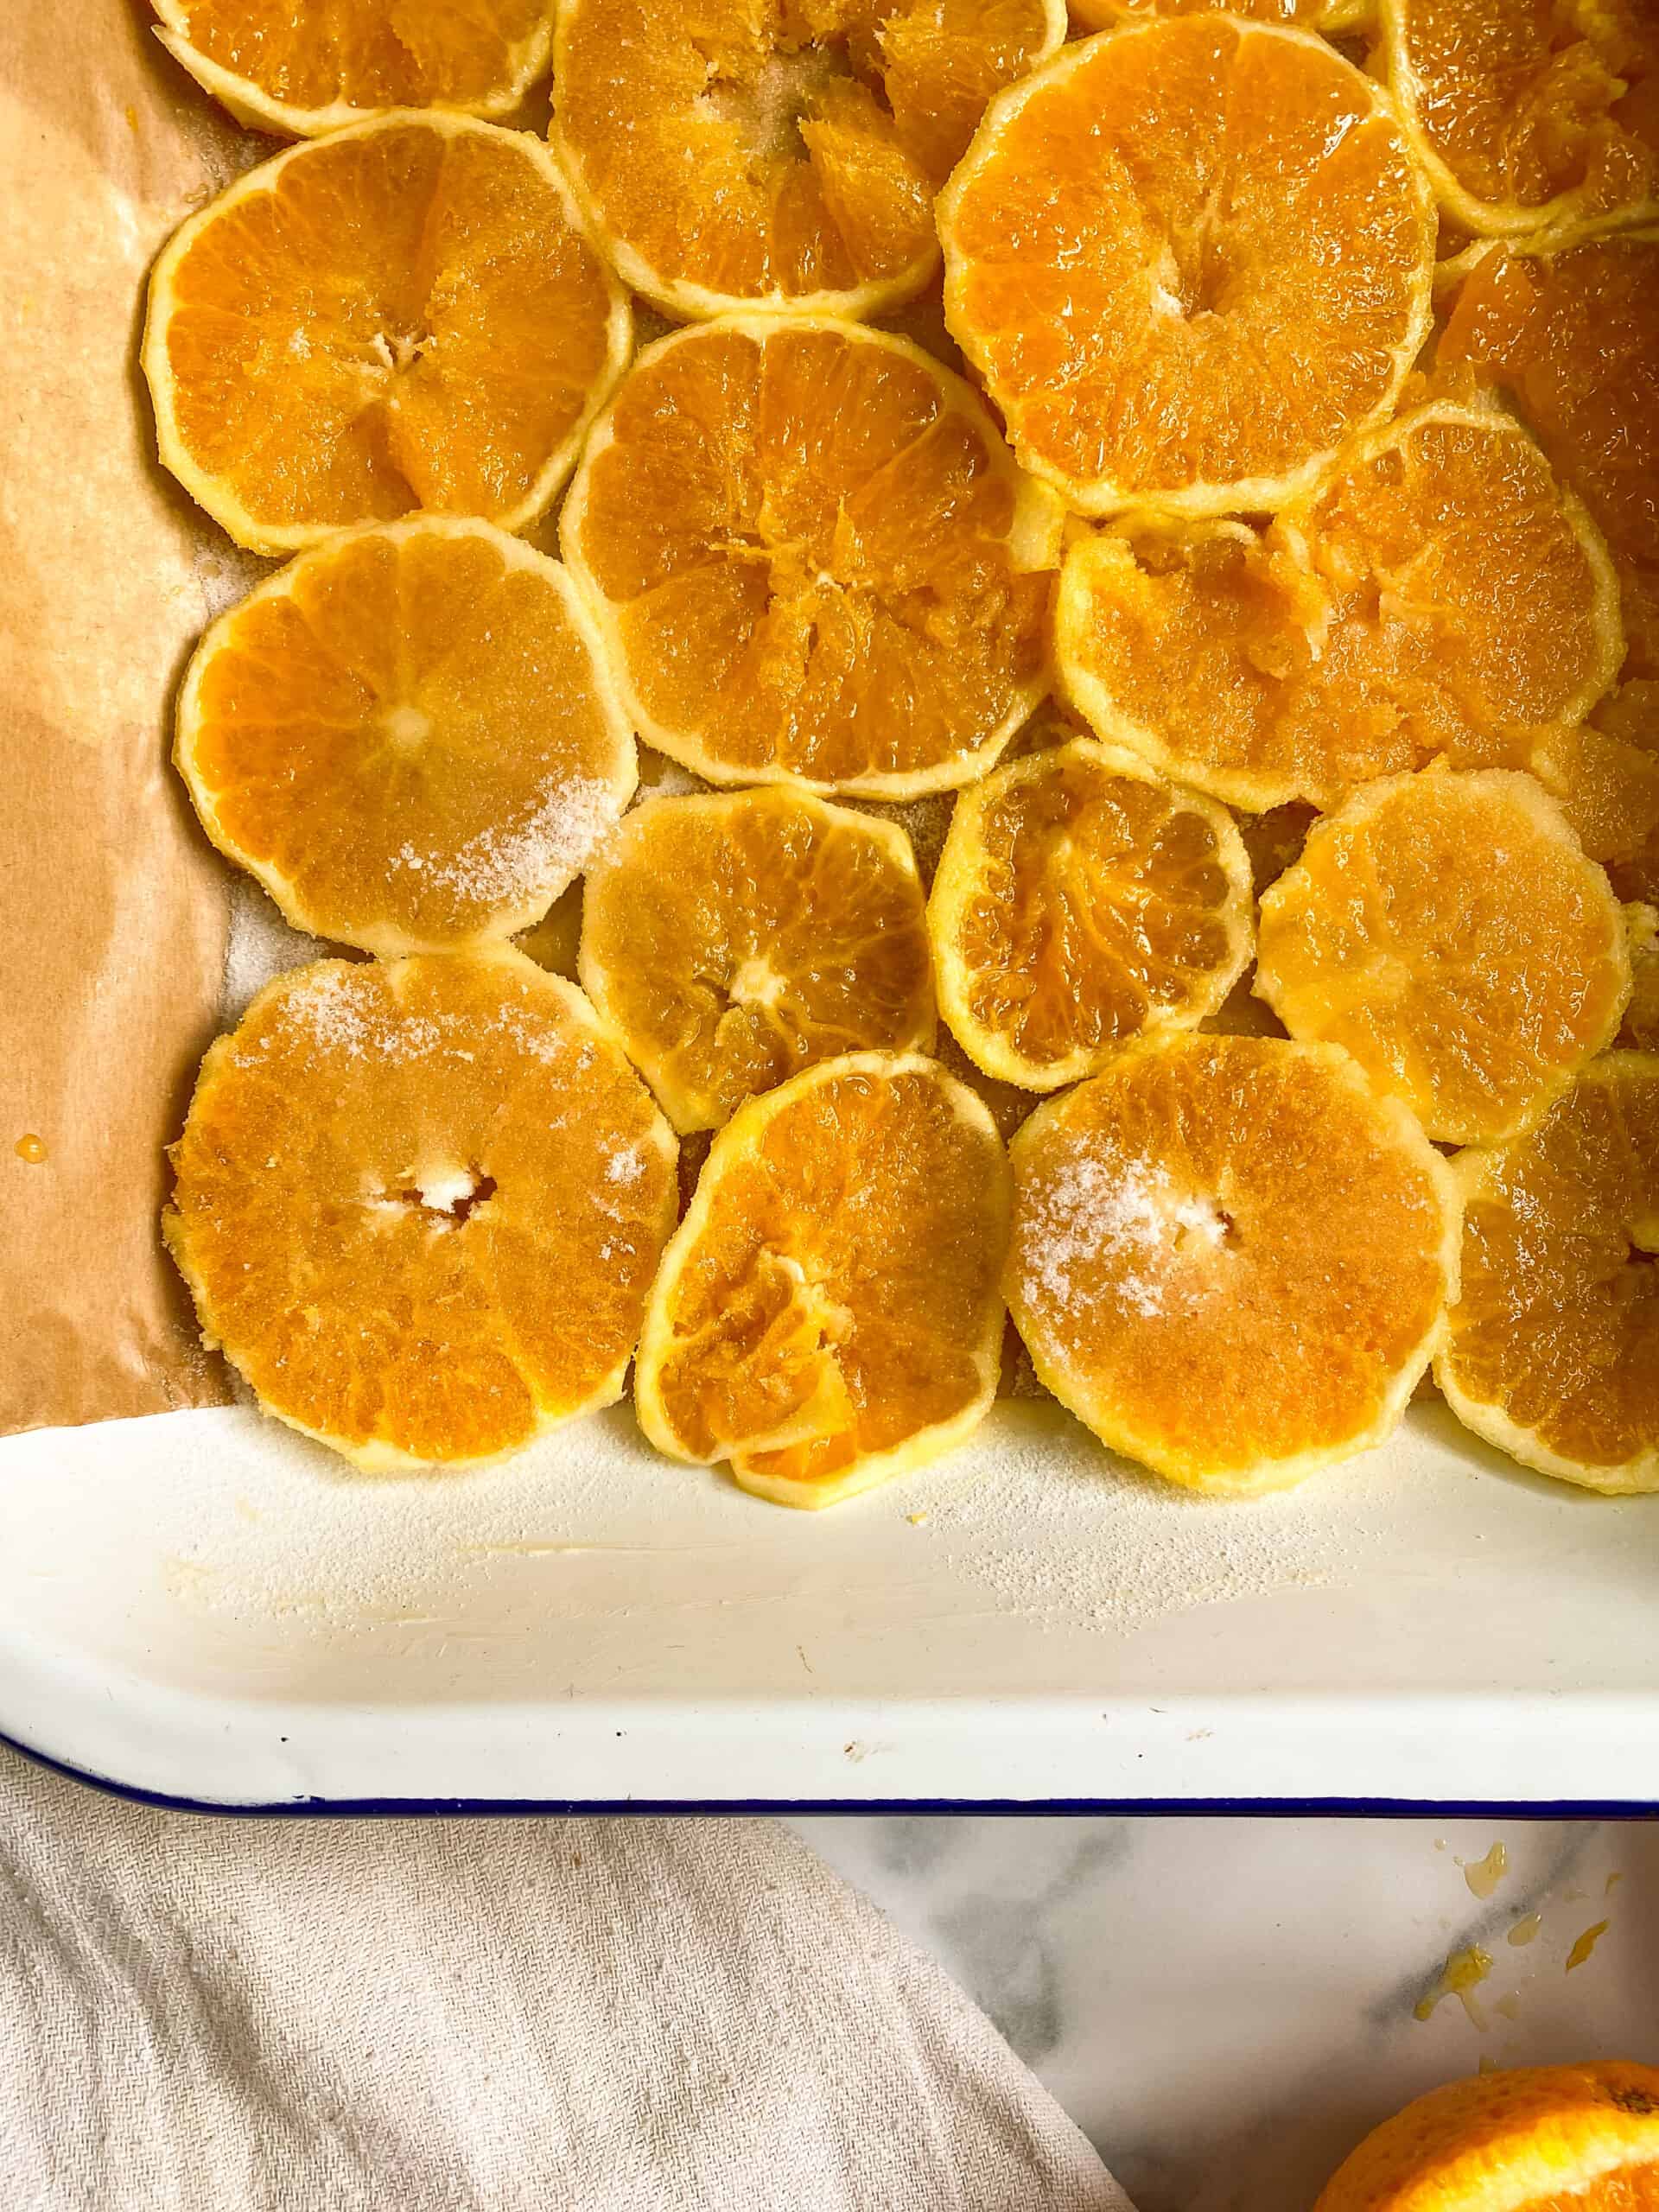
Then you need to lay them in a buttered and lined baking tin, so that all the slices are touching and there are very few gaps. They will move slightly when you add the cake batter, so this will help to create the prettiest effect once baked! I used two extra-large oranges for all my slices, but use whatever size oranges you have to hand.
Finally, sprinkle 50g of the caster sugar over all of the slices to add some sweetness, and add some slight caramelisation.
Making the cake batter
For this cake, I followed the creaming method. For this to work well, your butter must be at room temperature so it can be easily combined with the other ingredients.
The creaming method entails beating the butter and sugar together first until its very light and fluffy. Then beating in the eggs and vanilla. And finally beating in the dry ingredients – flour, baking powder and salt. I also then beat in the milk, to help thin the mixture a little.
I prefer to use an electric hand-whisk for this, as it makes it SO easy! But you can do this by hand as well with a silicone spatula. Just remember not to over-beat the mixture once the flour has been added, as too many gluten strands will form and your cake may be tough! You can fold the flour in by hand if you’d prefer, to help avoid this.
Then the cake mixture needs to be spread evenly over the orange slices, before baking.

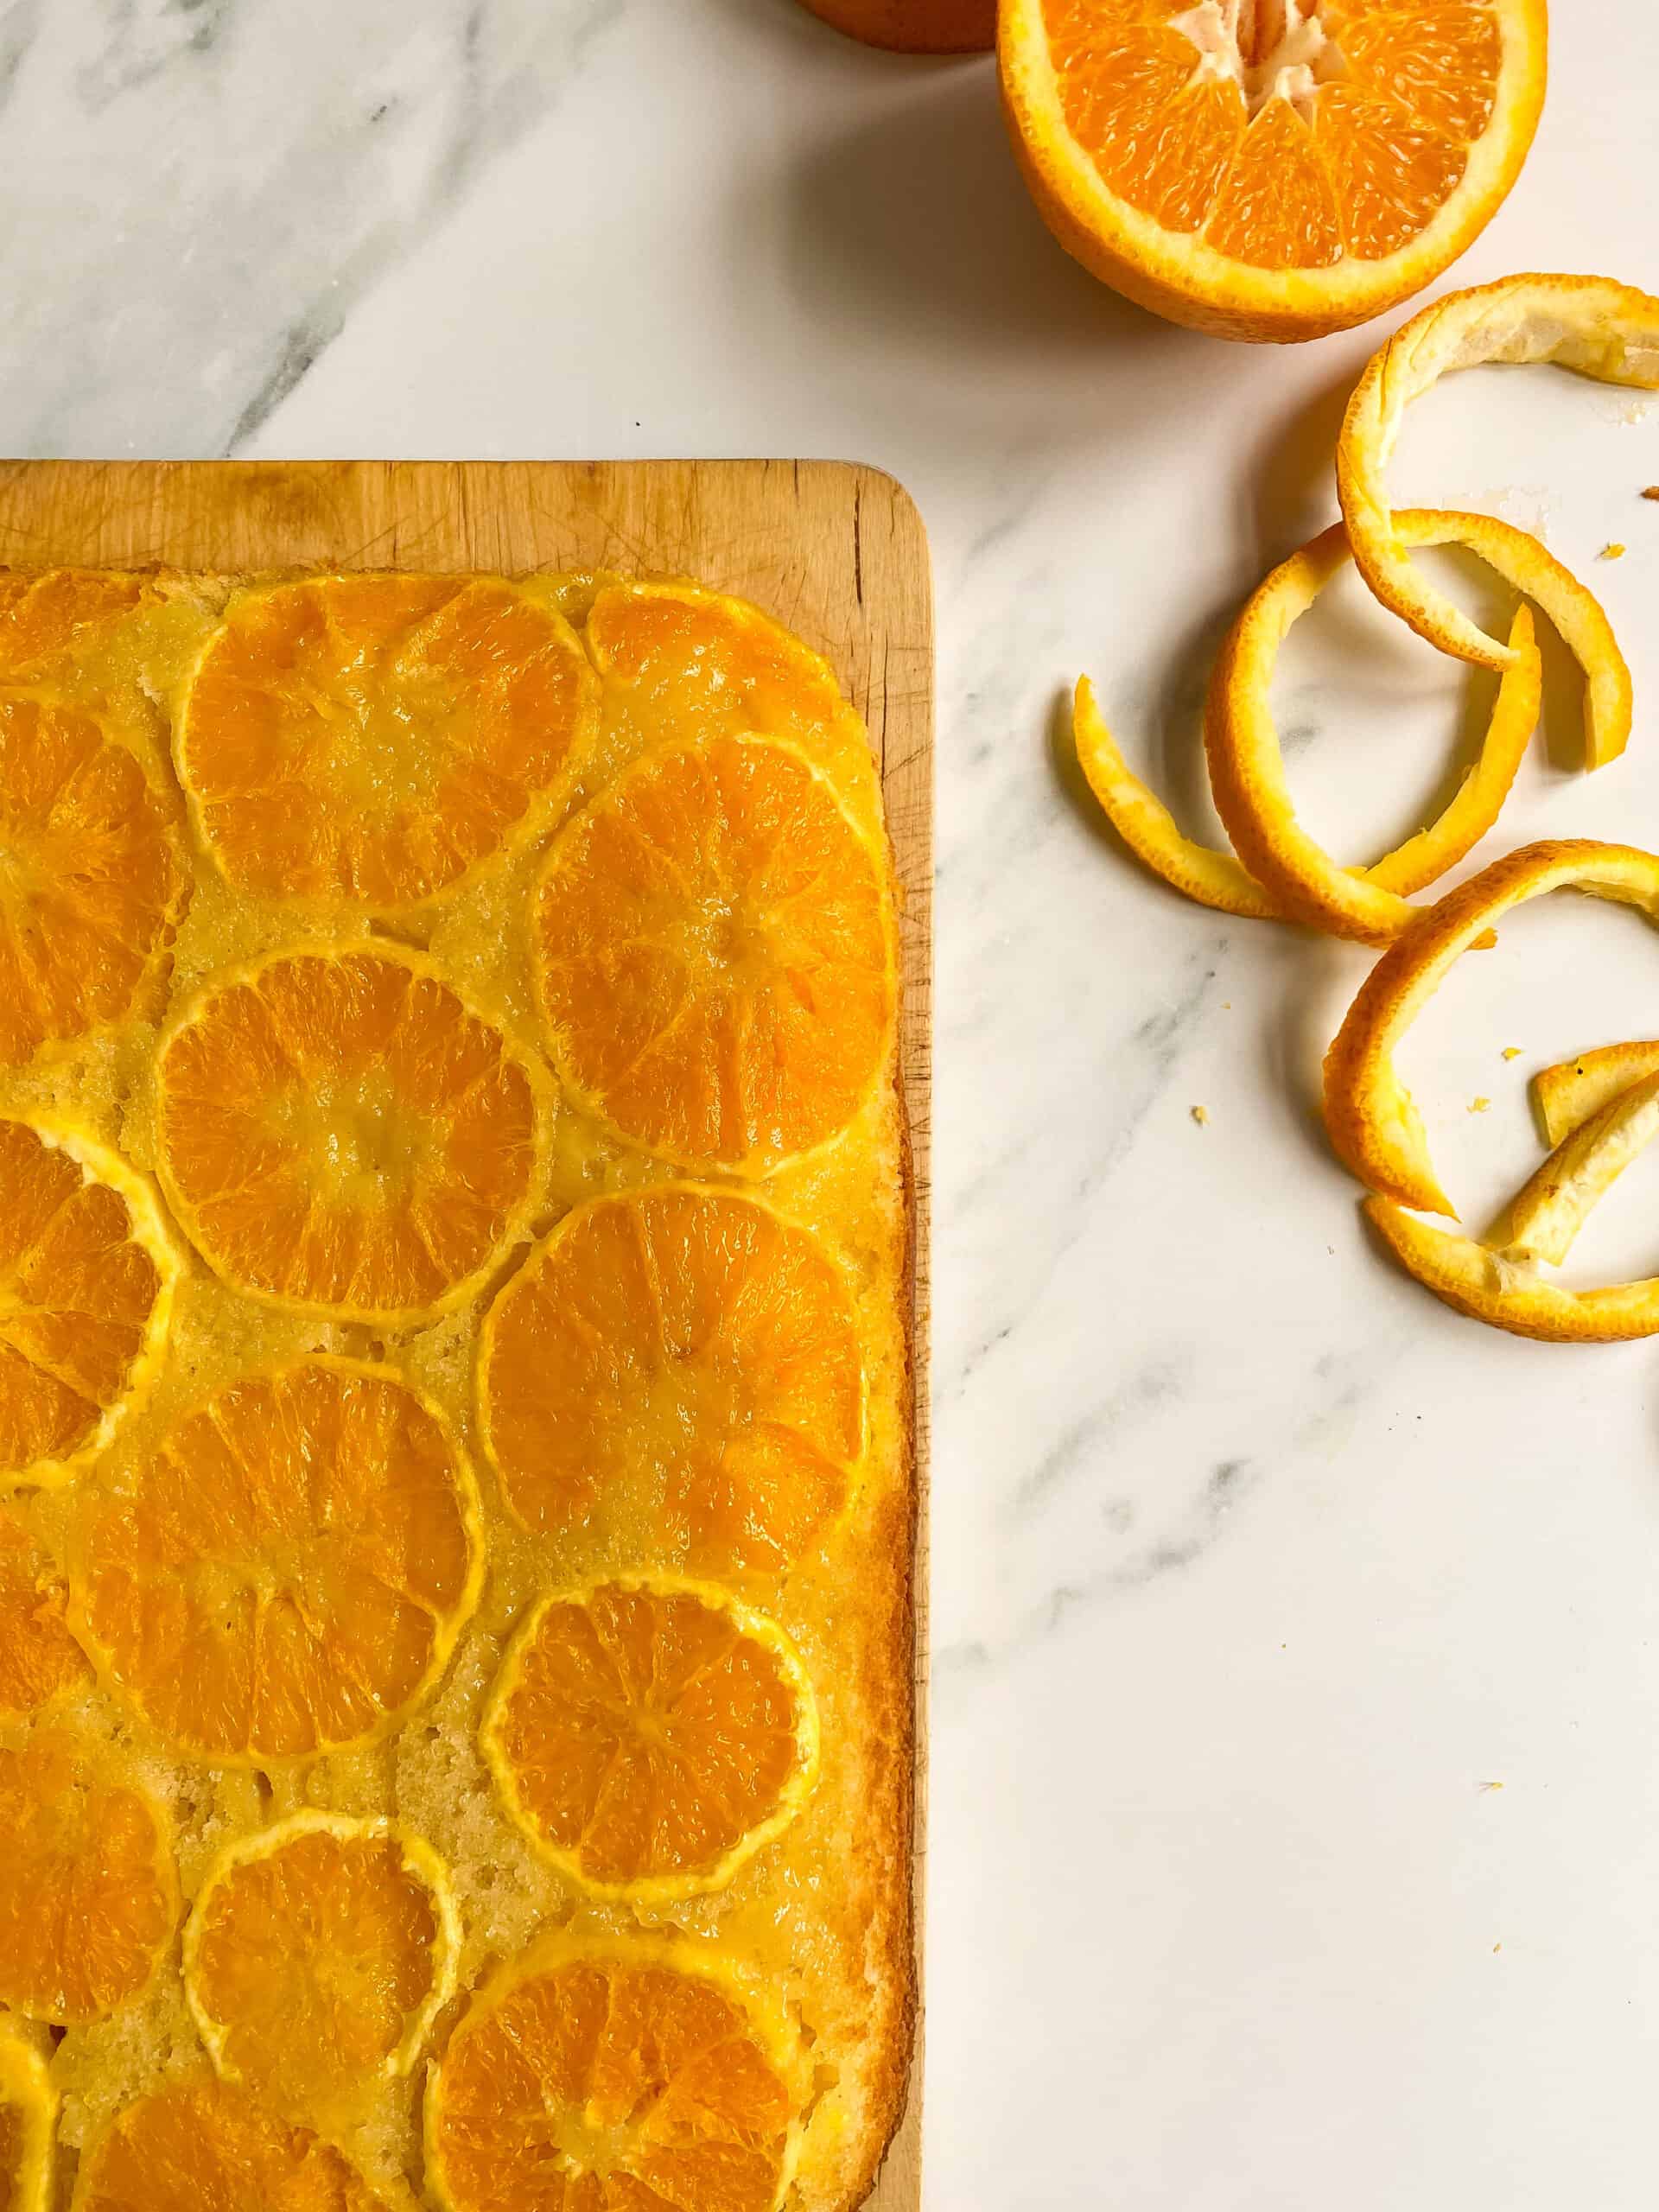
Turning the cake ‘upside’ down
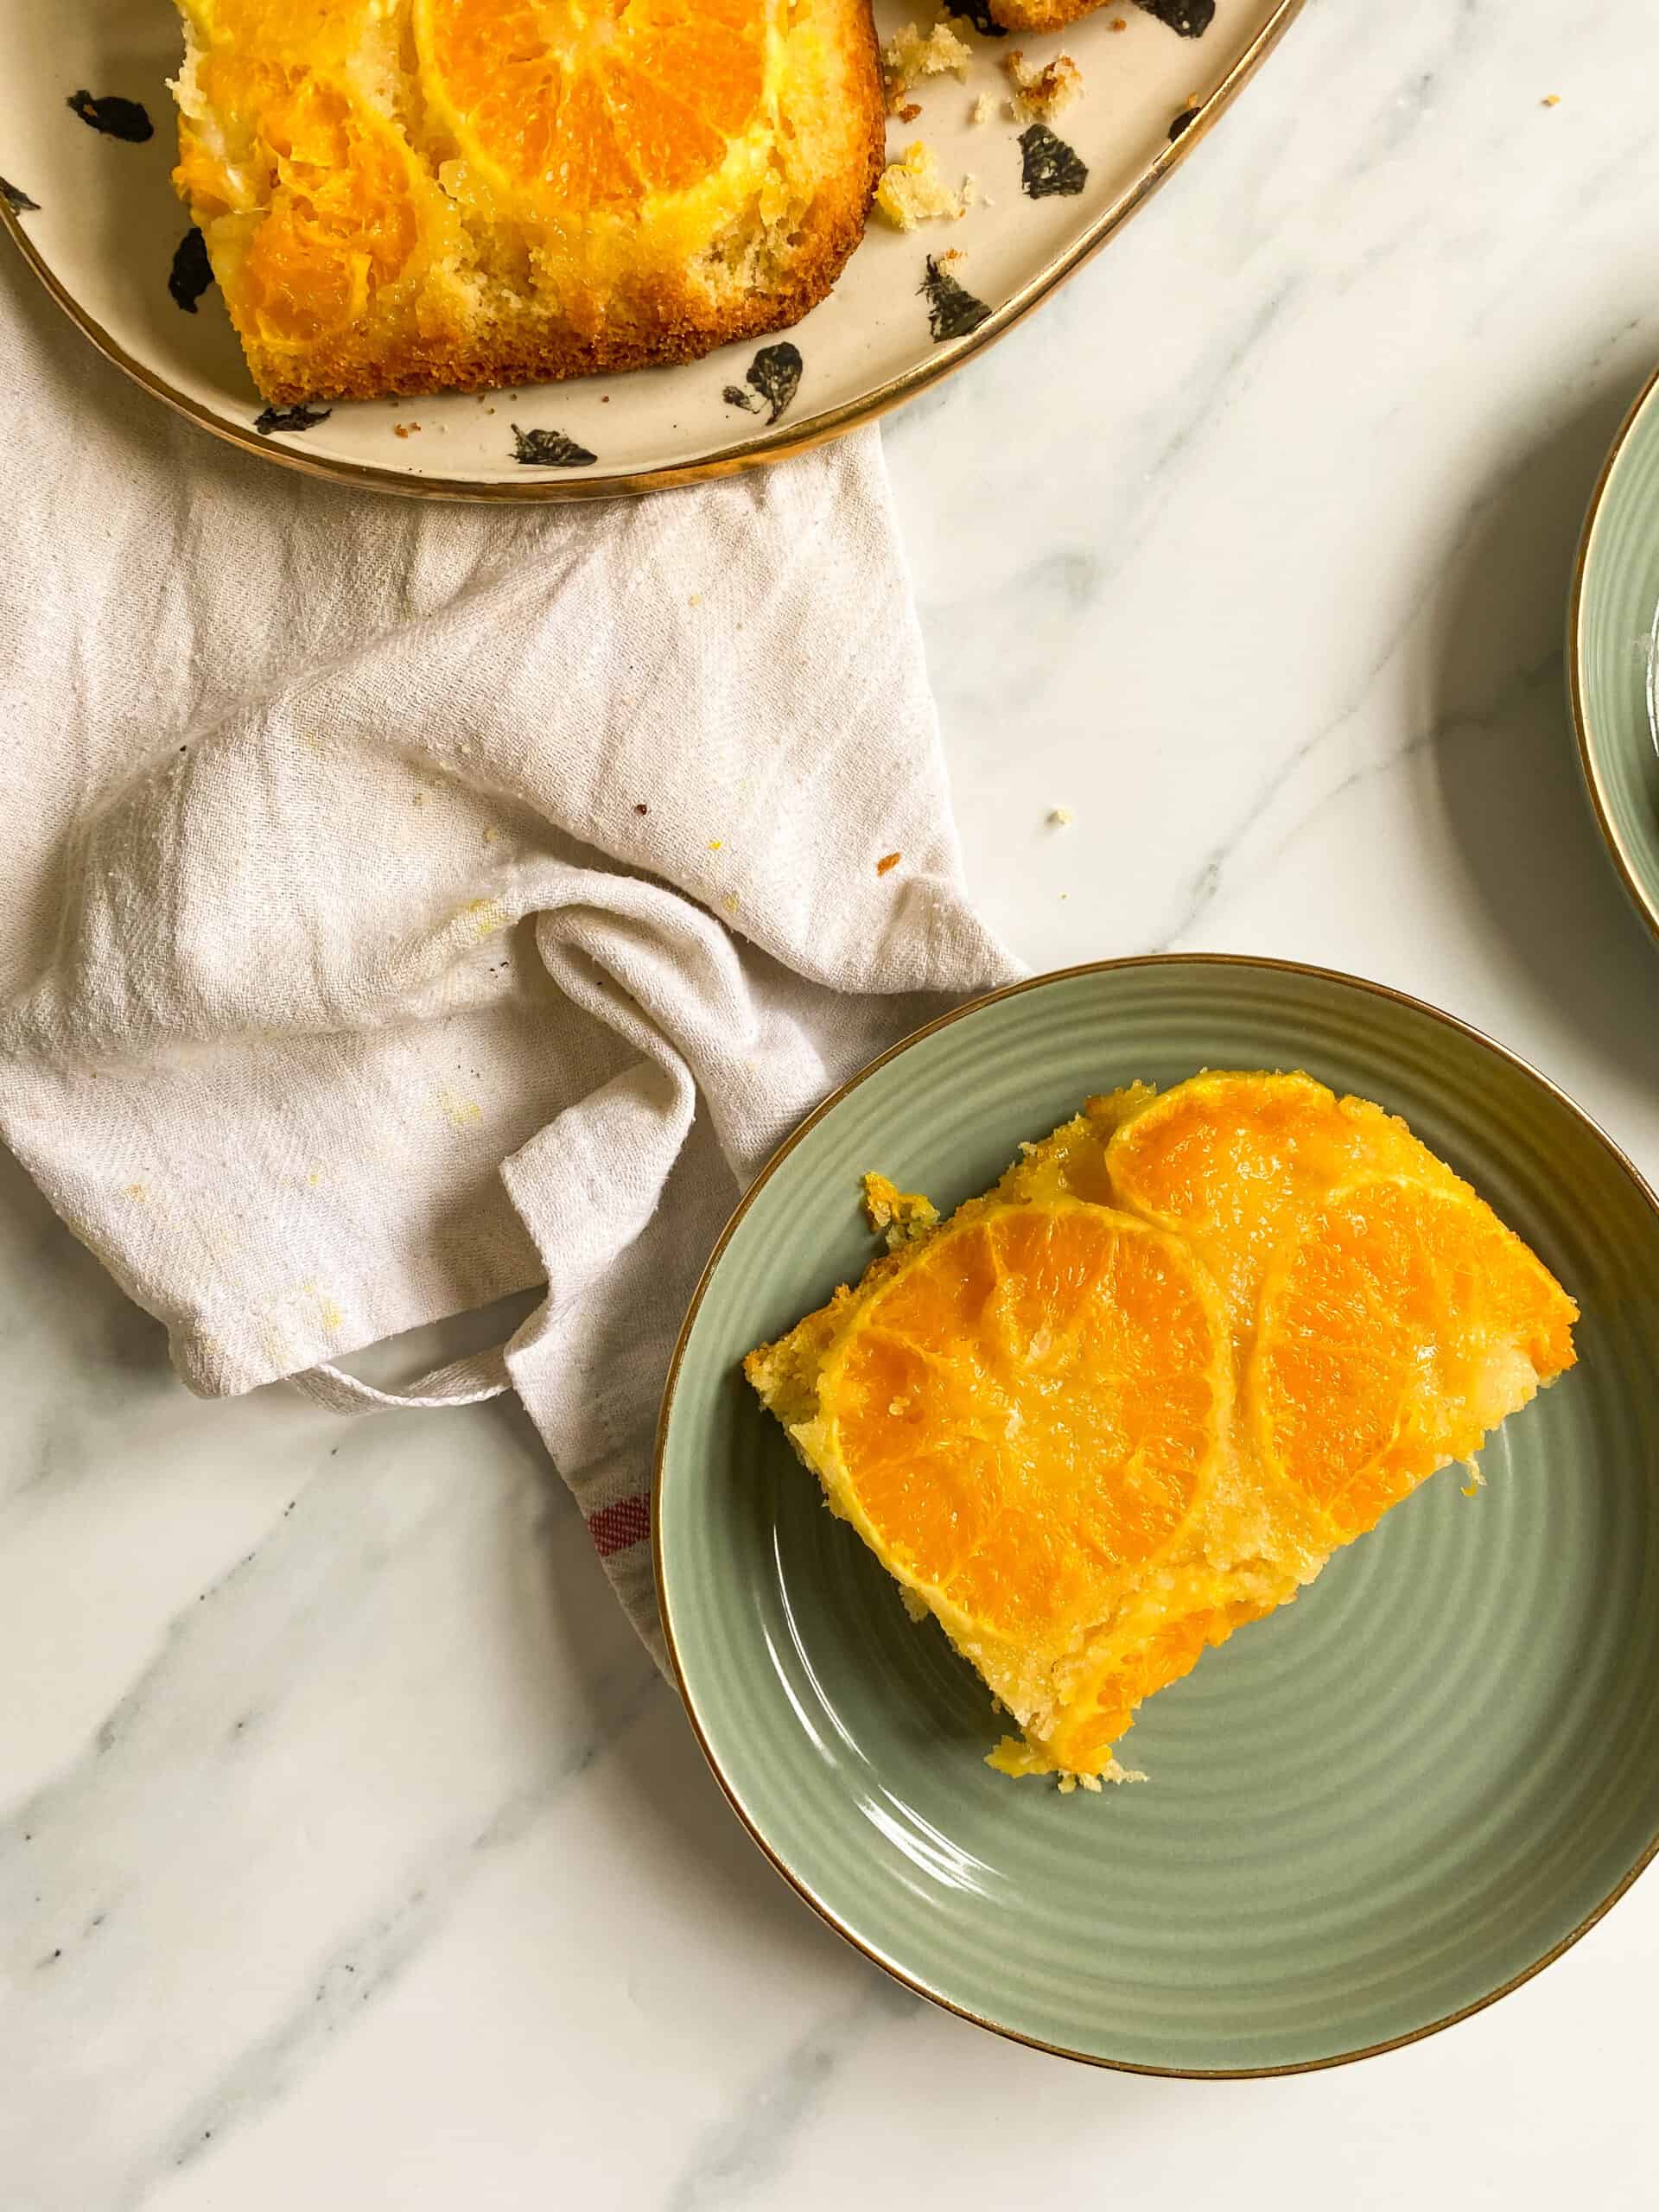
Once the cake has been removed from the oven, it needs to be left for 10 minutes on a cooling rack. Then the tin can be flipped upside down, so the cake is left on the cooling rack orange side up. Peel off the baking paper carefully at this point, while its still warm – a lot of steam will come off it so be careful! Then leave the cake to cool completely before tucking in.
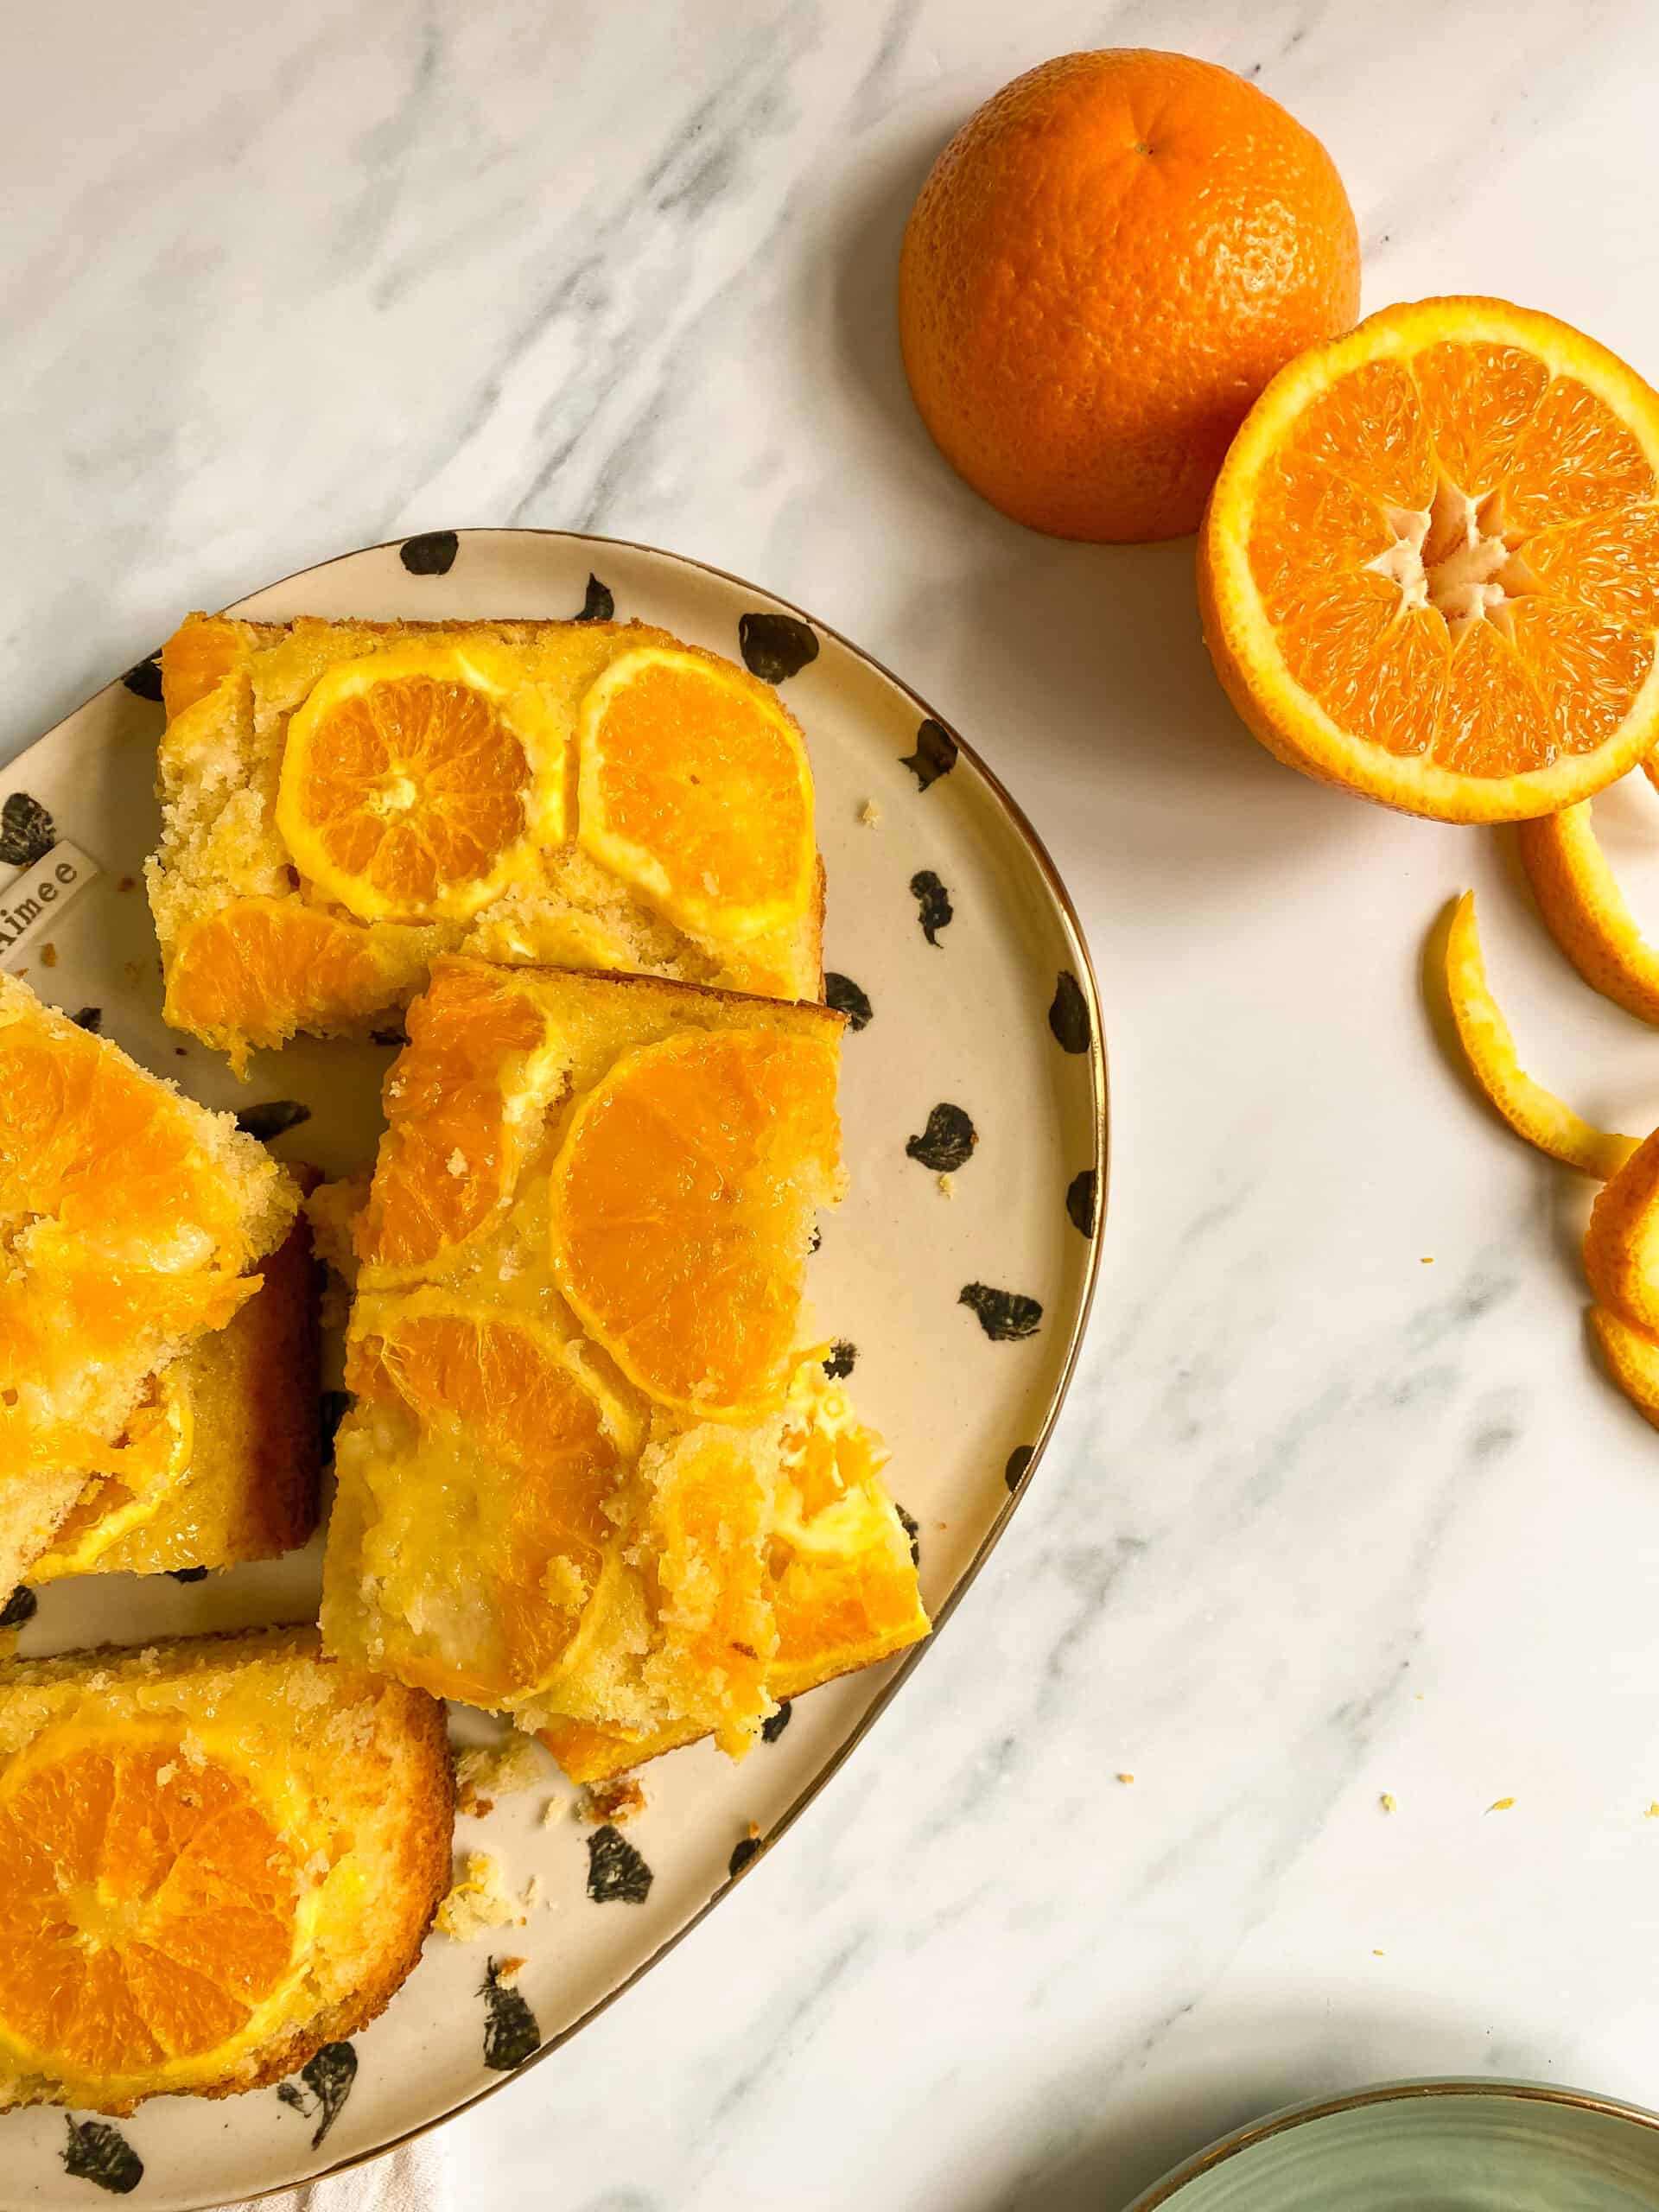
The juices from the orange slices will run down through the cake, and make the most delicious orange and vanilla medley. Its honestly divine and the cake keeps so light and moist!
Tips & Tricks
Just the same as with a regular cake! Just insert a skewer or cocktail stick into the centre of the cake, and if it comes out clean without any cake mixture residue its done!
As an upside down cake includes fresh fruit, its best to bake it on the day of serving. Though the fruit is baked into the sponge, fruit always reduces the shelf-life of a baked good.
With this recipe, your cake shouldn’t be soggy at all! The cake has a thick batter intentionally, so it can take the additional liquid released from the orange slices. Your cake will therefore be moist and light without being too wet!

I really hope you love this orange upside down traybake cake as much as I do! Its super easy to make; light, fluffy and packed full of delicious citrus flavour. And that contrast between light sponge and juicy orange slices is SUCH a delight.
You may also like:

Orange Upside Down Traybake Cake
Ingredients
- 2/3 large oranges
- 50 g caster sugar
- 225 g unsalted butter room temperature
- 225 g caster sugar
- 1 tsp vanilla extract
- 2 large eggs
- 250 g plain flour
- 2 1/2 tsp baking powder
- 1/2 tsp salt
- 75 ml milk whole or semi-skimmed
Instructions
- For the orange topping: Firstly, grease and line the base of a 33x22cm baking tin and set aside. Then thinly slice the oranges, cutting off the peel but keeping a thin edge of the white pith to keep the slice intact. Lay the slices in a single layer in the prepared tin, keeping them tight together. Then sprinkle over the 50g caster sugar, and set aside.
- For the cake: Preheat the oven to 180C/160C Fan/Gas Mark 4. In a large mixing bowl, cream the butter and sugar together using an electric hand-whisk until light and fluffy. Then add the vanilla and eggs, and whisk again until combined. Next add the flour, baking powder and salt, whisking again until just combined. Finally, whisk in the milk until just combined. The batter will be very thick.
- Spoon the cake batter onto the sugared orange slices, and spread evenly using a spatula or spoon. Then bake in the oven for 27-30 minutes, until a skewer or cocktail stick inserted into the middle comes out clean. Set the tin onto a cooling rack for 10 minutes.
- Then turn the cake out onto the cooling rack, so the orange slices are now on the top. Carefully, peel off the baking paper and leave to cool completely. Then serve.
Notes
Can be kept in an air-tight container for 1-2 days.


I made this and it was perfect (a rare result for me). I have a granddaughter who is Allergic to oranges, so I’m making this again with a different fruit again and probably again again