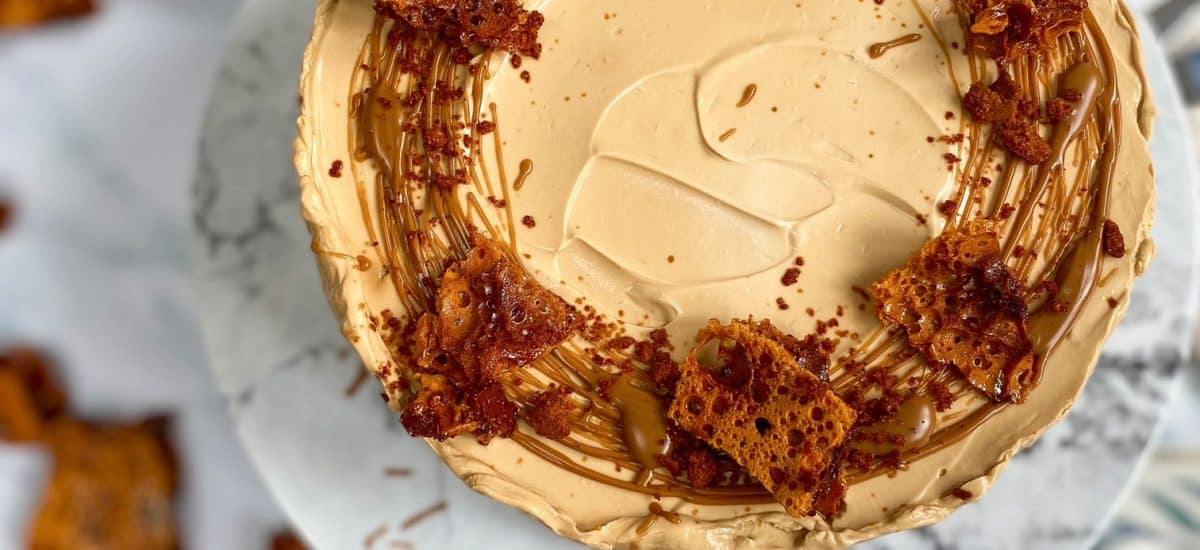
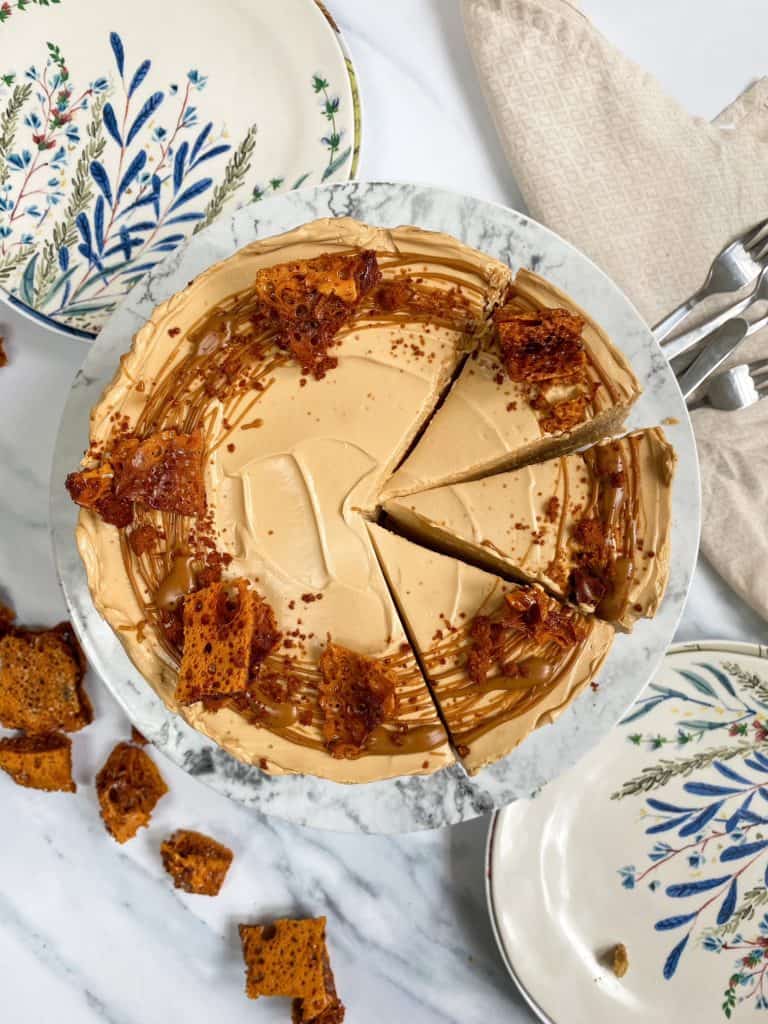
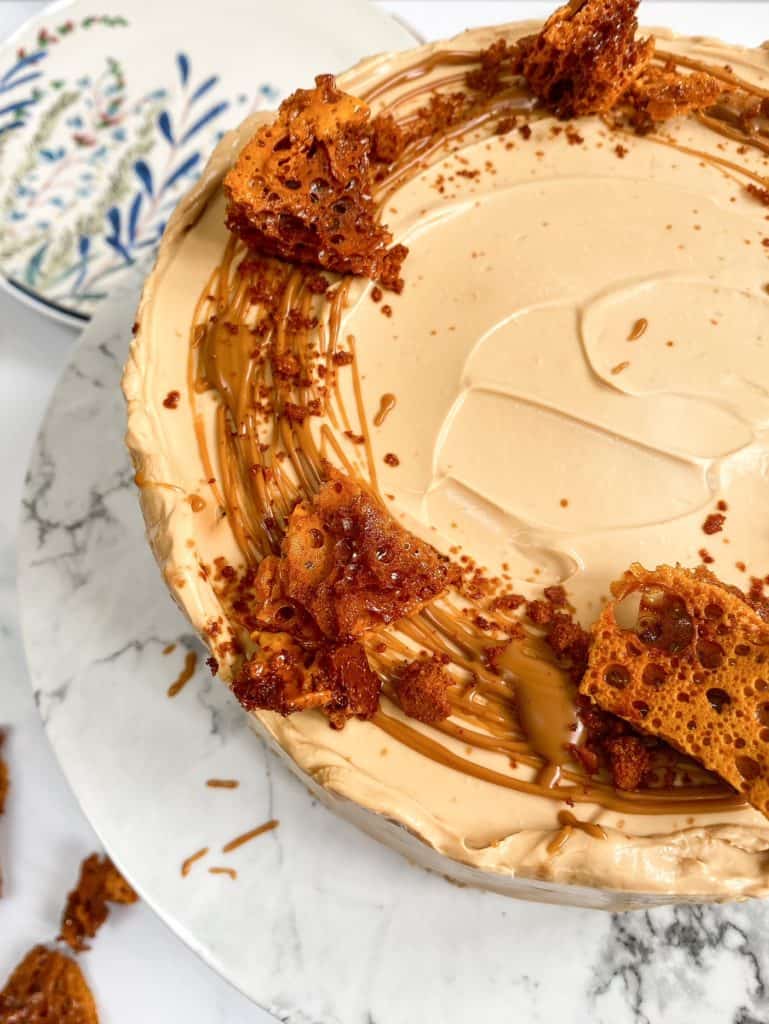
No-Bake Honeycomb & Biscoff Cheesecake. The perfect crowd-pleasing dessert. Crunchy buttery biscuit base, creamy honeycomb cheesecake, sweet Biscoff filling and crunchy honeycomb decoration on top!
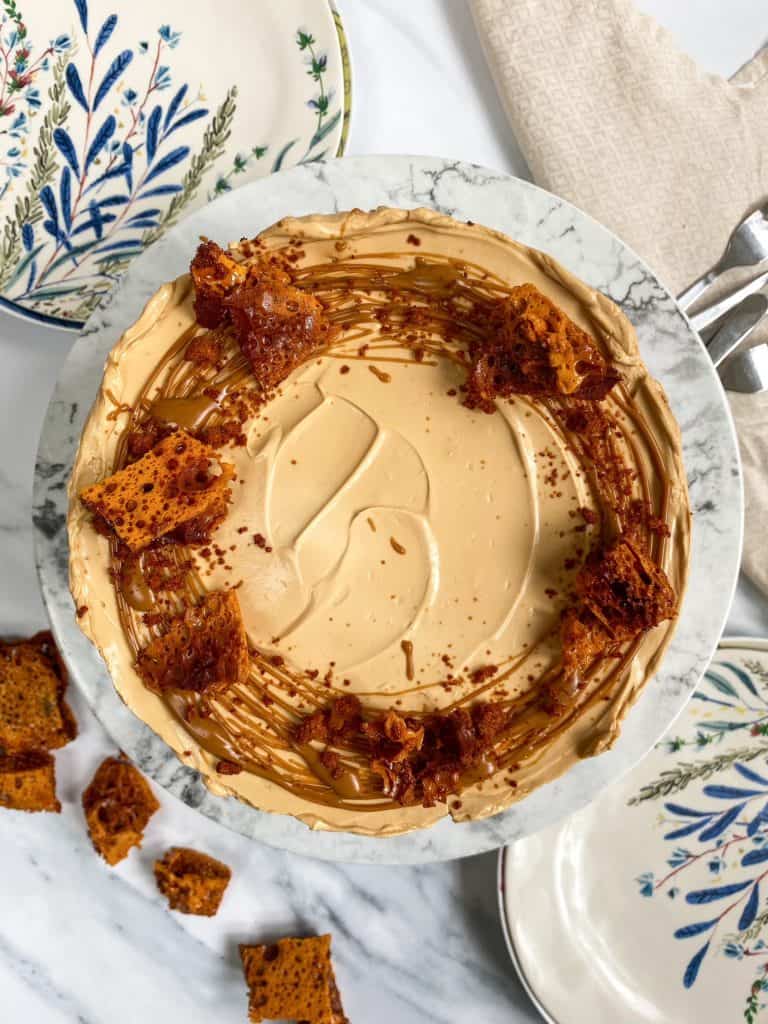
Honeycomb is up there as one of my absolute favouriteeee sweet treats to eat AND make! Its soo cool to watch how quickly it foams and bubbles up. Science is cool guys!
I’ve made this honeycomb cheesecake for quite a few years now and it alwaysss goes down so well with the family that I thought it was high time I shared the recipe on the blog 🙂 I wanted to add something a bit extra though, and whilst eating my breakfast of porridge and spoonful of Biscoff (my new obsession!!) I had a brainwave. A layer of Biscoff spread halfway through the cheesecake. Um, YUM.
Now I have spoken about this briefly before in my No-Bake Peanut Butter Cheesecake post, which you should totally check out by the way! But I’m a BIG fan of a no-bake cheesecake. They’re such a delicious and quick dessert to create, with very little room for error. The perfect bake to take round to a dinner party and impress all your friends! Or as we are currently in Covid Lockdown 2.0 here in England, a delicious dessert to help yourself through a tough year!!
How do you make honeycomb?
So the first step in making this honeycomb cheesecake, is as you might have guessed, making the honeycomb. Honeycomb is very simple, but you do need to prepared and have everything laid out before you start. To be fancy, you basically need to have your Mise En Place ready:
- A small baking tin with sides, lined with buttered baking paper
- A saucepan with golden syrup & sugar
- Bicarbonate of Soda in small bowl
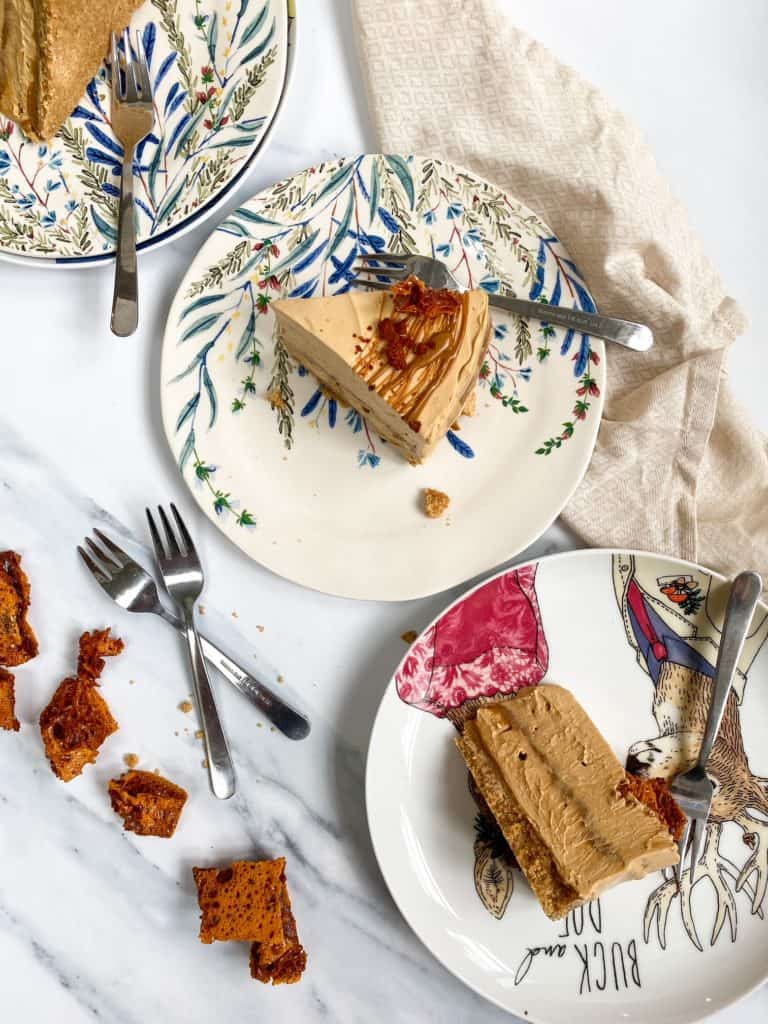
You want everything ready as once the golden syrup & sugar has been cooked, the sugar melted and the syrup an amber colour. The bicarb needs to be added immediately, stirred quickly and then poured into your tin. All within a few seconds. This is because the bicarb creates a chemical reaction that will mean your syrup foams up into the crazy honeycomb we know.
Once the honeycomb has cooled, you can then break it up into pieces and blitz into a fine powder. This is what will then be stirred into your cheesecake mix, turning it a gorgeous light brown colour and a deliciouss flavour!!
A Base. Base. Base. A Buttery Biscuit Base.
10 points to whomever gets that reference!
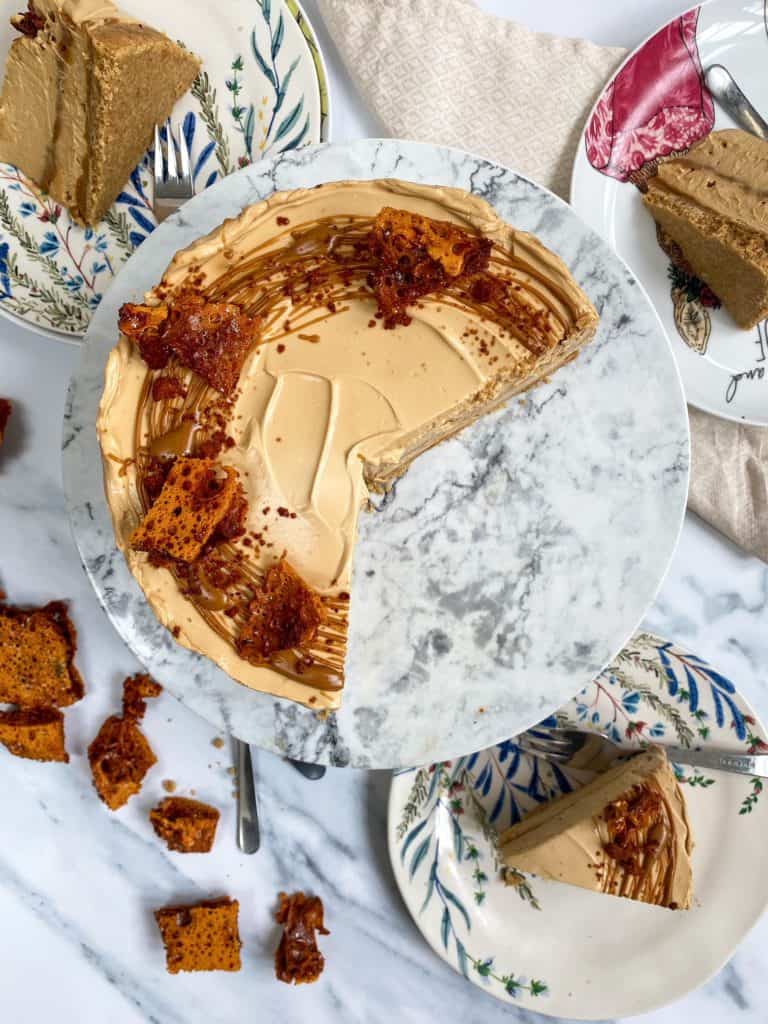
The honeycomb is probably the ‘trickiest’ part of this no-bake, and that really isn’t too tricky! The cheesecake base is a classic biscuit base. In this case digestives and melted butter combined. YUM.
The cheesecake mix is cream cheese, double cream and icing sugar. Seriously, this couldn’t be easier!! And the only real equipment you’ll need is a electric hand-mixer. This isn’t essential, but I do think it gives you a smoother cheesecake.
Ta dahh. Honeycomb & Biscoff Cheesecake is made!
I seriously love how this came out, and everyone I shared it with agreed! Though I won’t lie, I had many a slice to myself. And to be honest, with the way 2020 has gone, I think an extra few slices of cheesecake is definitely needed!!
I’d love to see if you give this a try! Comment below, drop me an email, tag me on Instagram/Facebook or Twitter!
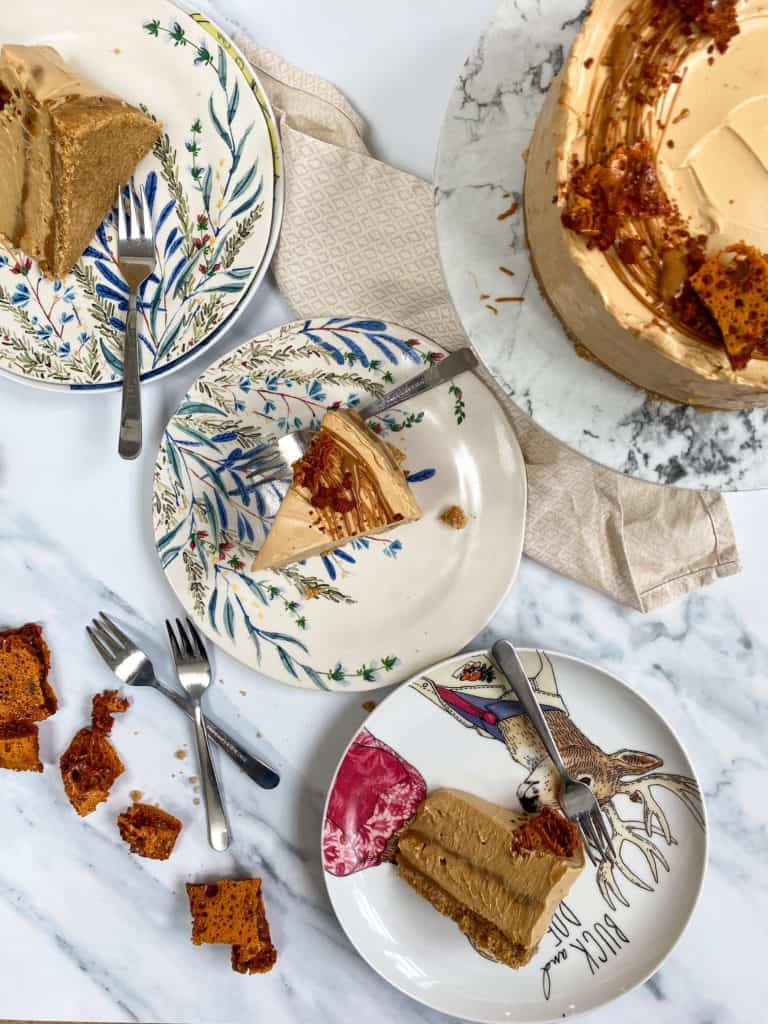
On with the recipe!
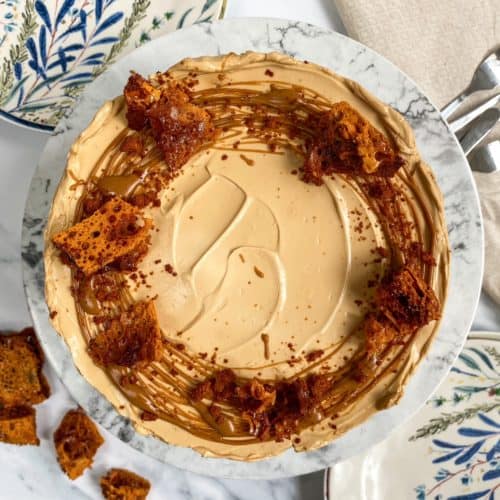
No-Bake Honeycomb & Biscoff Cheesecake
Ingredients
Honeycomb
- 200 g caster sugar
- 75 g golden syrup
- 2 tsp bicarbonate of soda
Base
- 200 g digestive biscuits
- 75 g unsalted butter
Cheesecake
- 560 g full-fat cream cheese
- 100 g icing sugar
- 450 ml double cream
- 100 g honeycomb ground
- 125 g Biscoff spread
Decoration
- 20 g Biscoff spread
- 1 handful honeycomb pieces
Instructions
- For the honeycomb: Line a 8x10in baking tin with baking paper and grease the paper with butter. Mix the sugar and golden syrup in a deep saucepan and place over a medium heat. Once all the sugar has dissolved, turn up the heat and simmer until the caramel turns an amber colour. Immediately add the bicarb, and beat with a spatula to fully incorporate. The mixture will be foaming and very hot, so be careful! Scrape straight away into the prepared tin and leave to harden at room temperature. This will take about an hour.
- For the base: Line the base of an 8″ high sided, loose-bottomed or spring form tin with baking paper. Blitz the digestives in a food processor until fine crumbs. Then add the melted butter and blitz again until it starts to hold together. Tip this into your lined tin, and using a spoon (or your hands), compact the base down. Then chill in the fridge for 20 minutes.
- For the cheesecake: Break up the cooled honeycomb and place around half into a food processor. Blitz until a fine crumb, and set aside, making sure you have 100g. If not, blitz more until you have the correct amount.
- Using an electric hand-whisk beat the cream cheese and icing sugar together in a large bowl. Then whisk in the double cream until the mixture thickens. Finally, stir in the ground honeycomb until fully combined. Pour half of the mixture on top of the chilled base and level out. Then spread the Biscoff spread on top in an even layer. Finally, top with the remaining cheesecake filling and level out carefully. Then cover and leave in the fridge overnight or for at least 4 hours.
- For the decoration: Just before serving, melt the Biscoff spread and using a teaspoon drizzle around the edges in a circular pattern. Then scatter over some of the remaining honeycomb pieces/crumbs.
Notes
Looking for more honeycomb recipes? Why not check out my Chocolate Honeycomb Genoise? Or Biscoff more your thing? Check out my Chocolate, Biscoff & Salted Caramel Cupcakes!
