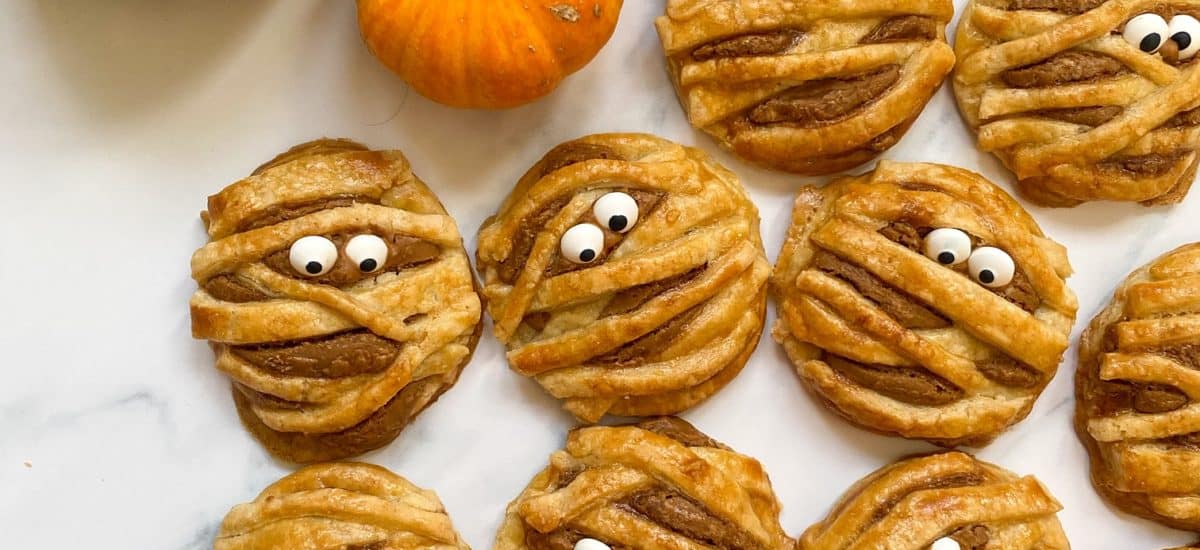
These super cute hand pies are the perfect bake for your Halloween party! Spookily cute, super delicious and so easy to create!

When it comes to Halloween, I’m exclusively interested in the cute themed treats. I’m not a scary movie fan and not a huge lover of fancy dress. Soooo… Halloween doesn’t do much for me. But cute themed treats I am ALWAYS into! Hence, my ‘Mummy’ Biscoff Hand Pies!
I think these look SO cute (how many times can I say that today?!), if I do say so myself. I love how the eyes instantly bring the pies to life. And they’re seriously so simple to create. All it takes is pie crust pastry and some Biscoff spread! Oh and of course the adorable eyes! I got mine from Tesco, but you can find them online too.

What are hand pies?!
Hand pies are simply small pies that you can pick up and eat on the go. Not like getting a slice of pie, these are covered all over in pastry and generally doesn’t have as wet a filling. After all, you don’t want a soggy bottom!!
I used the pie crust from my cherry pie for these mummy pies, as its so delicious and holds up really well. I knew it’d hold the shape that I wanted and wouldn’t leak any filling! The sugar in the pastry gives a gorgeously sweet flavour but also helps the pastry to turn a lovely golden brown colour as it caramelises.
So how do you make a mummy pie?
Firstly, you need to separate your pastry into two before chilling. You’ll use one section for the base and the other for the strips on top – this way you don’t over-roll your pastry which can make it tough!
So one section of pastry is rolled out and then cut into small circles, while the second section is rolled out and cut into strips. You want your strips to be uneven – so some thick and some thin. This will make your ‘mummy’ strips look more realistic!
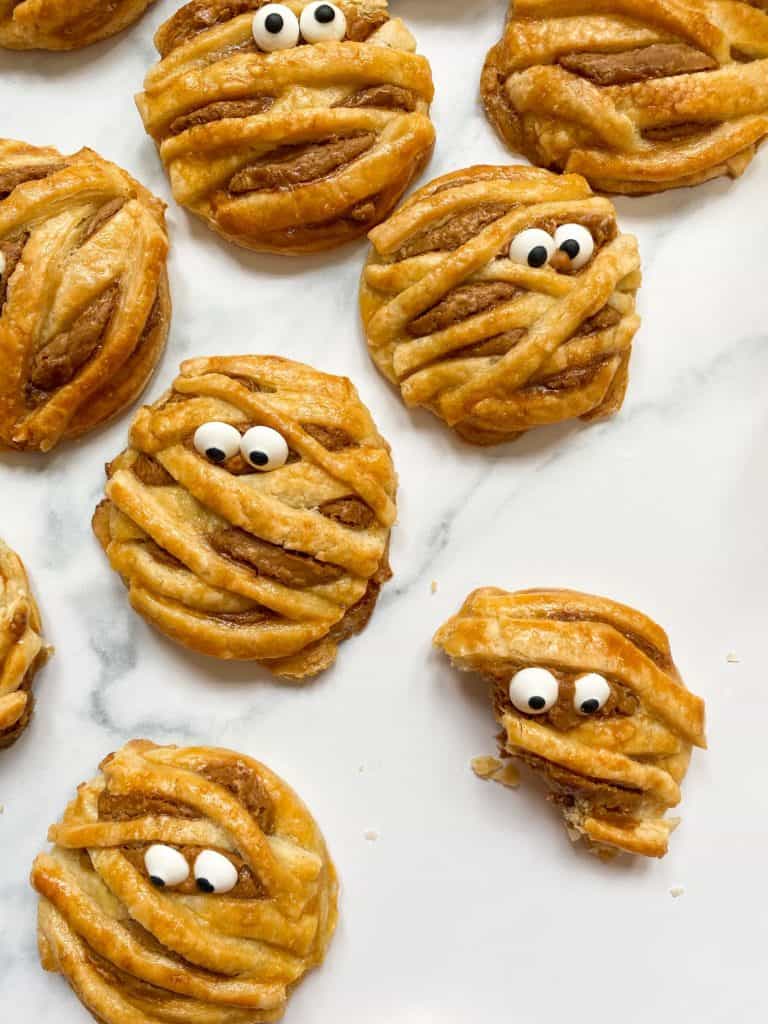
To assemble, the biscoff spread is piled onto the middle of each pastry circle and the strips placed overtop haphazardly. At this point they’re just going to look like strange little pies. But once they’ve had an egg glaze and been baked you can add on the edible eyes! And voila! They come to life!!
I tried to put the eyes in different positions on each ‘mummy’ to give them all character and help them stand out.
The final step??
EAT THEMM. These are best served warm when the biscoff spread is still a little gooey and the pastry is soo crisp.
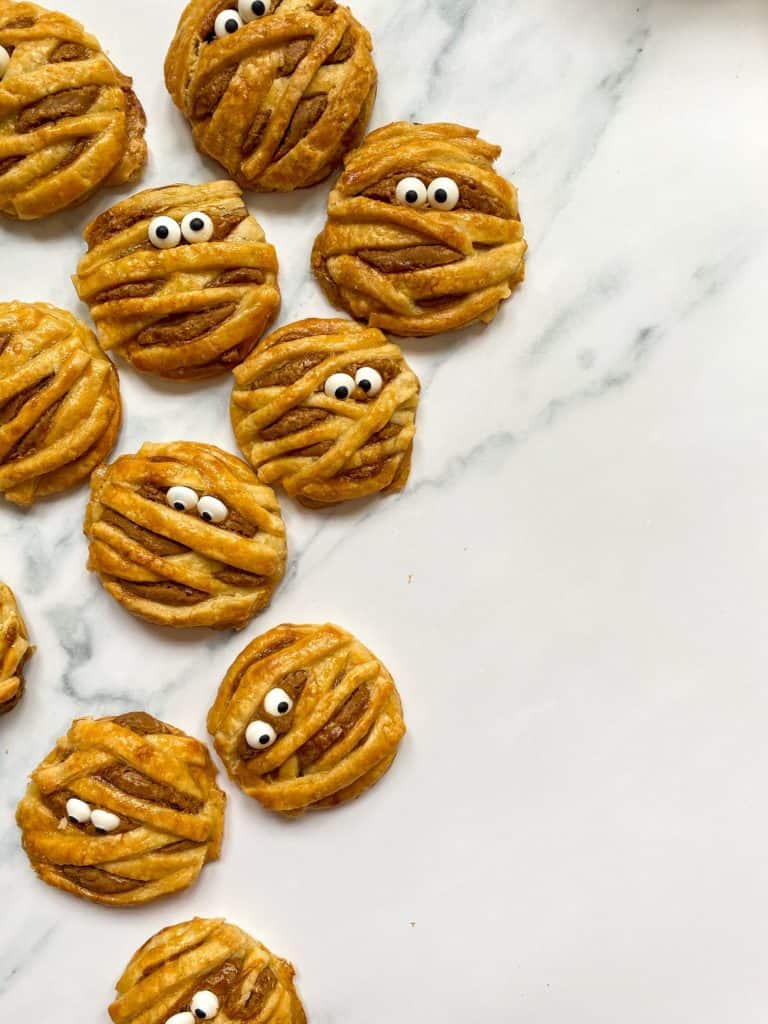
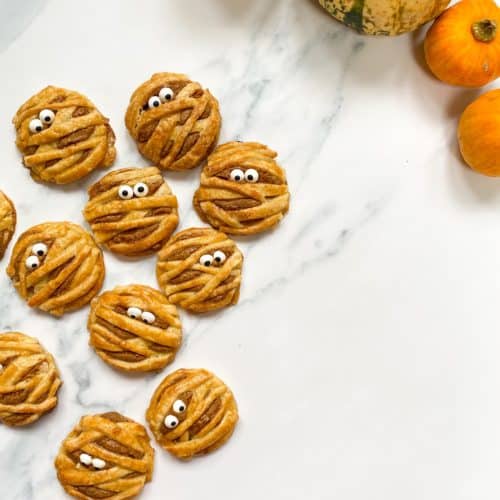
I really love how these turned out, they’d make the perfect addition to a Halloween spread!
On with the recipe!
‘Mummy’ Biscoff Hand Pies
Ingredients
Pastry
- 400 g plain flour
- 1 tsp salt
- 2 tbsp caster sugar
- 200 g unsalted butter cold
- 100-125 ml ice cold water
Filling
- 260 g smooth Lotus Biscoff spread
Glaze
- 1 medium egg beaten
Decoration
- 32 edible eyes
Instructions
- For the pastry: Mix the flour, salt and sugar together in a bowl, then add the chilled butter and rub together between your hands until it resembles breadcrumbs. Slowly add the water until the pastry holds together when squeezed (you may not need all the water). Then tip the dough onto a lightly floured work surface and gently knead together. Divide into two flat discs, one a little larger than the other, wrap them both in clingfilm and chill for 1 hour.
- Preheat the oven to 200C/180C Fan/Gas Mark 6. Then lightly dust the work surface with flour and roll out the larger piece of pastry until it is a few millimetres thick. Using a 7cm cookie cutter, cut out 16 circles and place onto a large baking tray lined with baking paper. Then roll out the smaller piece of pastry until a few millimetres thick and using a knife, cut into strips. Keep the strips uneven (i.e. some wide, some thin) as this will help make the strips look more authentic. Then set aside.
- For the filling: Place the Biscoff spread into a small bowl and mix with a spatula to loosen slightly. Then divide the filling between the 16 circles, placing a blob onto the middle of each.
- For the glaze: Using a pastry brush, lightly dab the beaten egg on the exposed pastry (around the Biscoff blob). Then lay strips of differing sizes in a random pattern over the Biscoff spread, pressing down at the edges to 'seal' the pies. Then trim the edges of the strips so the circle is even. Repeat this for all the pies, then chill in the fridge for 20 minutes.
- Dab the remaining the beaten egg over the tops of the pastry strips and then bake for 20 minutes until golden brown.
- Place the tray on a cooling rack and leave for 2-3 minutes. Then press the edible eyes into each pie, and serve warm.


1 thought on “‘Mummy’ Biscoff Hand Pies”