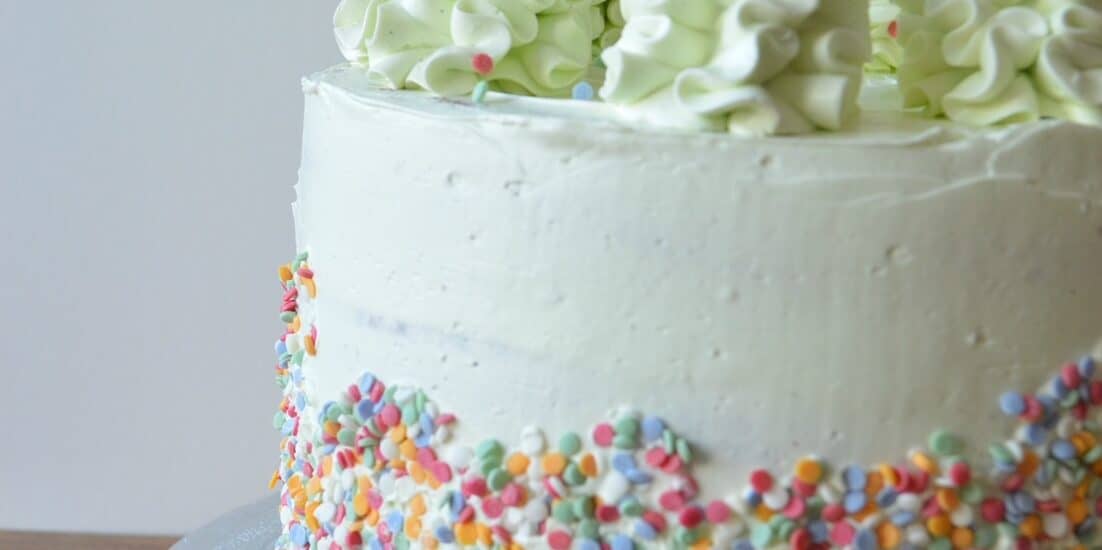
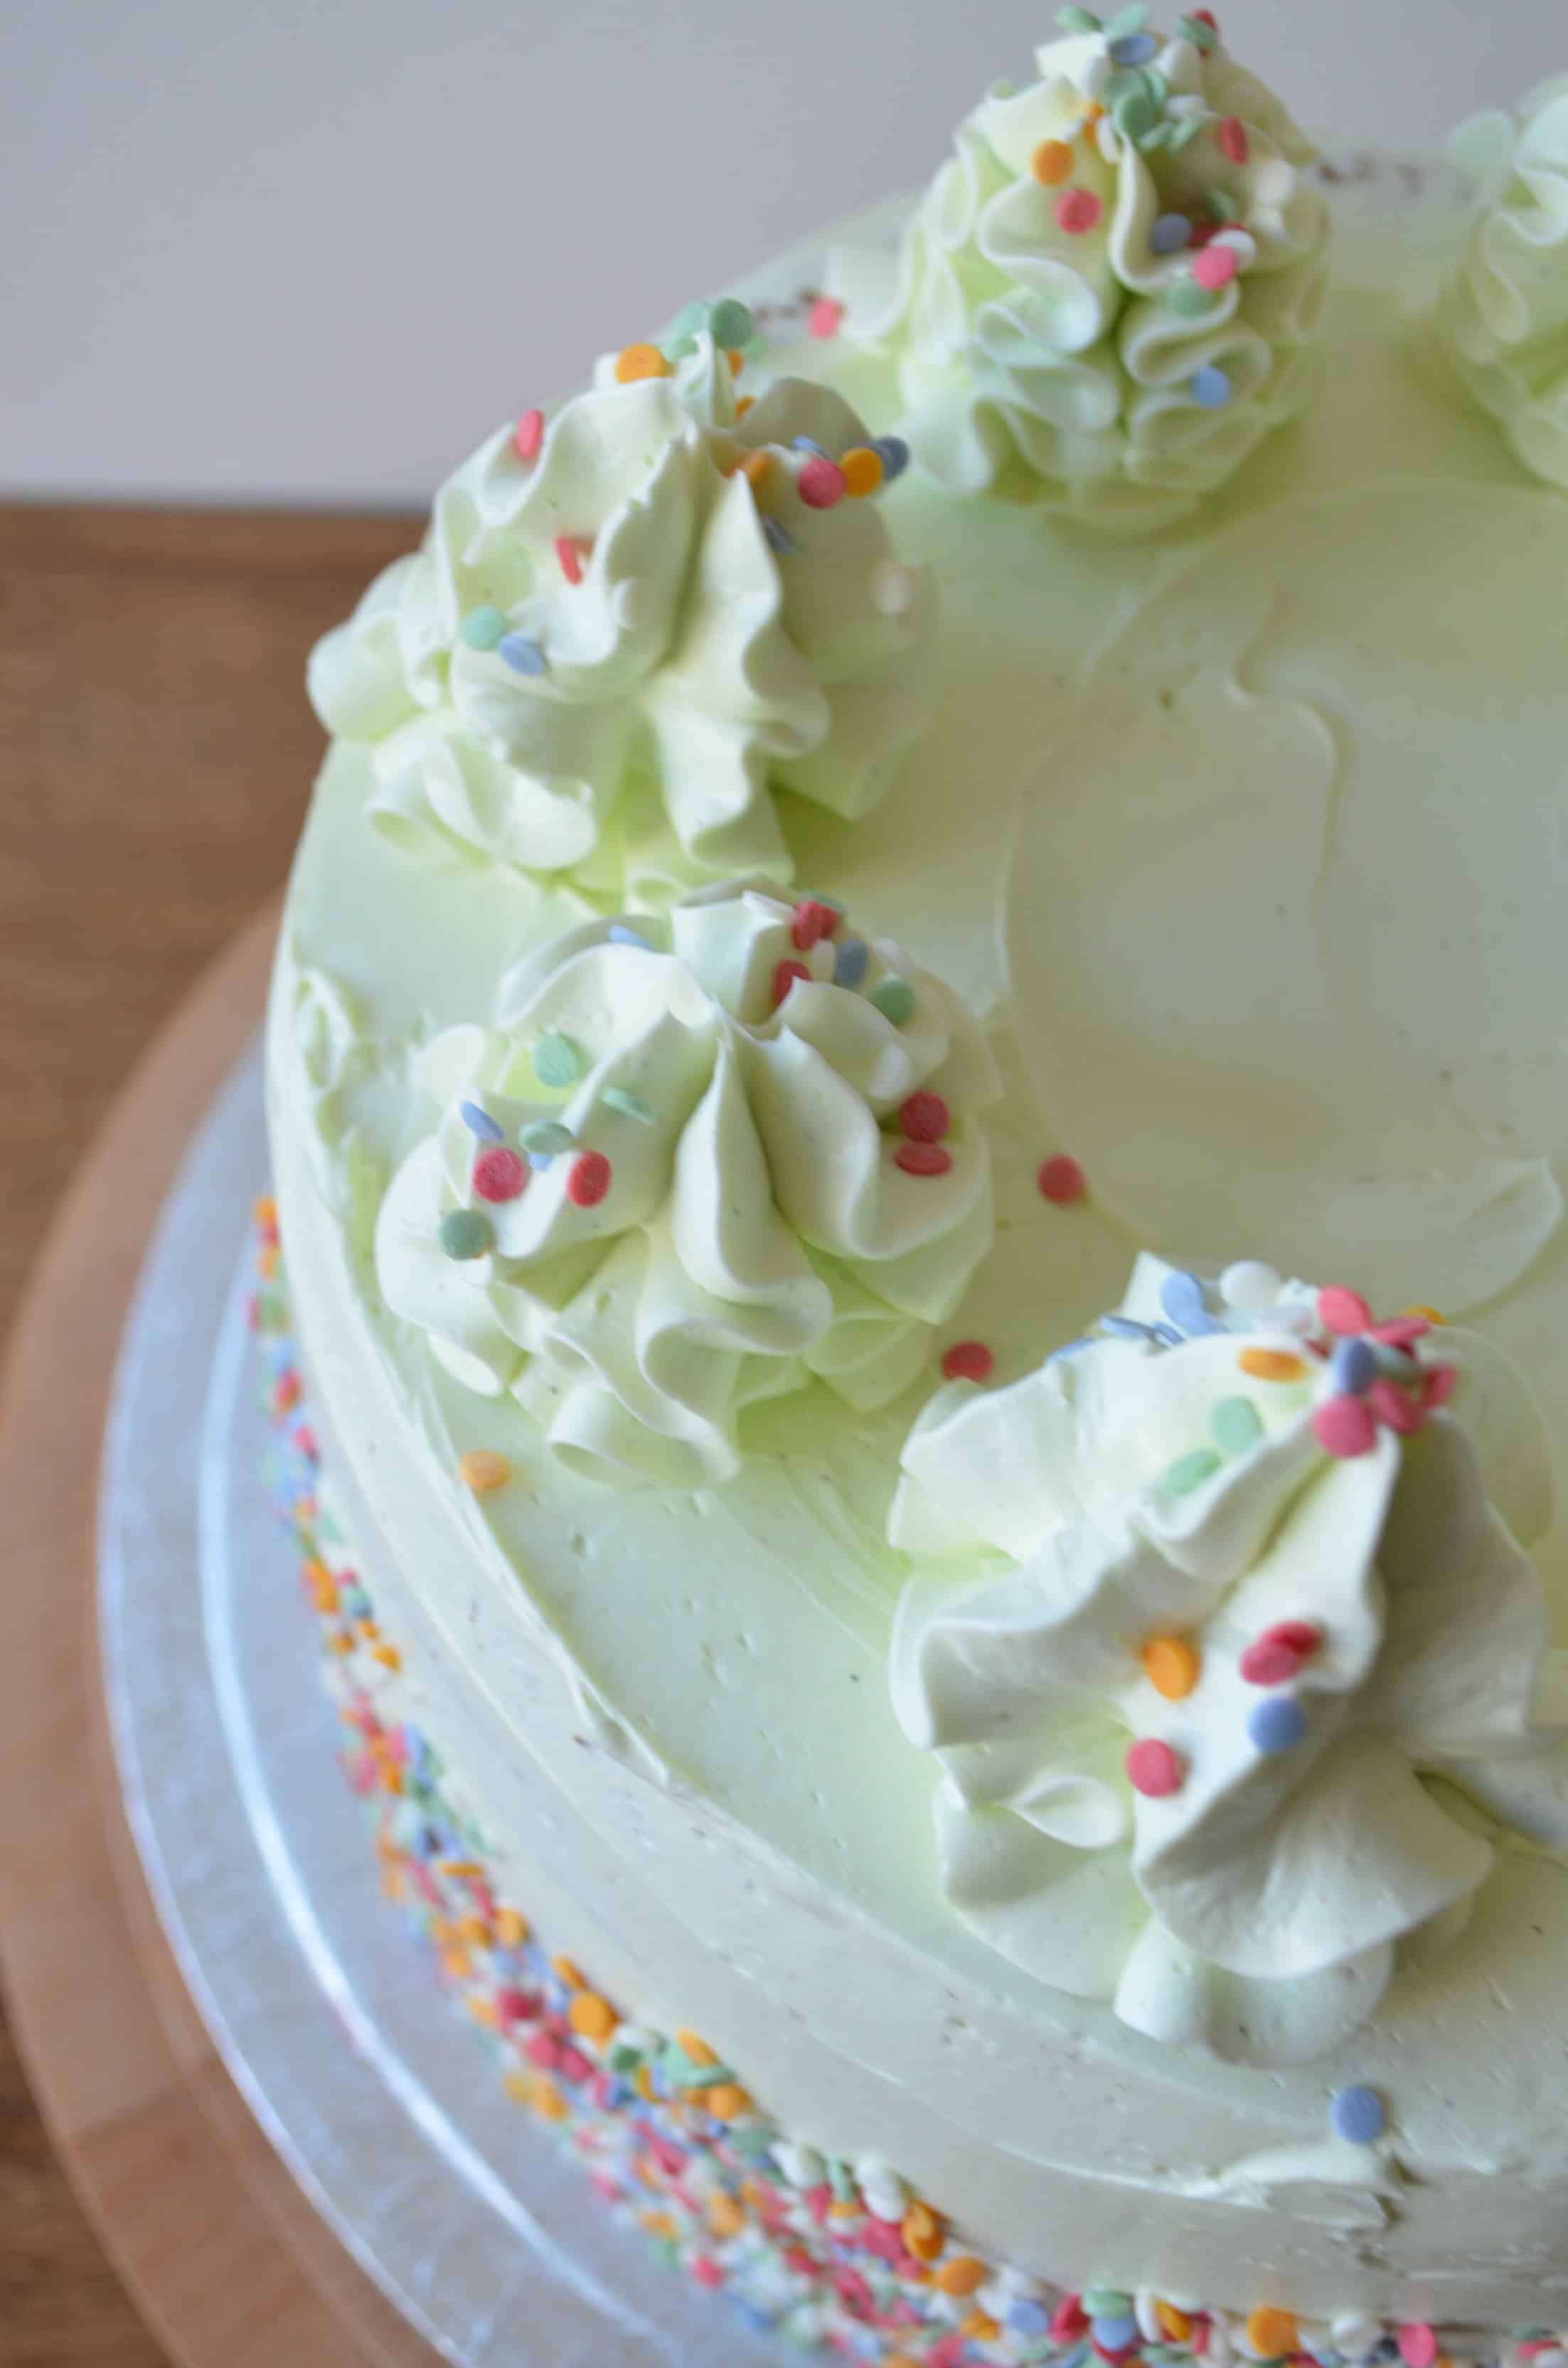
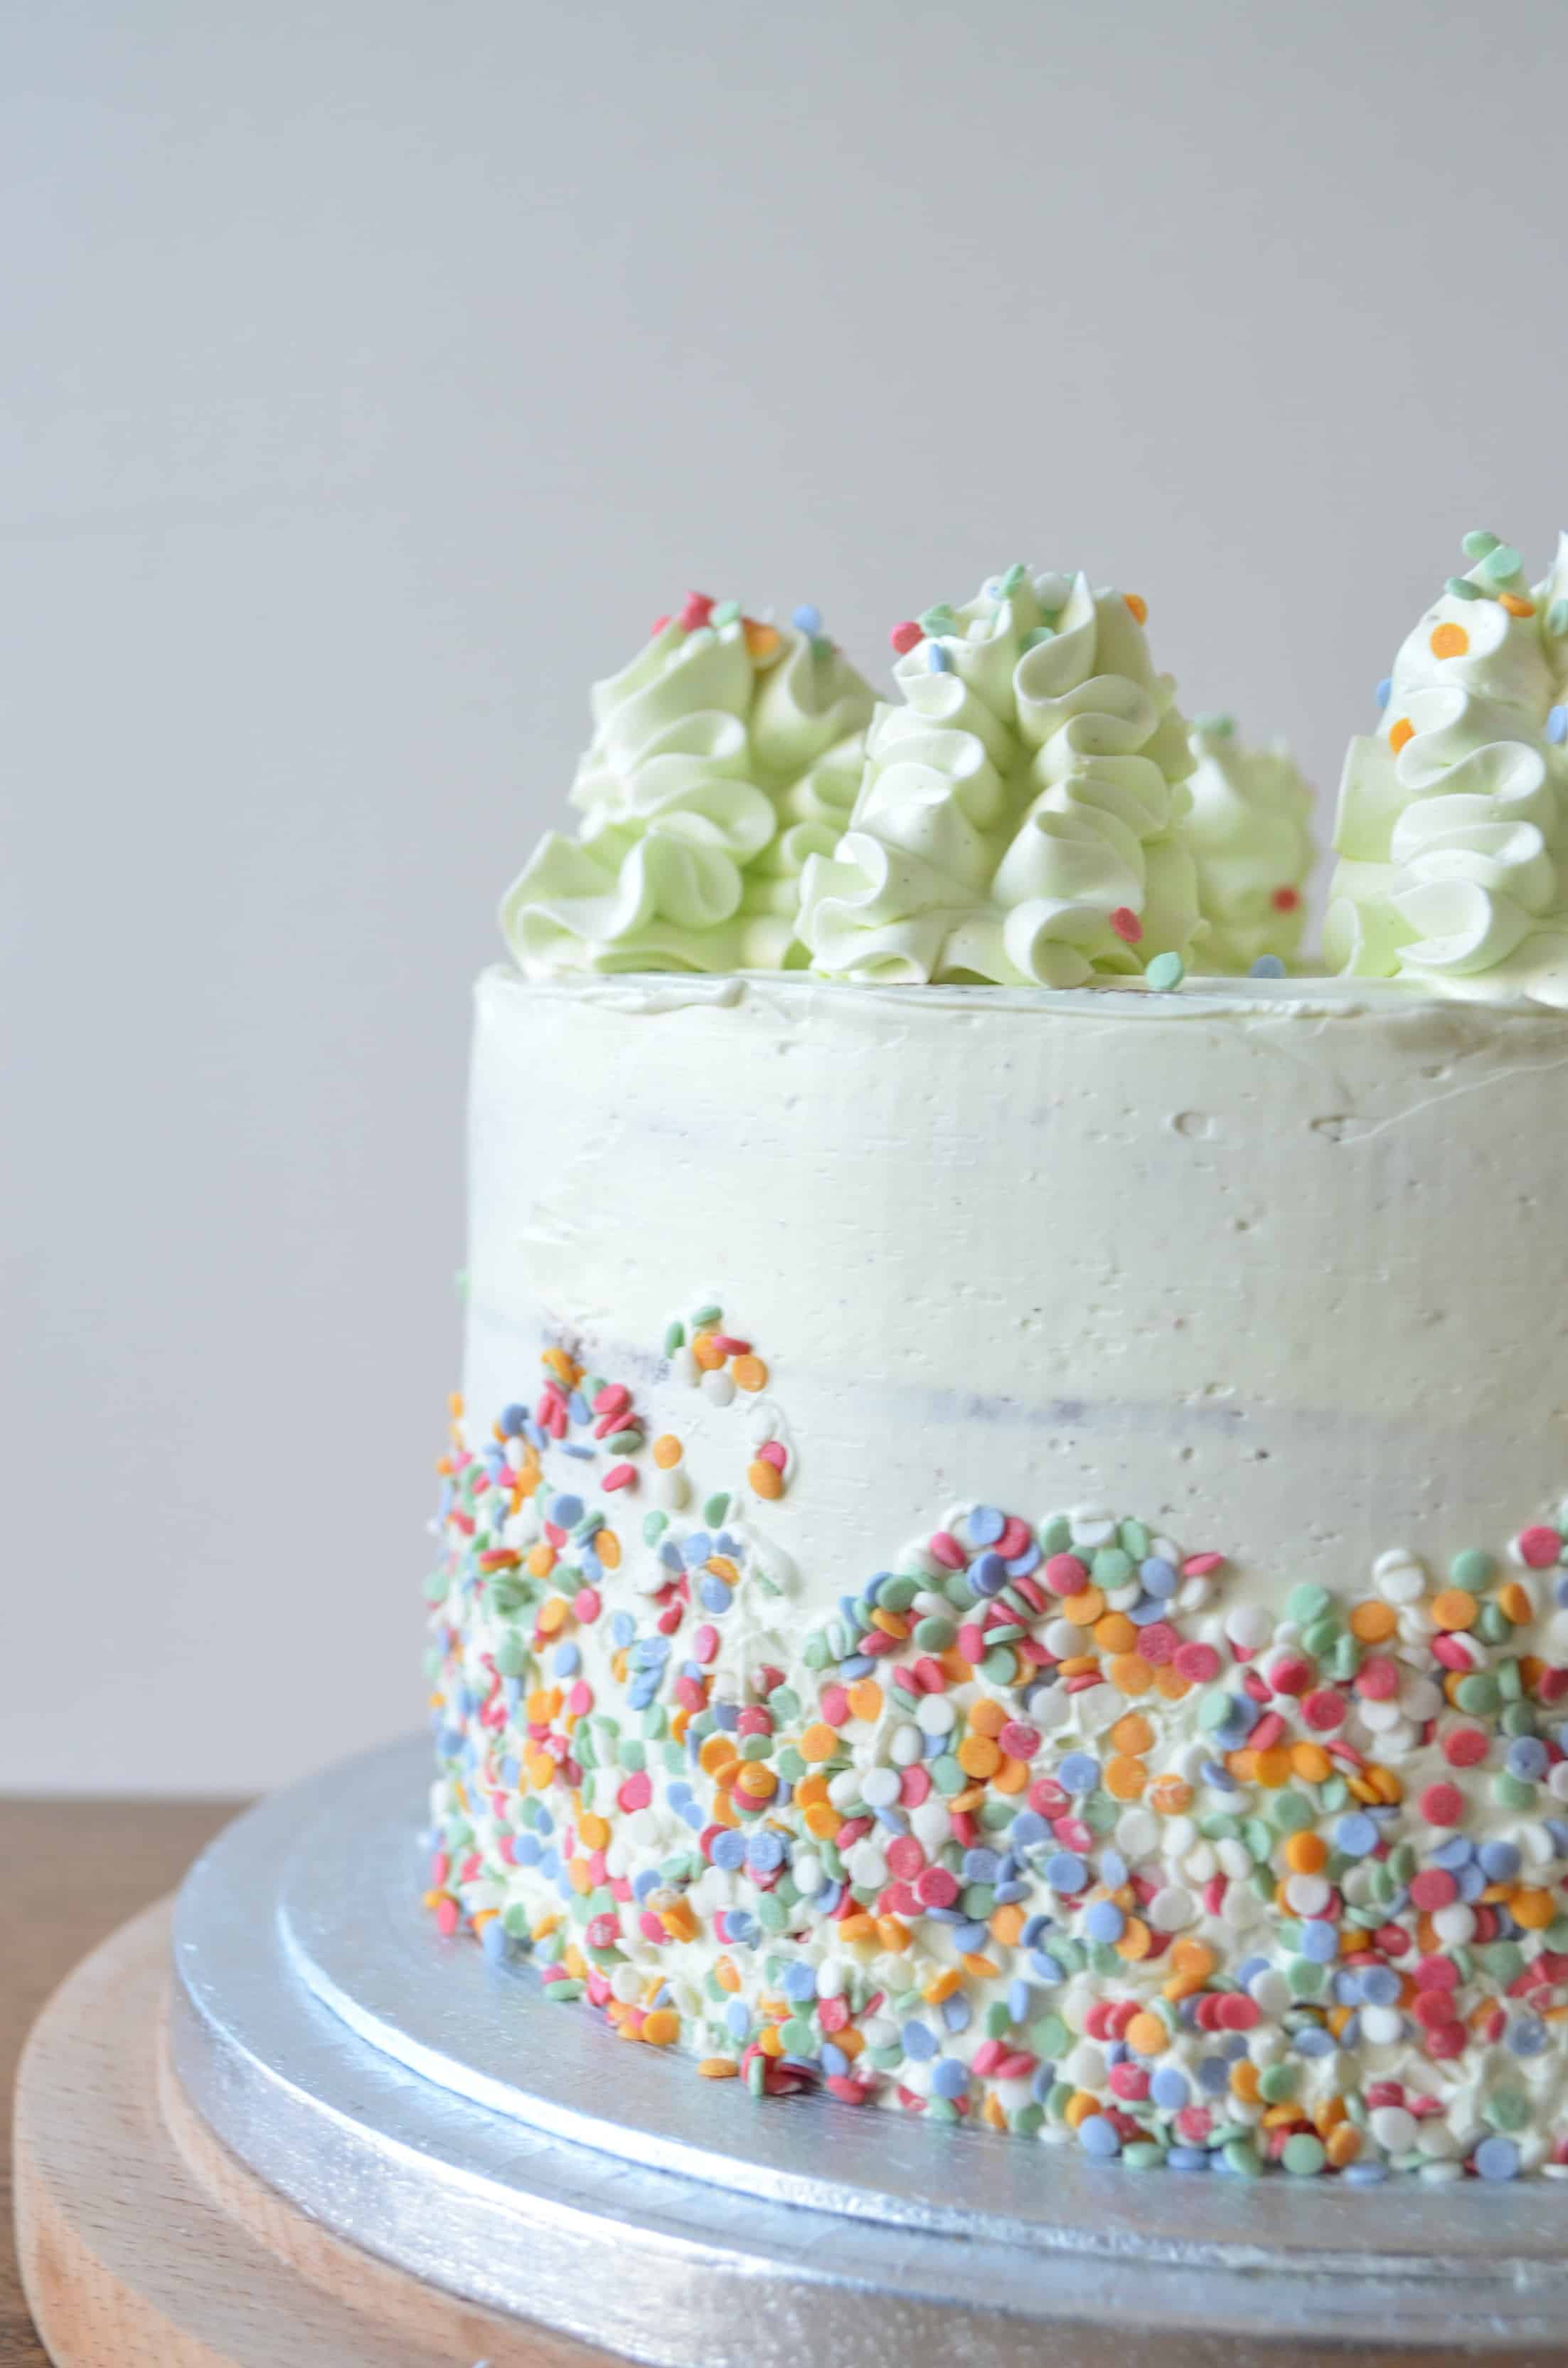
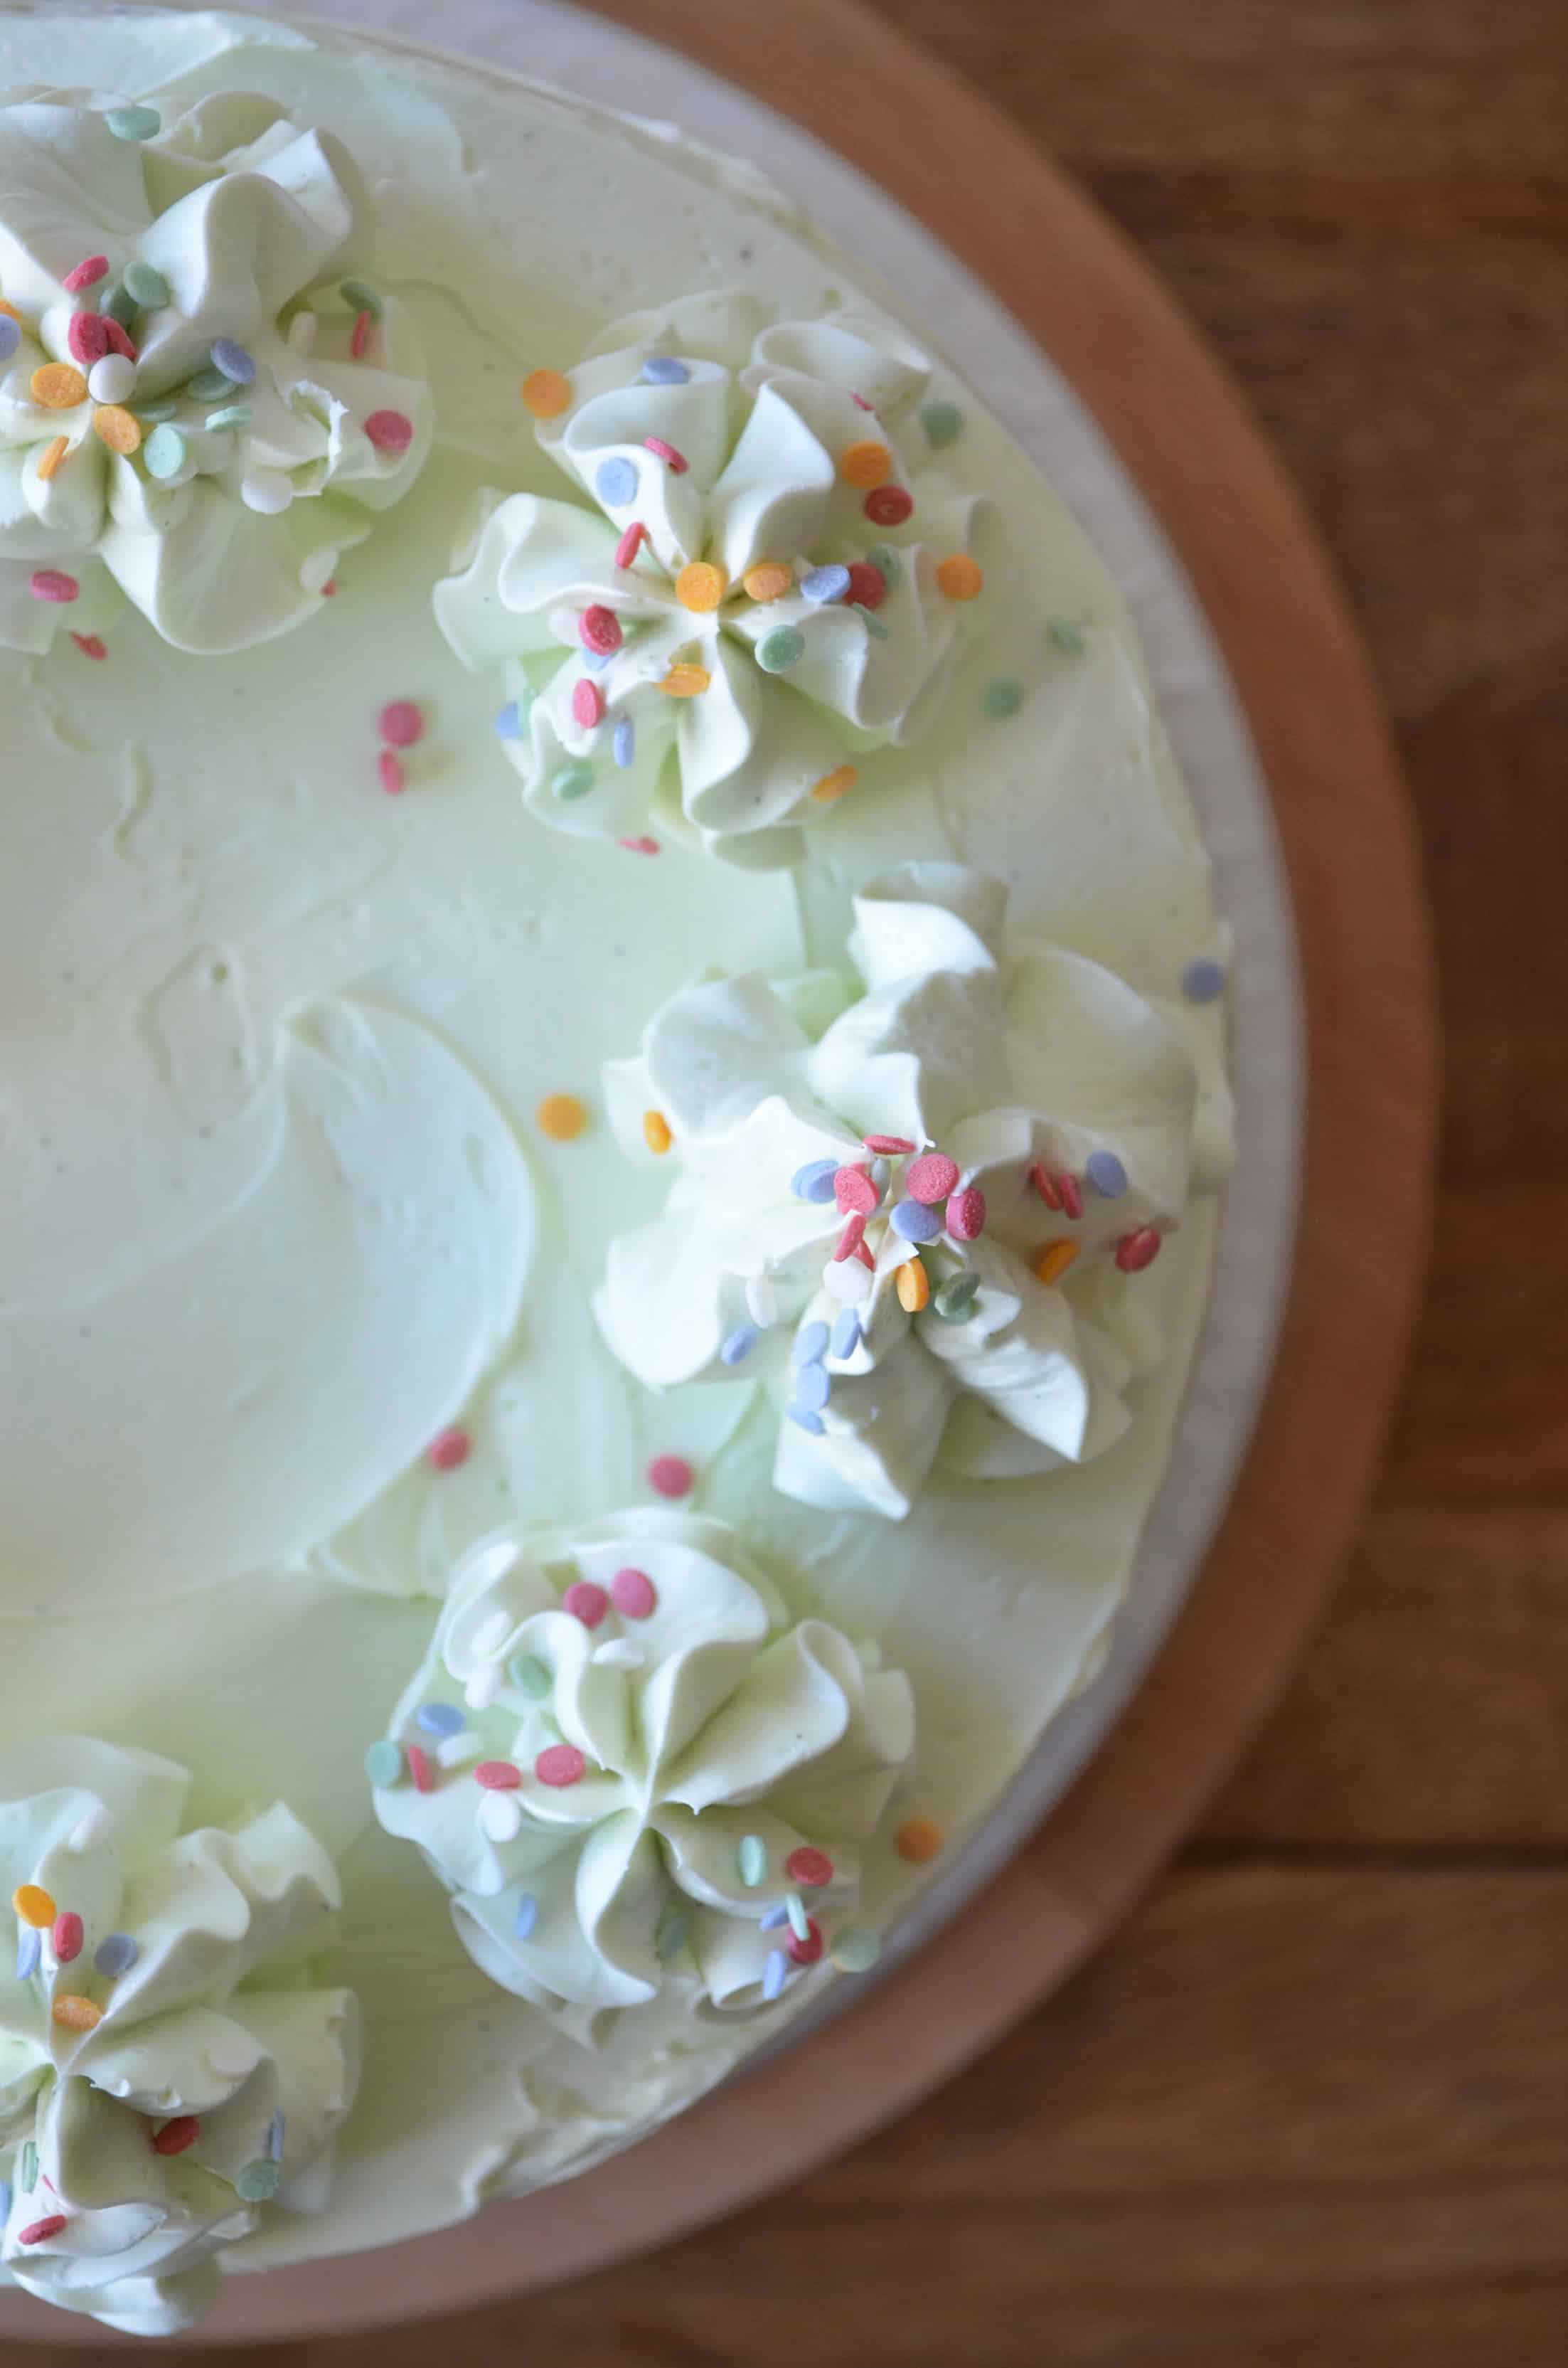
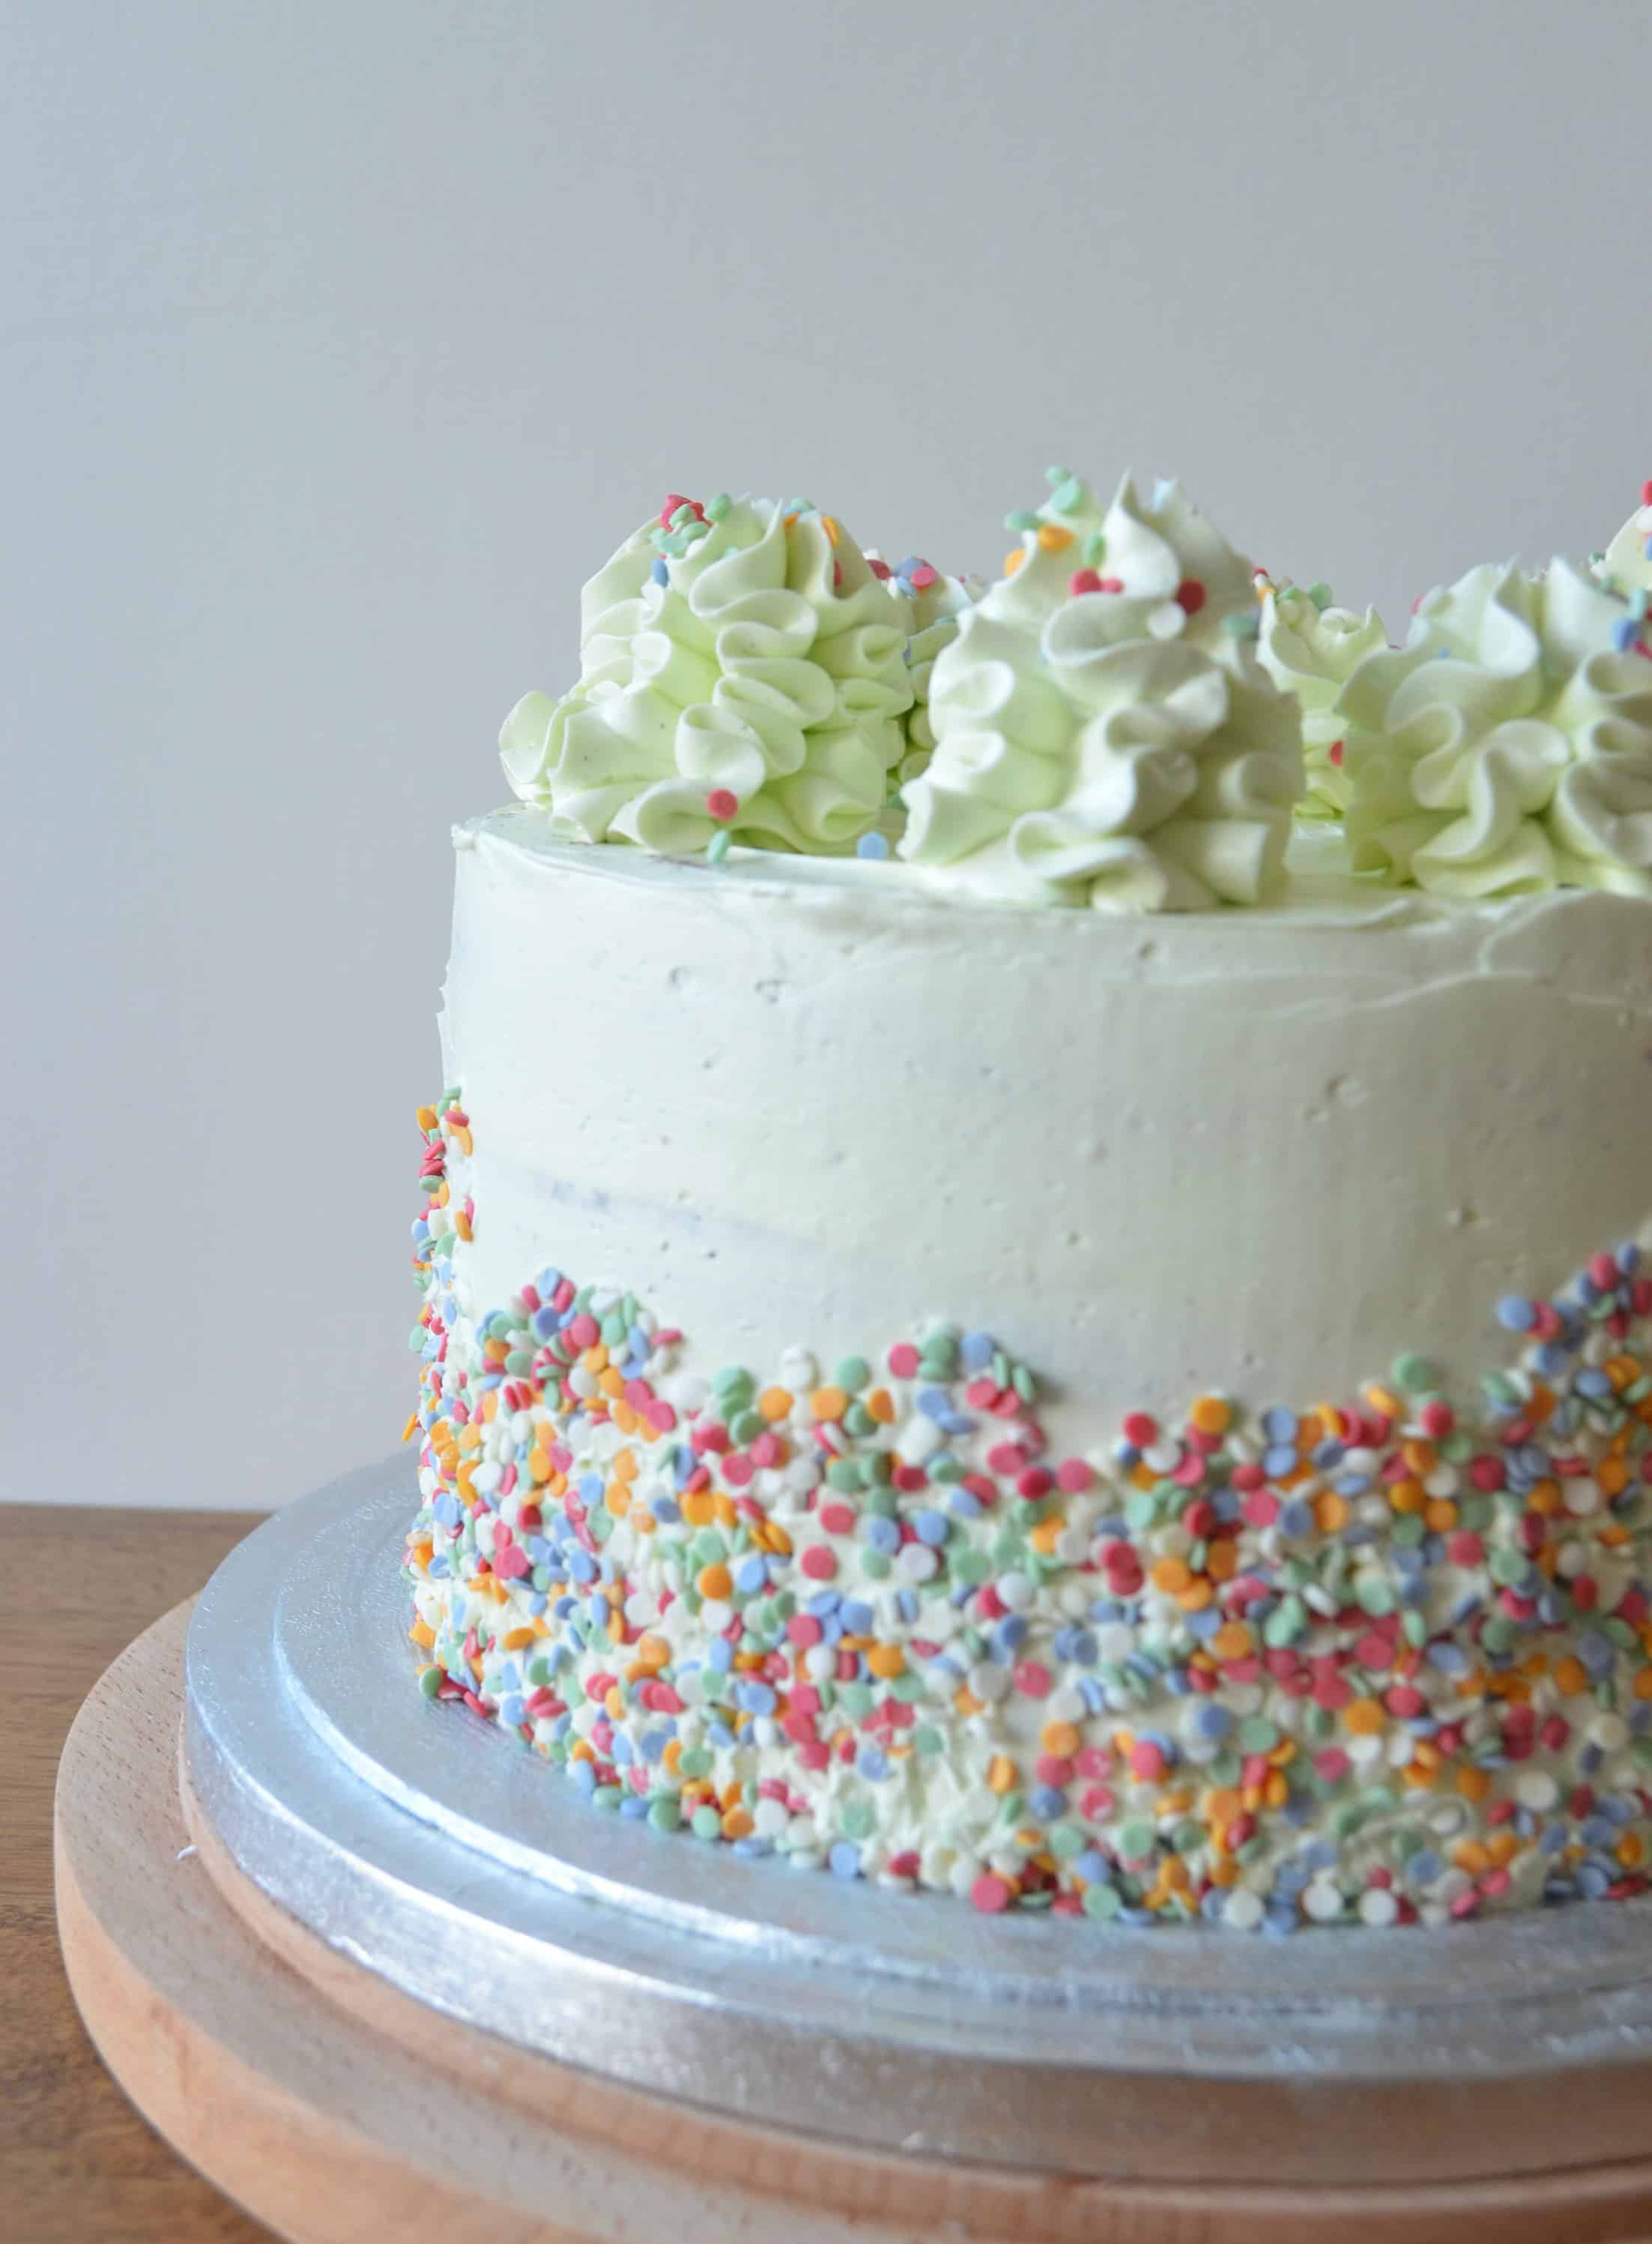
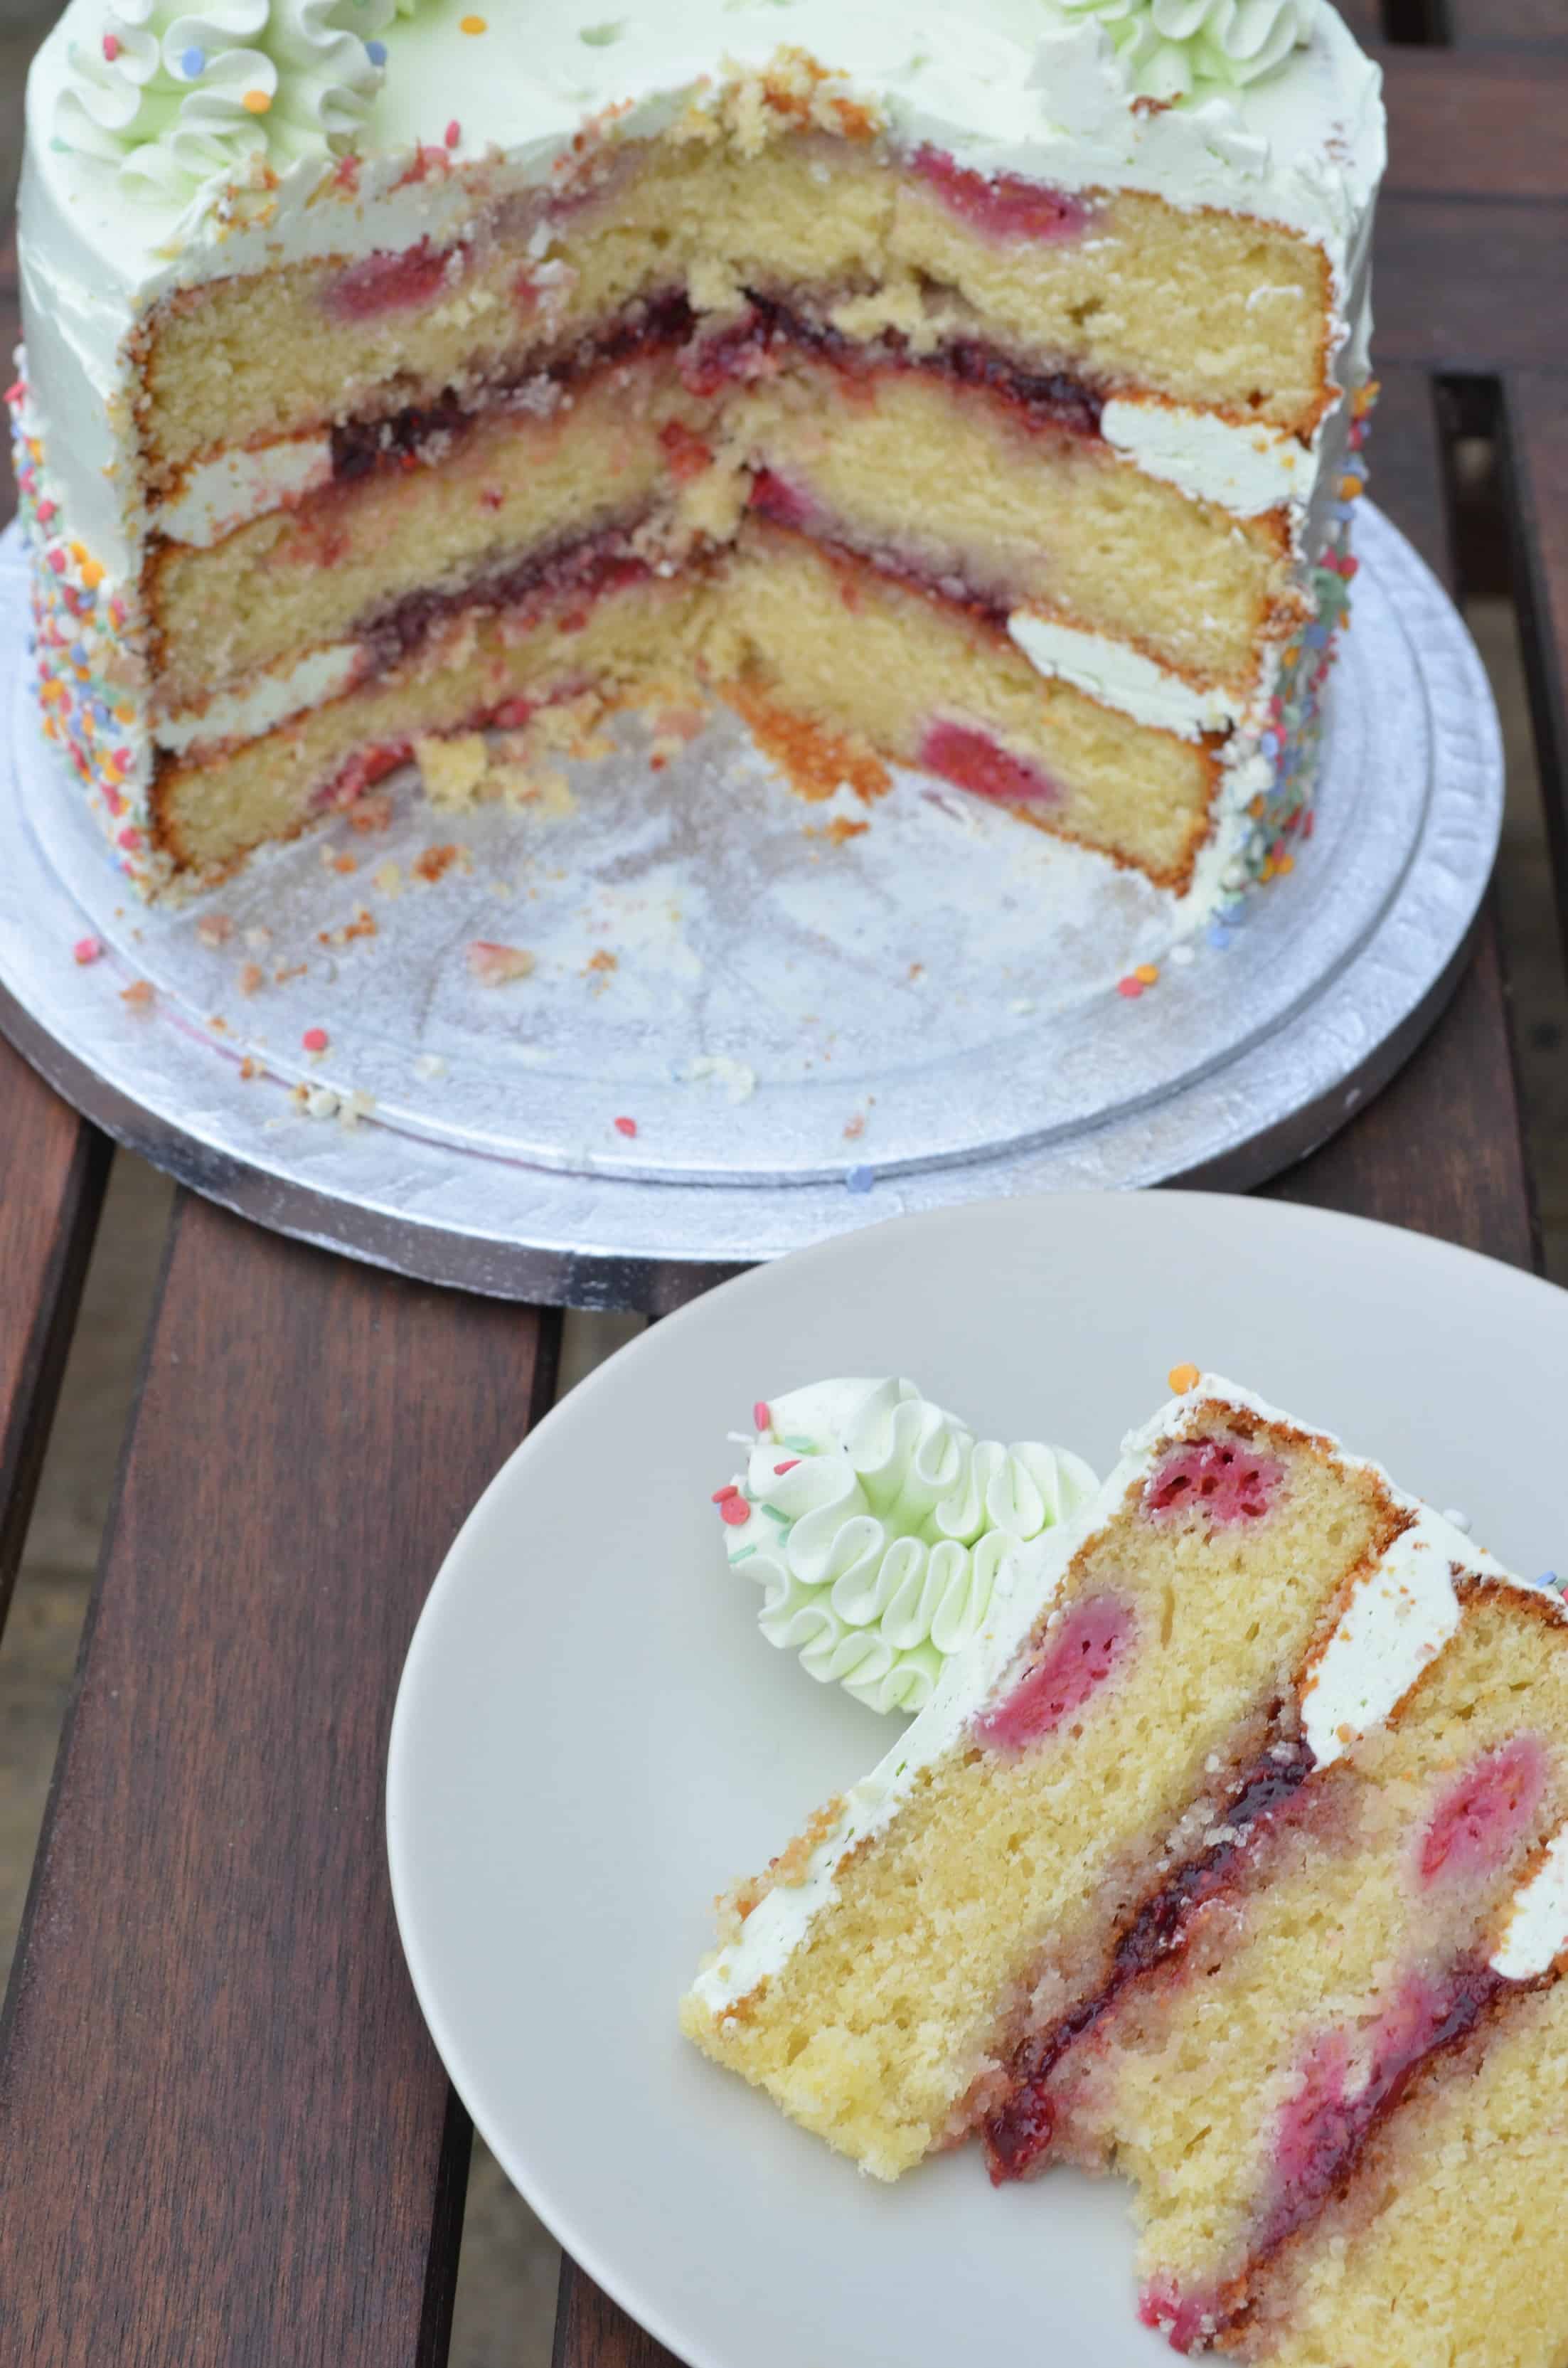
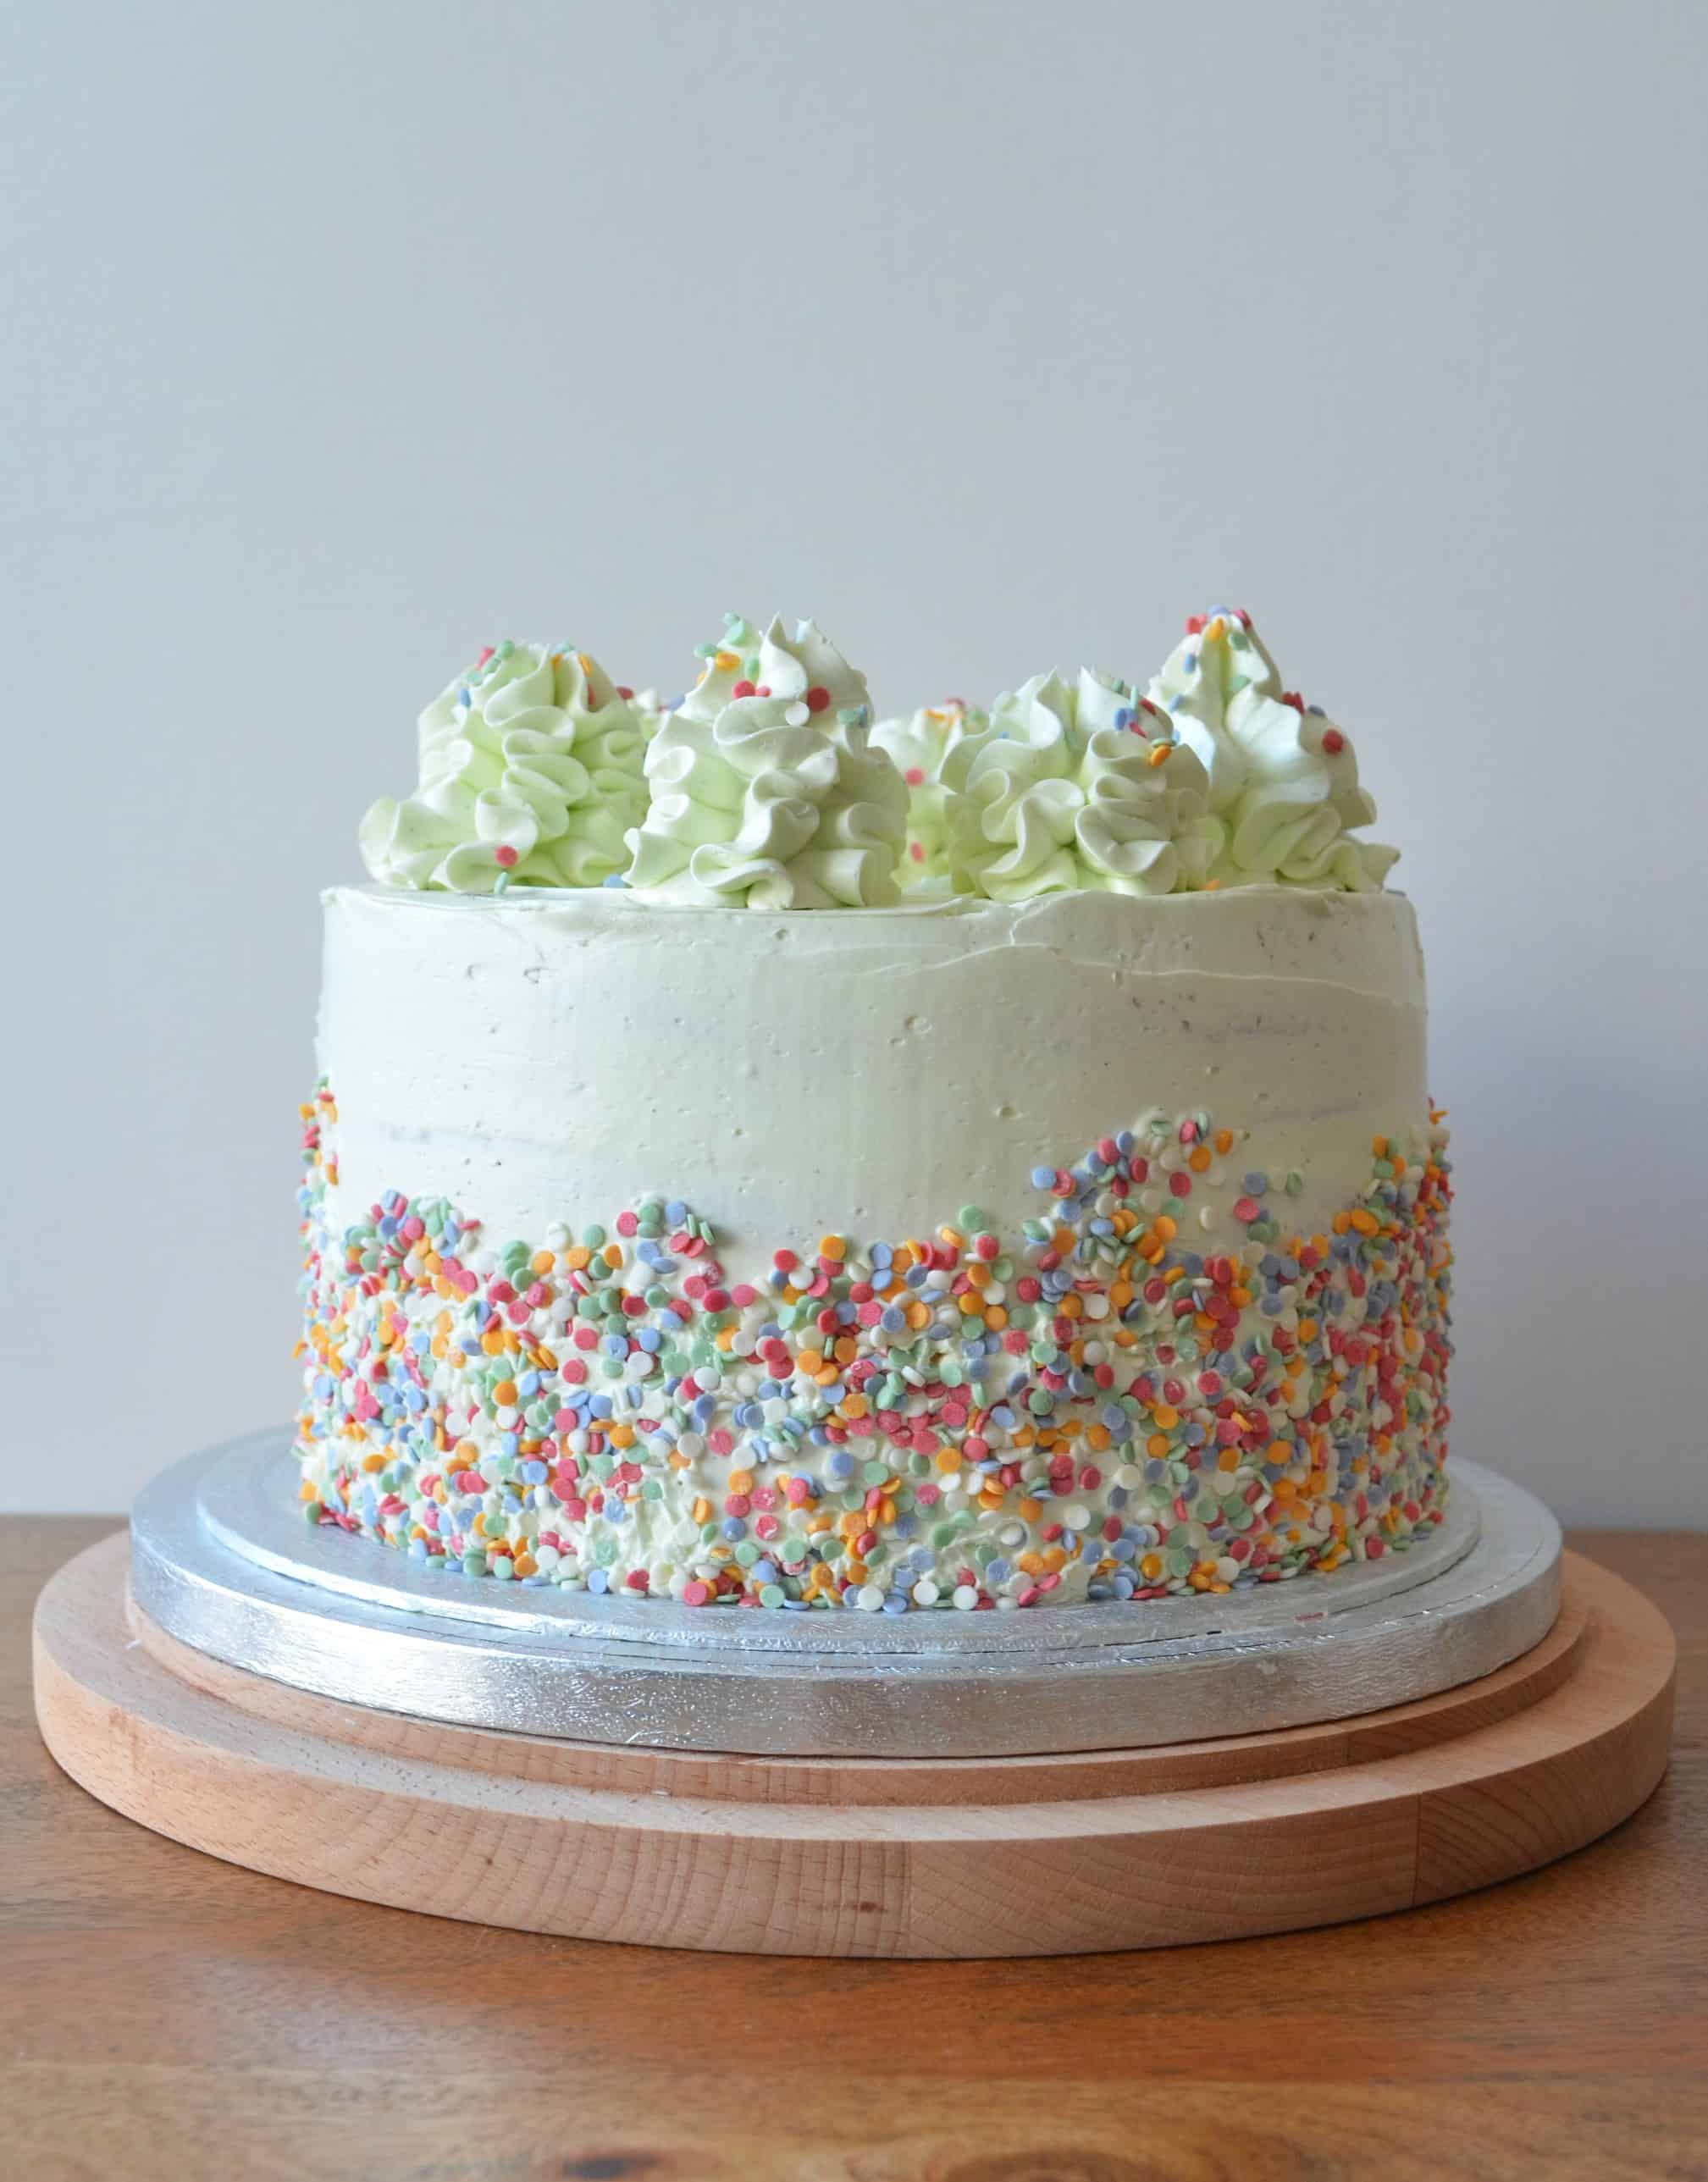
Cake, Cake, Cake, Cake. Is there anything better? I mean even Rihanna released a song about it….! But Birthday Cake probably tips the scale! I made this raspberry and almond layer cake for my mum’s birthday last weekend. Fresh raspberries gave the tang, ground almonds made it super moist and the buttercream and sprinkles made it extra birthdayish! Who says sprinkles are only for kids?!
Almond and raspberry is SUCH a classic combination and one of mums favourite flavours so I knew I wanted to incorporate that in the cake. I ended up baking fresh raspberries in the sponge, which gave such a good tart hit. I added ground almonds too which made the sponge extra moist, AND I added two teaspoons of almond extract to give it that extra punch. I can never have enough almond, but feel free to reduce it to one teaspoon if you’re not as obsessive as I am!
I’m still so obsessed with swiss meringue buttercream and the silky effect it creates. I love how the swirls on top almost look like a 99 ice cream you’d get when you were little! I went for vanilla to complement the raspberry and almond but not overpower it. Though you’d be forgiven for thinking the buttercream was mint or pistachio flavoured with the mint green hue. That was just a mistake! I was trying to make my buttercream whiter, so I added in (what I thought was) a tiny drop of blue food colouring. As you can tell, that plan didn’t quite work out. But, I’m actually pretty happy with the colour in the end! It encapsulates the childhood birthday cake style I was looking for!
Filling wise, I decided to go classic birthday cake and use jam and buttercream. I used the buttercream as a dam around the edge of the cake, and then filled the centre with raspberry jam – Bonne Maman to be exact, only the best! I’m so glad I did to, as the tartness of the jam worked so well in cutting through the rich buttercream.
The sprinkles were much harder to add on than I imagined, so learn from my mistake and if you have a tilting turntable use it to its full advantage to stick them on! I on the other hand ended up essentially chucking the sprinkles at the cake and finding them all over my kitchen instead….!
All in all, taste wise this is one of the best cakes I’ve made (if I do say so myself)! So if you’re a fan of raspberry and almond definitely give it a try! Also, give my timelapse video below a watch where you can see me assemble the cake 🙂
Raspberry and Almond Layer Cake
Ingredients
Sponge
- 305 g cake flour if you can't find cake flour, use 245g plain flour plus 60g cornflour
- 100 g ground almonds
- 2 tsp baking powder
- 1/2 tsp bicarbonate of soda
- 1/2 tsp salt
- 225 g unsalted butter room temperature
- 400 g caster sugar
- 2 tsp almond extract
- 3 large eggs room temperature
- 2 large egg yolks room temperature
- 300 ml buttermilk
- 220 g raspberries
Buttercream
- 150 ml large egg whites
- 250 g caster sugar
- 450 g unsalted butter room temperature
- 2 tsp vanilla extract
- 1/2 tsp blue gel food colouring if using
Filling
- 200 g raspberry jam
Decoration
- multi-coloured sprinkles
Instructions
- For the sponge: Firstly, preheat the oven to 175C/ Gas Mark 4 and grease and line three 8" baking tins. In a small bowl sift together the flour, ground almonds, baking powder, bicarb and salt. Toss the raspberries in one tablespoon of the flour mix, and set both aside.
- In a pyrex bowl beat the butter with a hand mixer until smooth and lightened in colour. Then add the sugar and beat until the mixture is light and fluffy, this will take a few minutes. Add the almond extract and then add the eggs and egg yolks one at a time, beating between each addition. Then with the mixer on low, add the flour mix in three batches alternating with the buttermilk. Ensure you begin and end with the flour mixture. Do not over mix at this stage, stop mixing as soon as the last streaks of flour are incorporated. Gently fold in the majority of the raspberries, then evenly divide the batter between the prepared tins. Sprinkle the remaining raspberries on top of the batter, pushing them down slightly.
- Bake for 27-30 minutes, or until a skewer inserted into the middle of the cake comes out clean. Let the cakes cool on a wire rack for 15 minutes, before removing them from their tins to cool completely.
- For the buttercream: Whisk together the sugar and egg whites in heat-safe bowl until combined. Then using a bain-marie, heat the mixture, stirring occasionally until it reaches 155-160F on a candy thermometer. If you don't have a thermometer the mixture will be very hot to the touch and the sugar will have dissolved.
- Once the mixture has reached the right temperature, take the bowl off the heat and using an electric mixer whisk on high speed for about 10 minutes until you reach medium-stiff peaks and the mixture has returned to room temperature.
- With the mixer on low, add in the butter a tablespoon at a time ensuring each piece is fully incorporated before adding the next. The butter must be at room temperature for it to be properly incorporated.
- Once the butter has been mixed in, add the vanilla extract and mix again for a few minutes until the buttercream is silky smooth and light. Then add the food colouring if using, and mix for a few minutes until fully incorporated. Add 1/4 of the buttercream into a piping bag and snip off the end to have a plain round nozzle. Add another 1/4 of the buttercream into a piping bag fitted with a star tip (I used the Wilton 2D).
- To assemble: Place one sponge onto a cake board and using the buttercream in the plain piping bag, pipe a circle 'dam' round the edge of the cake. Then fill the gap with half of the jam. Place the second sponge on top and repeat with the buttercream and remaining jam.
- Next, crumb coat the entire cake with buttercream and place in the fridge for 20 minutes. Then cover the cake with a thick layer of buttercream and using a bench scraper, scrape off the excess to leave a smooth exterior. Using the piping bag fitted with the star tip, pipe swirls around the edge of the top of the cake. Then finally, add sprinkles to the swirls and the bottom half of the cake.
