
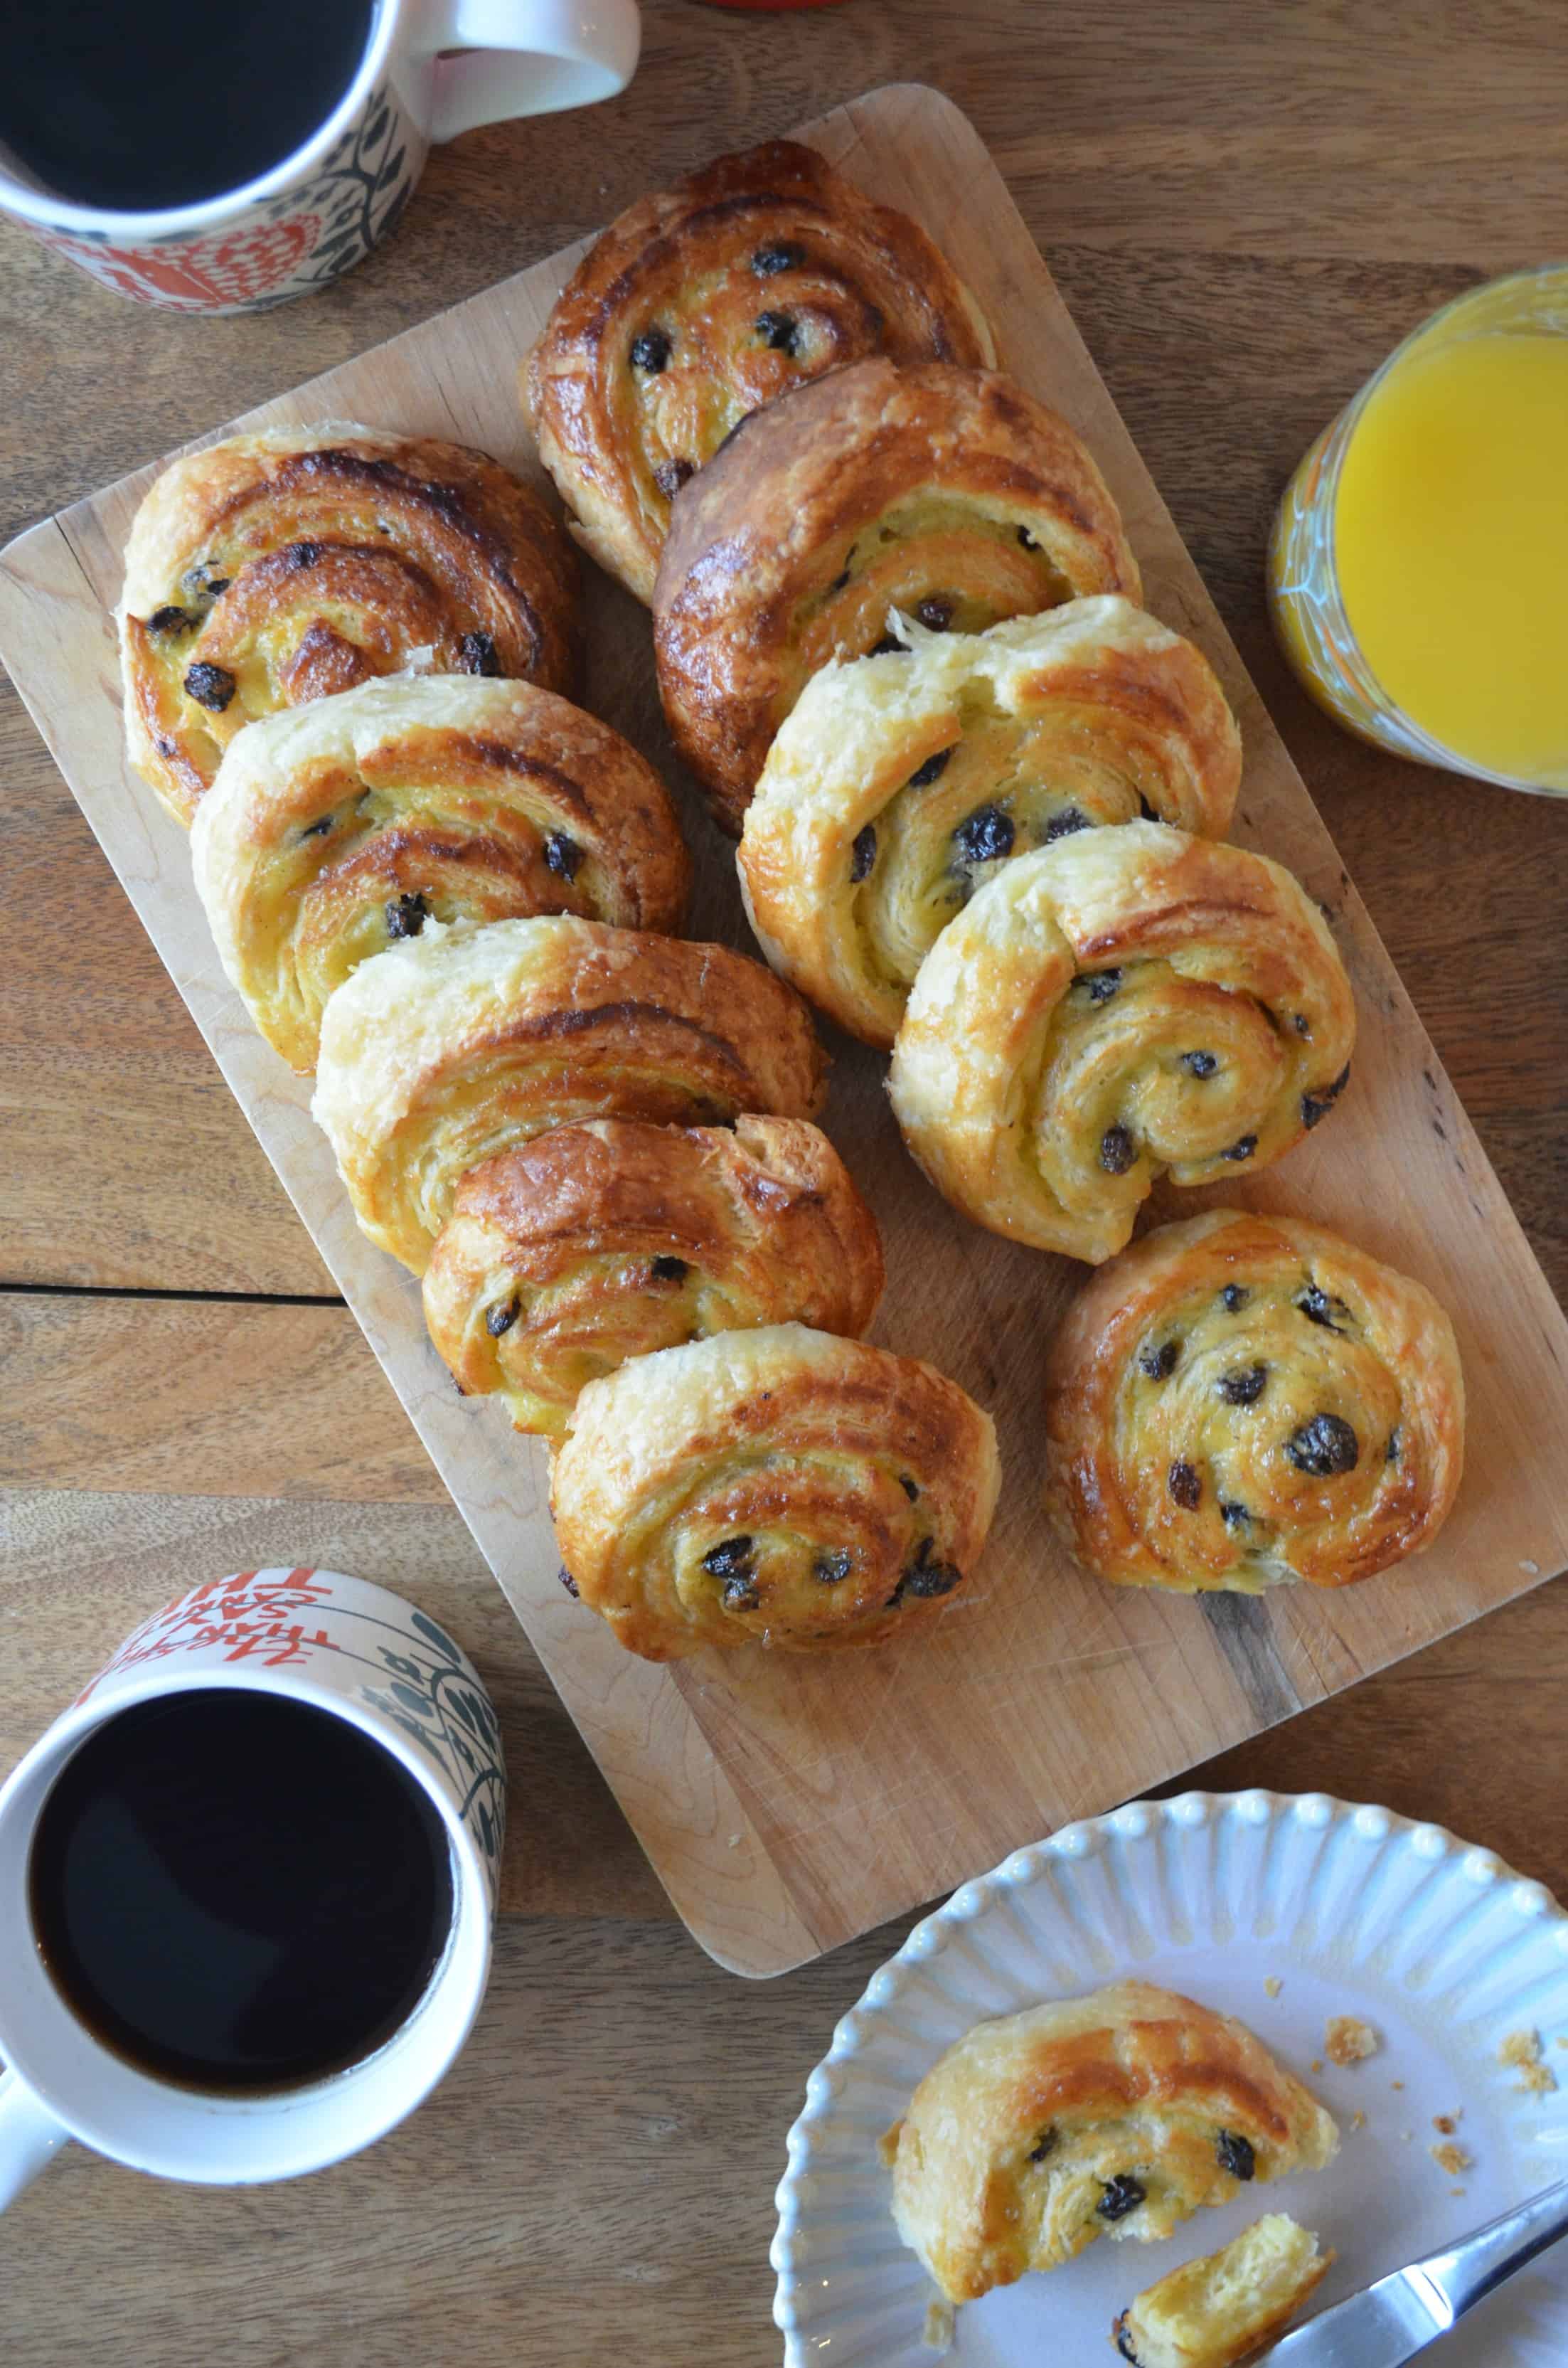
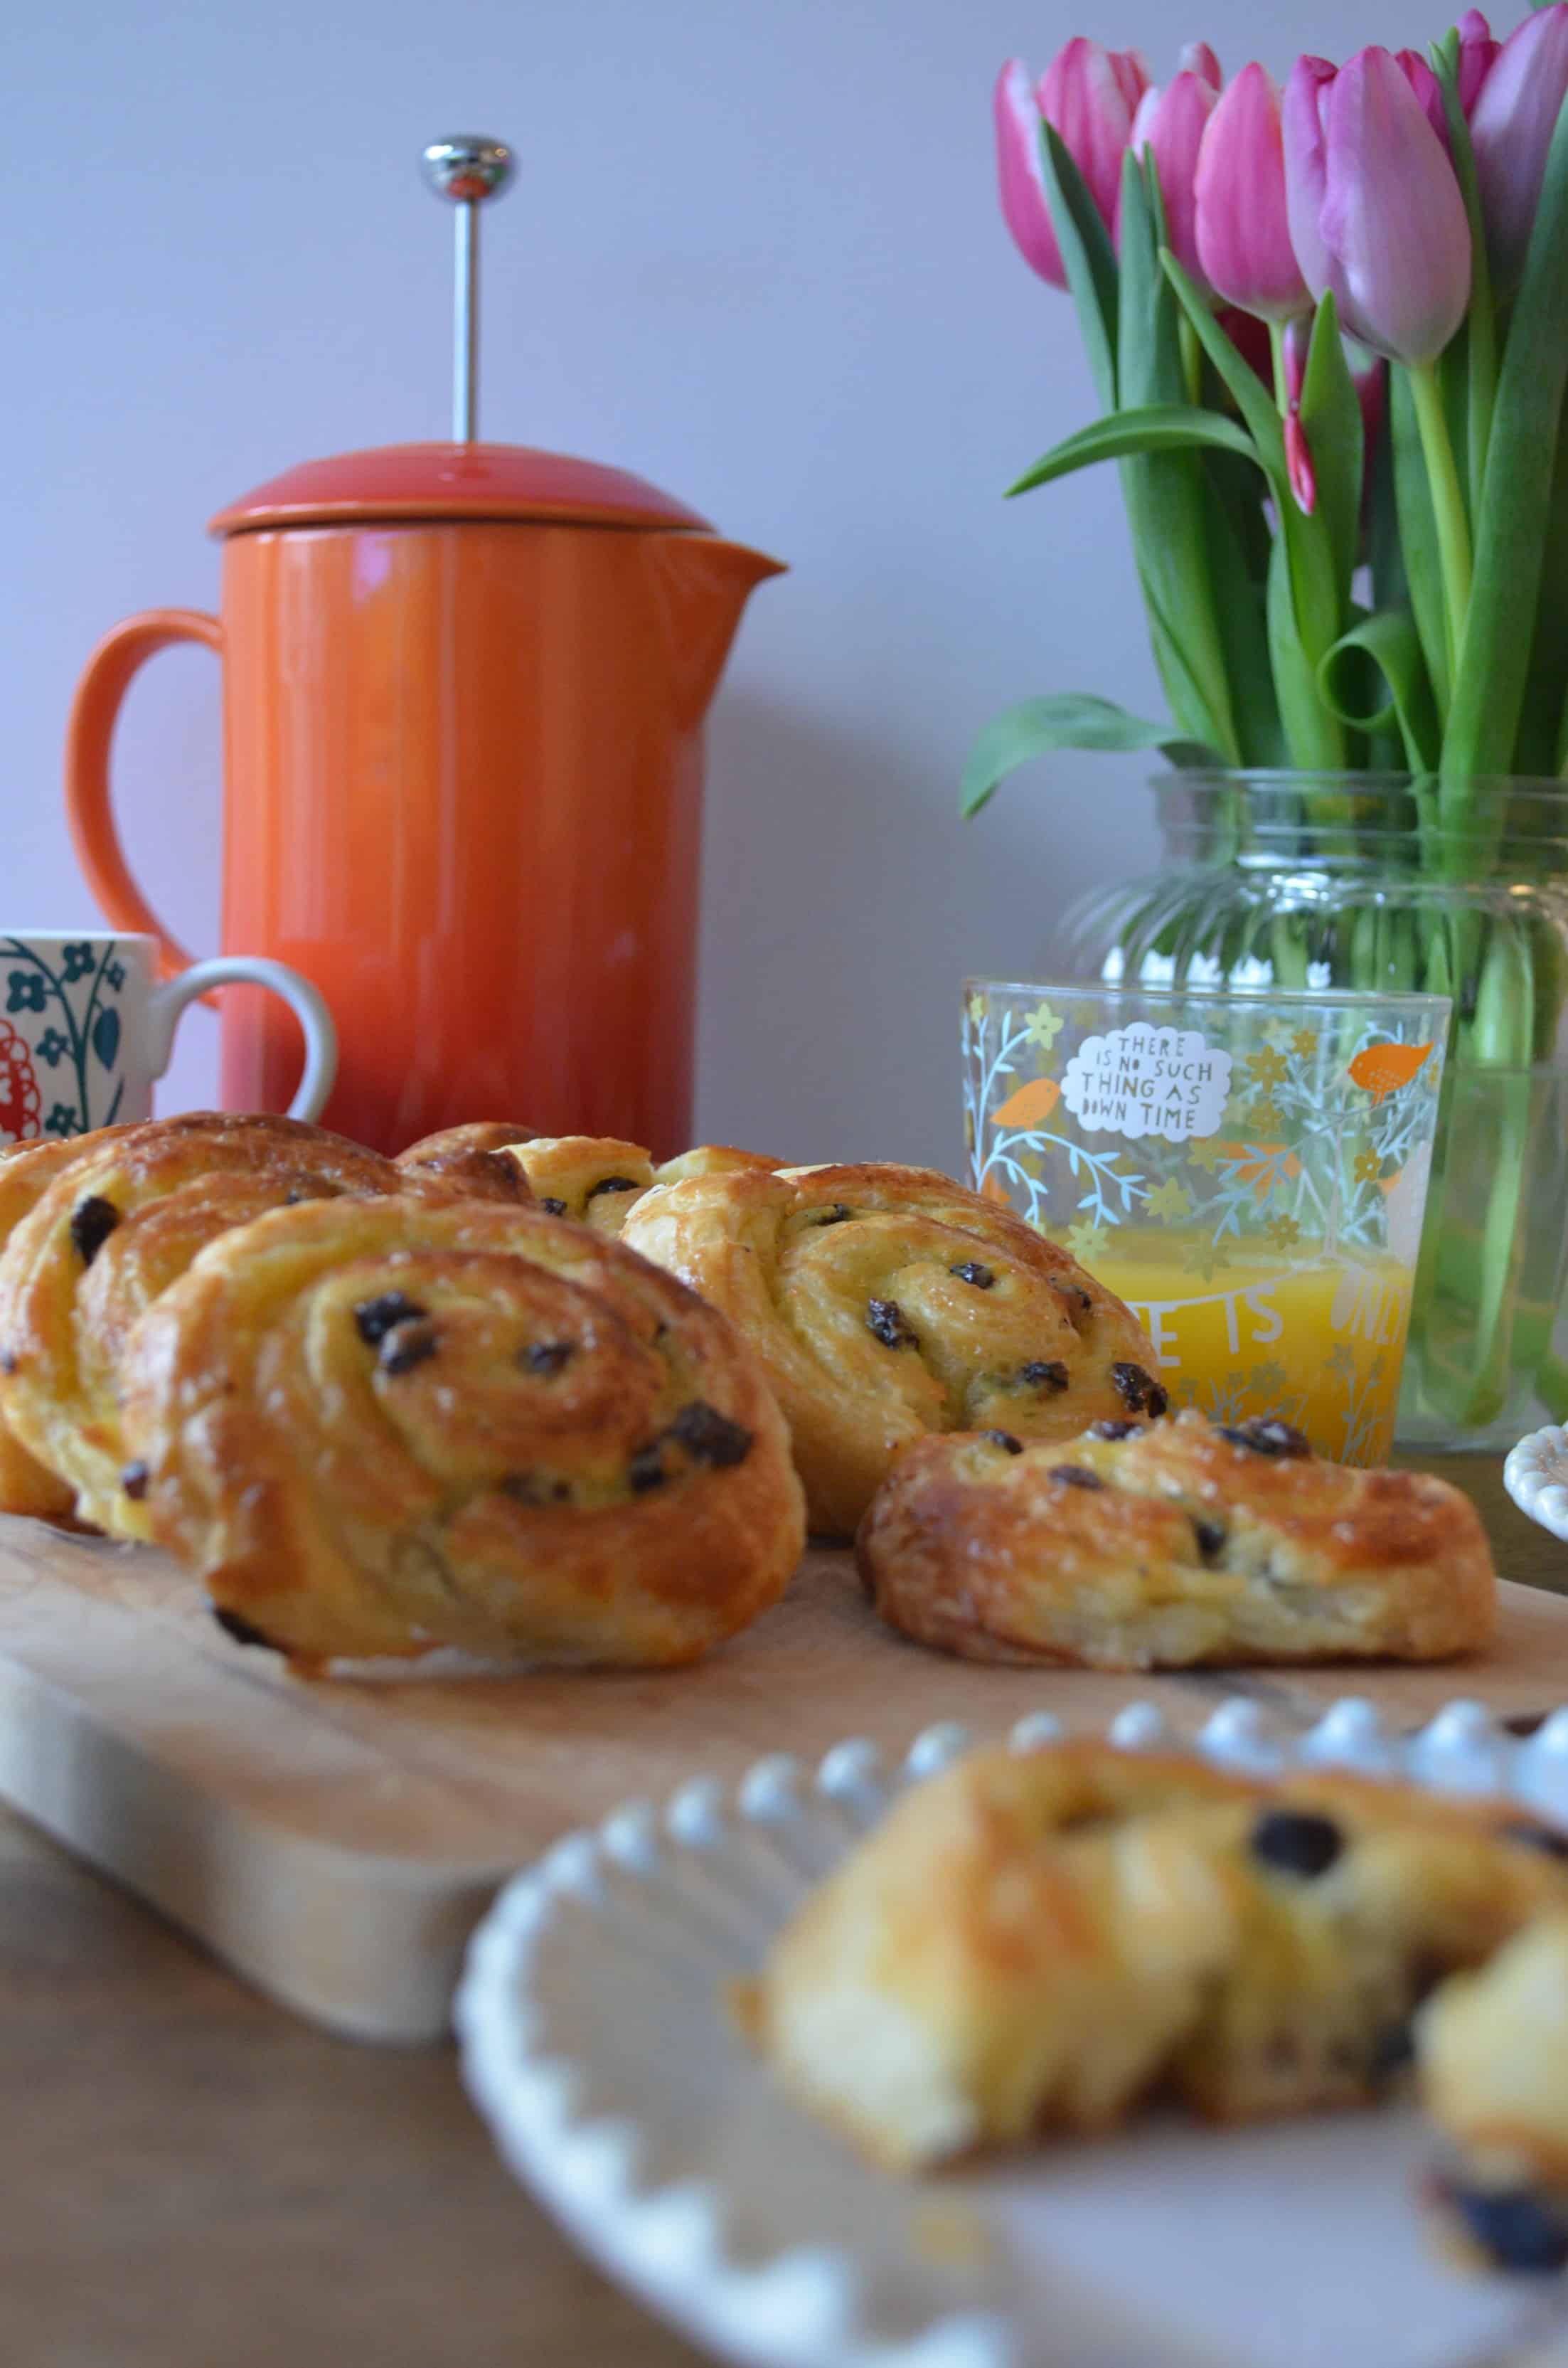
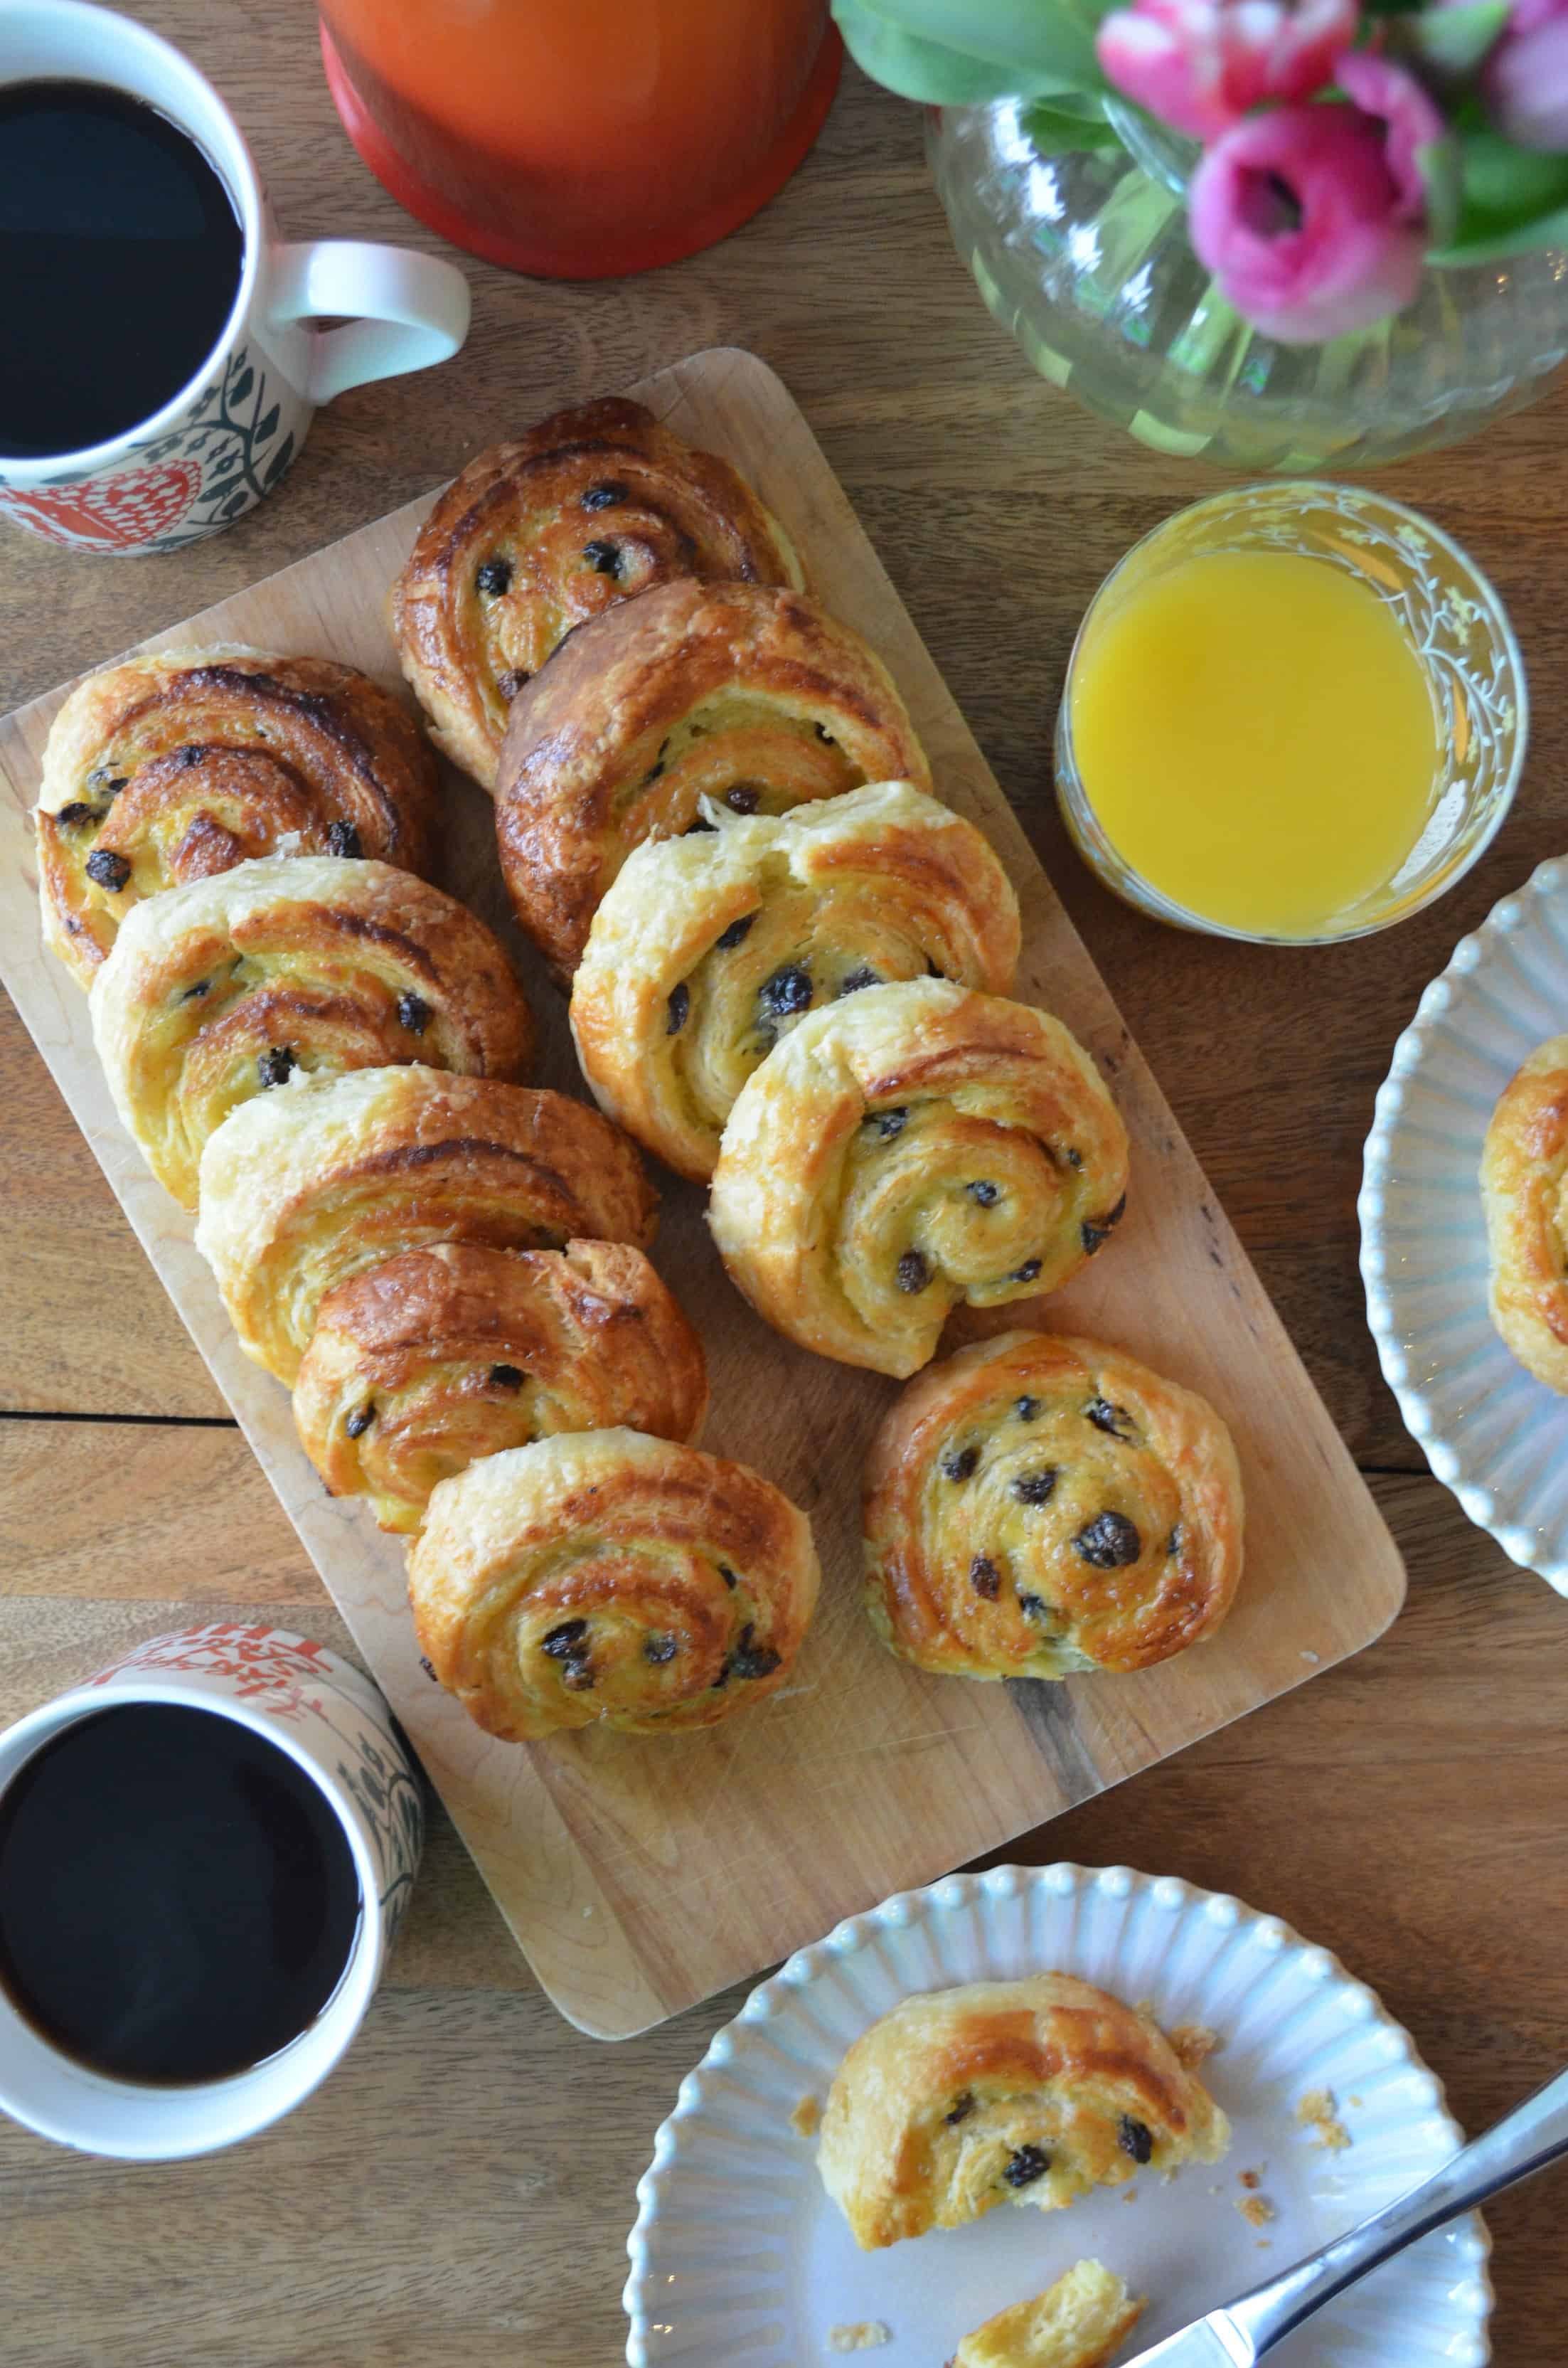
As you read this I will be living it up in Paris probably eating my weight in macarons, drinking red wine and definitely eating pain au raisins!! The French really know how to breakfast, I can’t think of anything better than a steaming mug of hot coffee and a warm pastry. It makes my morning porridge pale in comparison.
This was my first time making pain au raisins, I’ve made croissants before and other danishes but pain au raisins always seemed a bit tricky! I followed Edd Kimbers recipe to the letter, and it was surprisingly simple. Danishes seem like such an out of reach bake, but honestly give them a try! Yes they’re time consuming, but the majority of that time is the pain au raisins working on themselves while you can put your feet up.
So just to pre-warn you now, if you’re thinking of making these this afternoon I’m afraid thats not going to happen. This danish pastry dough must be chilled overnight, to rest and rise. They’re a labour of love and you need to be up for the challenge. But I urge you not to be put off, they really are so worth it!! And everyone will be impressed with your house wife/husband skills.
For this recipe you need to grate the butter onto the dough. This really helps in distributing the butter without it getting too warm. Warm butter is your enemy when making pastries! It does look a bit like you’ve put a load of cheese onto raw dough, but its so much easier than trying to flatten butter with a rolling pin. Believe me!
The turning process is what gives danishes their lamination i.e. all of the delicious flaky layers! You’ll need to ‘turn’ the dough at least three times before leaving it to rest overnight. By turning I mean rolling the dough into a rectangle, then folding up the bottom third and folding the top third over the bottom third so all ‘thirds’ are on top of each other. The dough is then placed in the fridge for at least 20 minutes to chill. Before repeating the process, you then ‘turn’ the dough 90 degrees so the layers are folded in a different direction.

Now I hate custard. Like hate it! But, even I have to admit the creme patisserie is the real star in these pain au raisins. I think it was the vanilla bean paste I used, it really made such a difference to the flavour. Please try and use the highest quality vanilla you can when making it, none of that vanilla essence will cut it! Creme pat is really easy to make, and thickens surprisingly quickly. You can make it the night before with the dough and leave to cool in the fridge, meaning you’re raring to go in the morning.
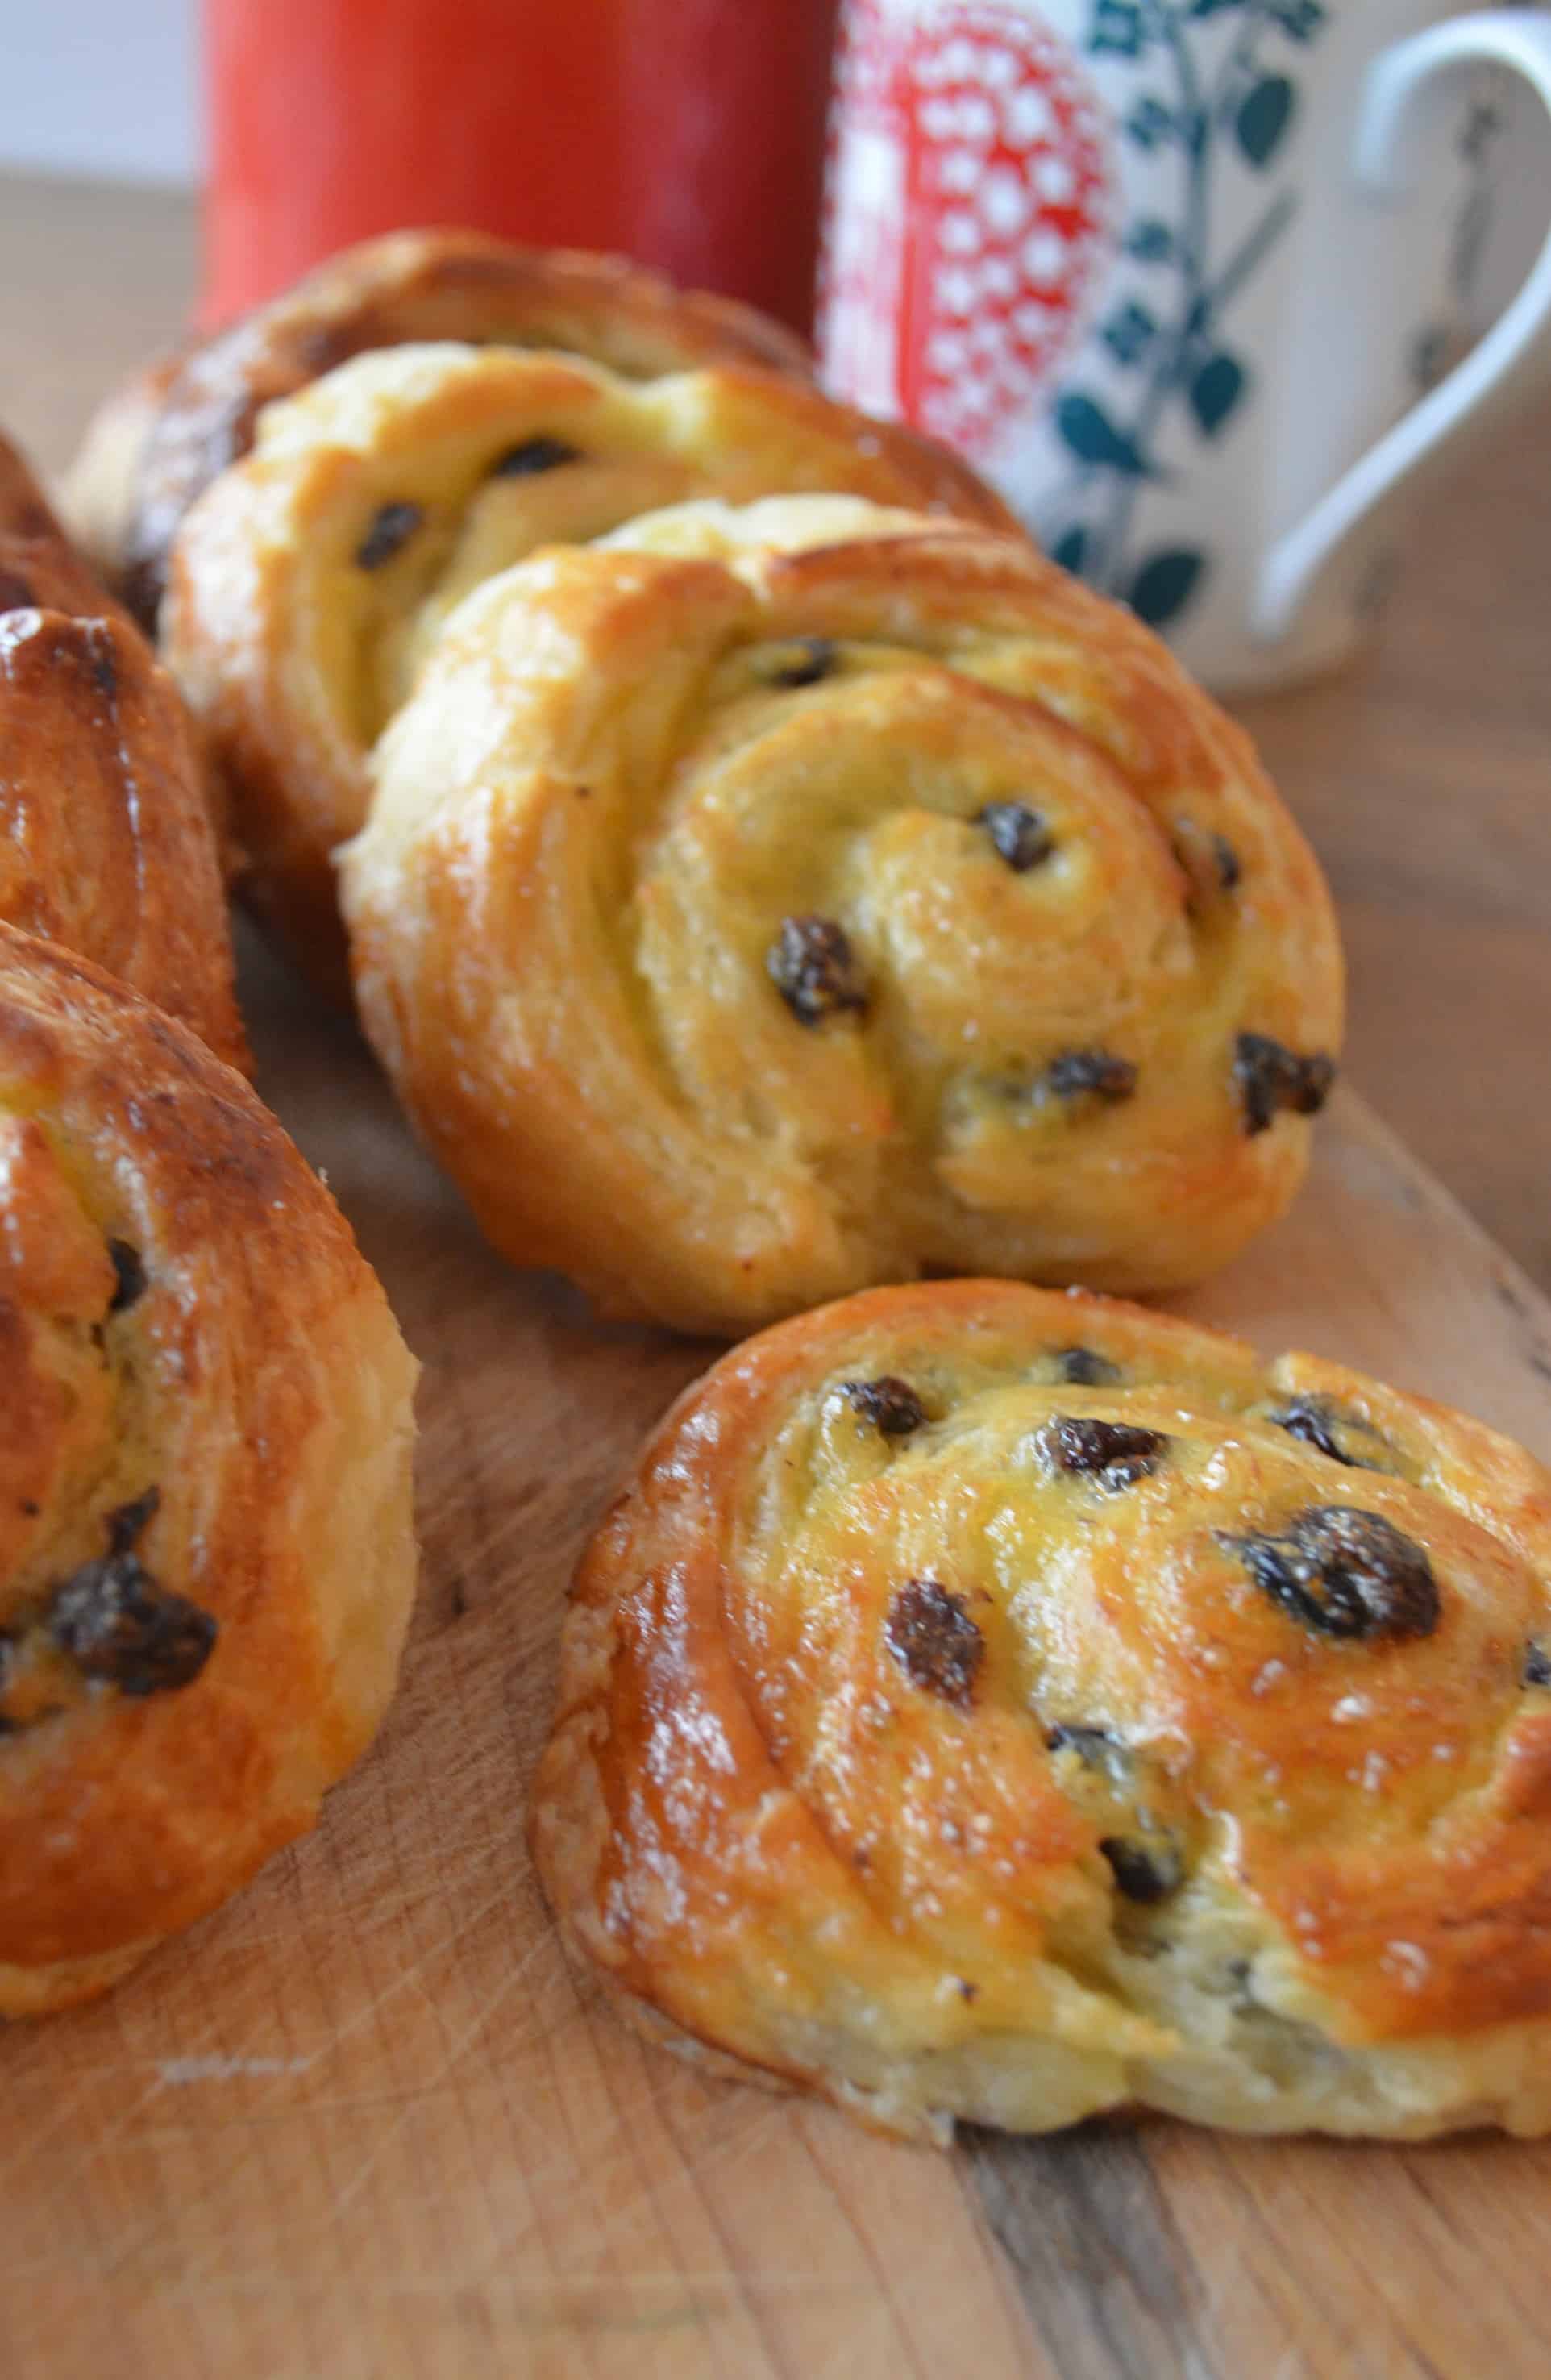
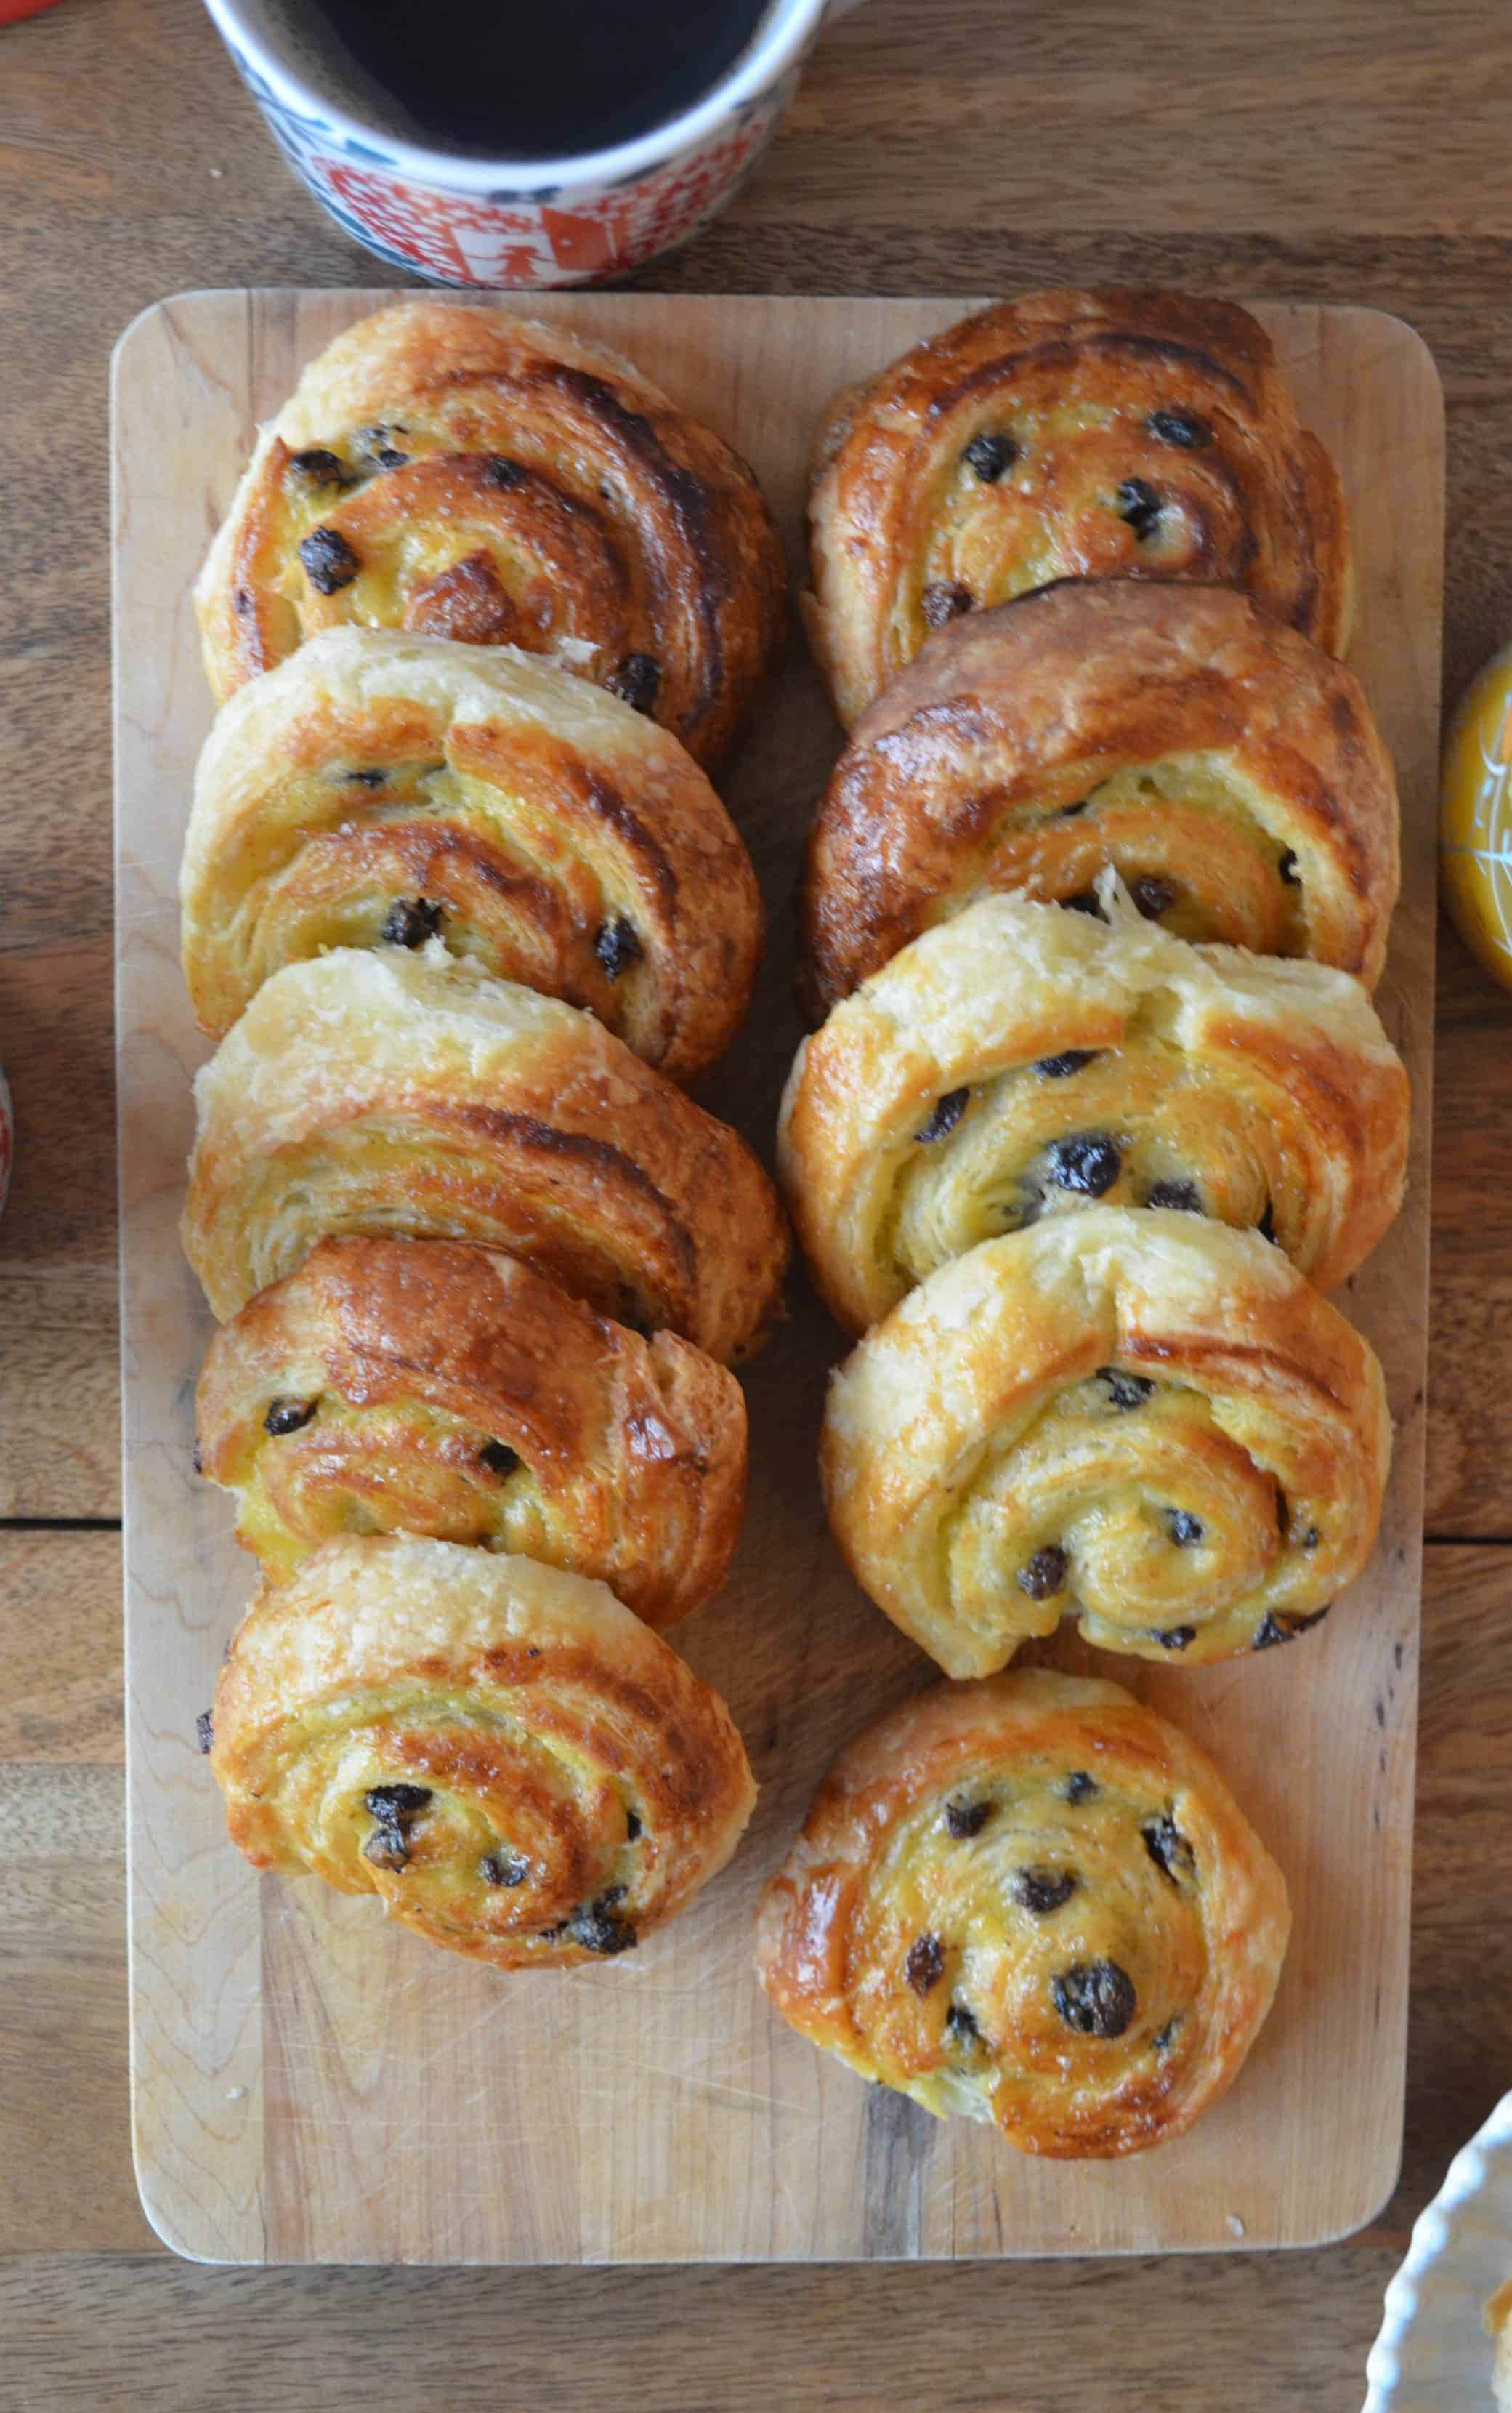
To actually make the pain au raisins, you simply roll out the dough, spread on the creme pat and scatter with your raisins. Then its just a case of rolling up and slicing! Make sure you allow for additional proving time in the morning once you’ve created the classic pain au raisin shape. Though they don’t need you to watch over them, so you’re more than entitled to pop back to bed before baking time!
I really hope you love these as much as I did. They taste best fresh out the oven, but the remainders were still enjoyed by my work colleagues the next day!
Pain Au Raisins
Ingredients
Dough
- 60 ml whole milk lukewarm
- 60 ml water lukewarm
- 125 g plain flour
- 125 g strong white bread flour
- 7 g fast action dried yeast
- 30 g caster sugar
- 1/2 tsp salt
- 225 g unsalted butter chilled
Creme Patisserie
- 1 vanilla pod or 2tsp vanilla bean paste
- 250 ml whole milk
- 1 large egg
- 2 egg yolks
- 100 g caster sugar
- 25 g cornflour
Filling
- 75 g raisins
Glaze
- 1 large egg beaten
Instructions
- For the dough: Mix the milk and water in a medium bowl to combine and set aside. Then put the flours, yeast, sugar and salt in a bowl of a food processor and pulse to combine. Dice 125g of the butter into small pieces and add to the food processor. Then pulse once or twice just to mix together. Don't overmix at this stage! You still want to be able to see chunks of butter.
- Tip the butter and flour mixture into the liquids and using a spatula, fold together whilst still maintaining the chunks of butter. Once you have formed a rough dough, tip this out onto a lightly floured surface and work very lightly into a ball of dough. Form into a flat rectangle, wrap in clingfilm and put in the fridge for 45 minutes. Meanwhile, put the remaining butter into the freezer to chill it thoroughly.
- Remove the dough from the fridge and roll out into a long rectangle three times as long as it is wide - roughly 15x45cm. Take the butter out of the freezer and and coarsely grate it over the bottom two-thirds of the dough. Fold the top third of the dough over the middle-third, then fold the bottom third over the other-two thirds as if folding a letter. This is your first turn. Wrap the dough in clingfilm and chill in the fridge for 20 minutes.
- Remove the dough from the fridge and turn the dough 90 degrees so that the open ends are facing you. Then repeat the rolling and folding process twice more, giving the dough a total of three turns. Wrap the finished dough in clingfilm and put in the fridge overnight before baking.
- For the creme patissiere: Place either the seeds of vanilla pod or the vanilla bean paste into a medium saucepan. Pour over the milk and bring to the boil over a medium-high heat.
- Meanwhile, put the egg and yolks in a heatproof bowl and whisk in the sugar and cornflour until smooth. Pour the boiling milk over, whisking constantly to combine. Pour this mixture back into the pan and return to a medium heat. Whisk constantly until thickened, cooking for a few minutes extra to remove the taste of the cornflour.
- Pour the creme patissiere into a clean bowl and press a piece of clingfilm onto the surface to stop it forming a skin. Then pop into the fridge to chill overnight.
- Put the raisins into a small bowl, cover with boiling water and set aside for 30 minutes. This plumps up the fruit and stops them from burning as they bake.
- Line a large baking tray with parchment and set aside. Roll out the dough on a lightly floured surface into a rectangle about 24x48cm with the short edge facing you, then trim to square off the edges. Spread the creme patissiere across the pastry leaving a clear border of 2.5cm along one far edge.
- Drain the raisins and sprinkle over the filling. Brush the beaten egg down the 2.5cm border, and then roll up the dough into a tight swirl using the egg washed border to stick the dough together. Cut into 16 equal slices and place onto the prepared baking tray. Lightly cover the tray with clingfilm, and leave to prove in a warm place for 2-3 hours until almost doubled in size and puffy to the touch.
- Preheat the oven to 180C/160C Fan/Gas Mark 4. Brush the beaten egg over the top of the pastries, then place in the oven to bake for 20-25 minutes until golden brown. Remove from the oven and leave to cool on the trays for 5 minutes, before transferring them to a wire rack to cool completely.
Notes